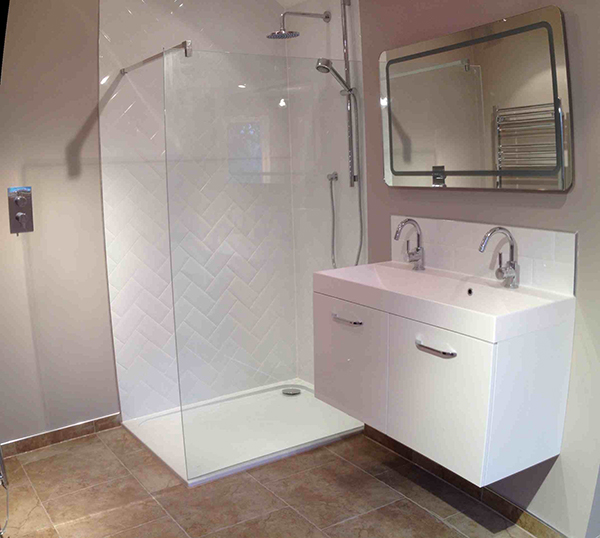
This article shows how ukbathroomguru.com completely remodelled a main bathroom (at the same time as adding a downstairs WC & an en suite)
Introduction
I carry out project managed bathroom installation in Leeds.
Please see here for more details or continue reading for a case study of a recent installation.
Other case studies can be found here and here.
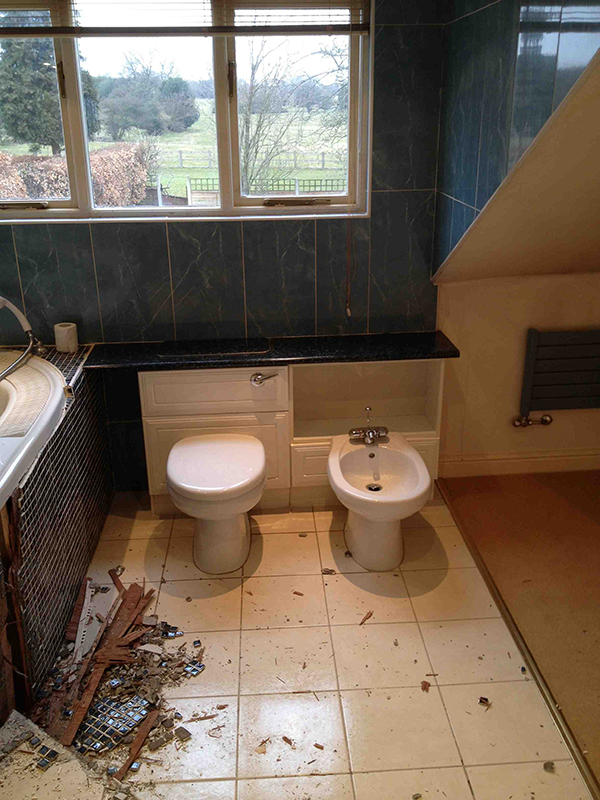
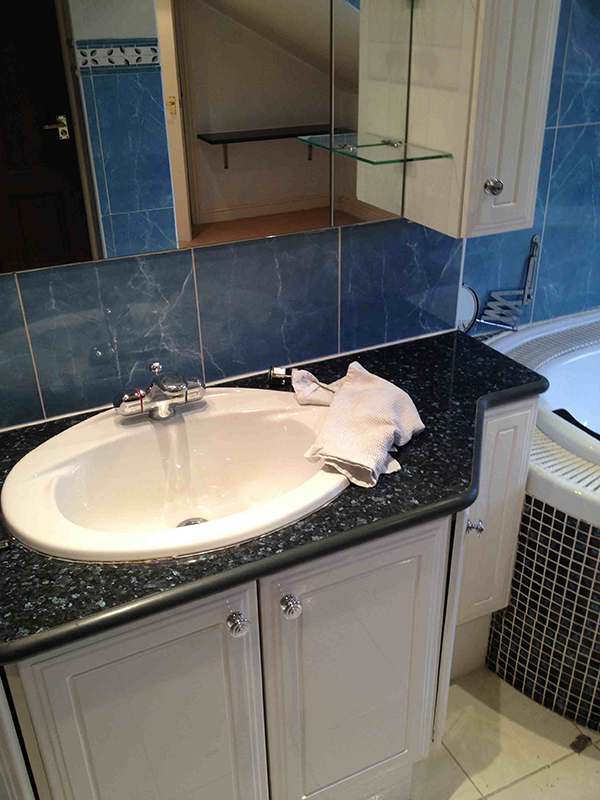
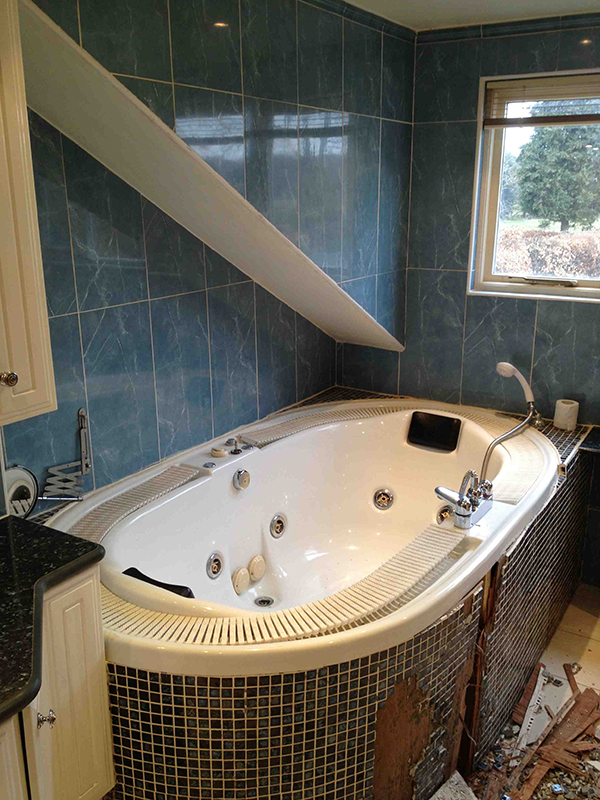
Removal & disposal of existing bathroom
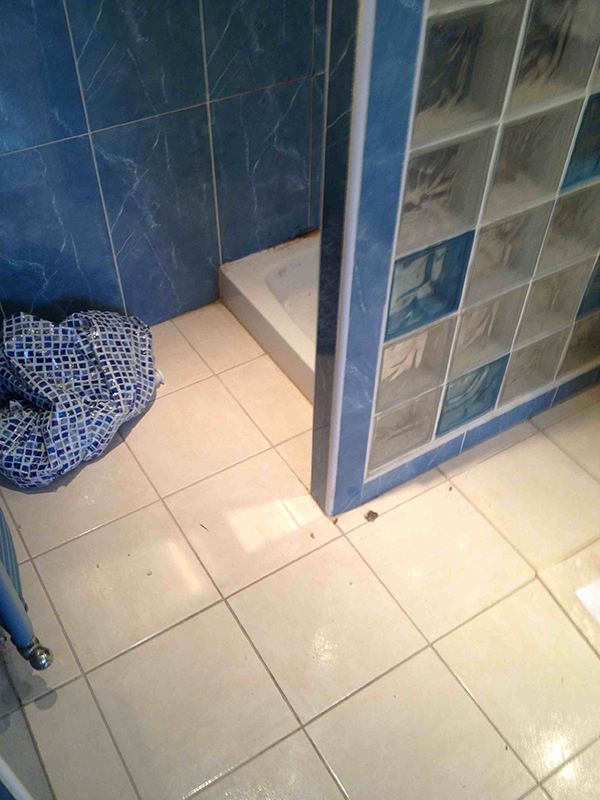
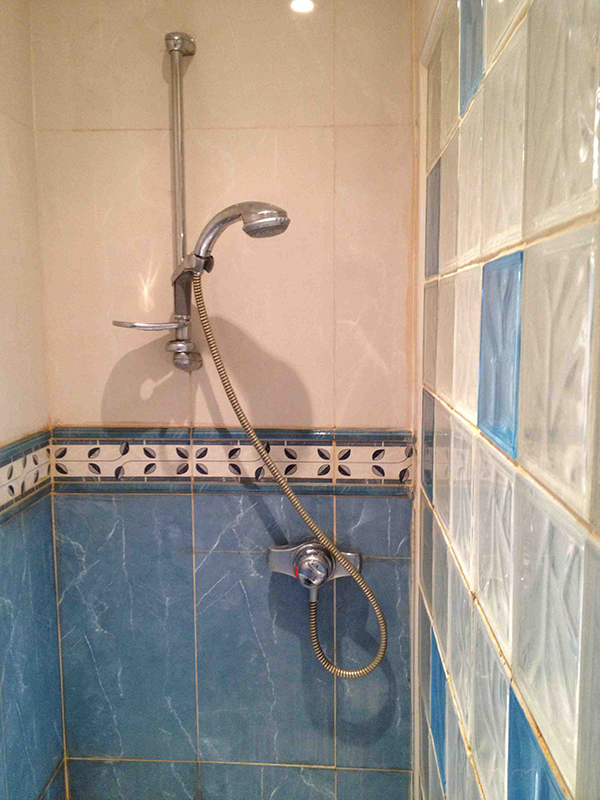
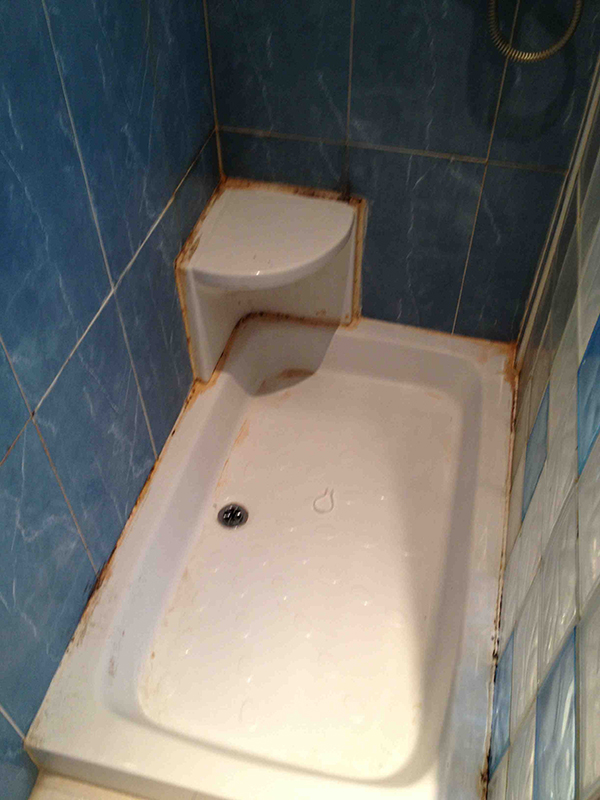
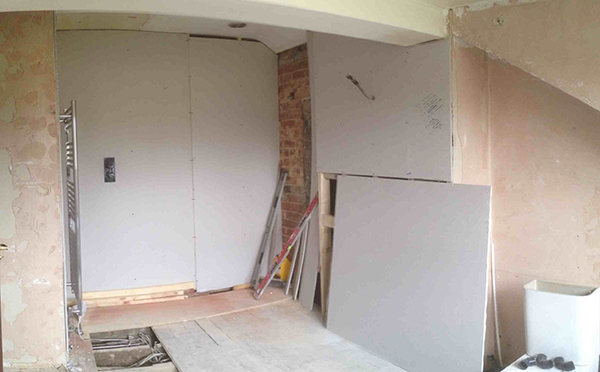
The old suite was removed and disposed of in preparation for the new bathroom installation, which involved a (fairly!) similar layout.
Removal & disposal of existing bathroom
Over the 2 weeks the following work was done:
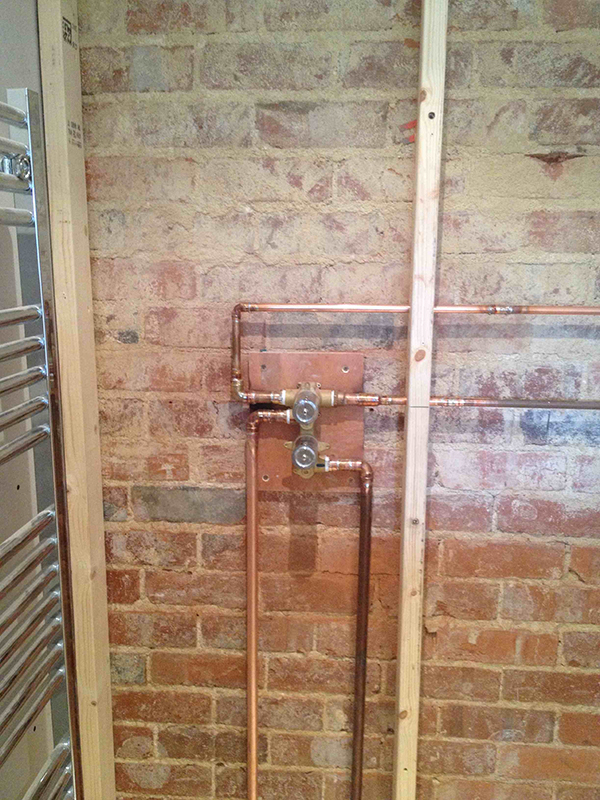
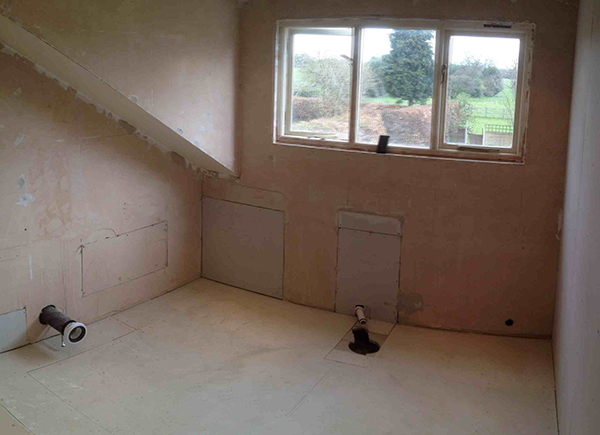
Plumbing 1st fix
The existing suite was completely replaced with good quality modern fittings from our local bathroom supplier:
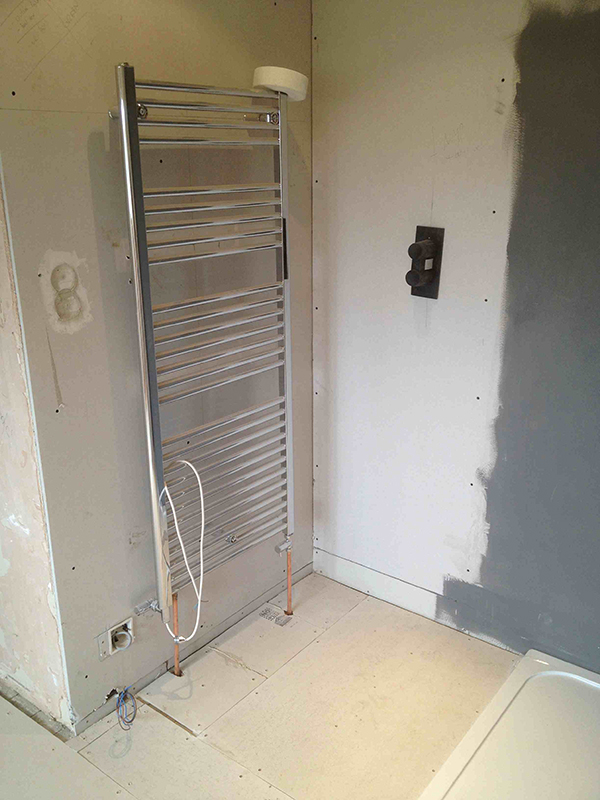
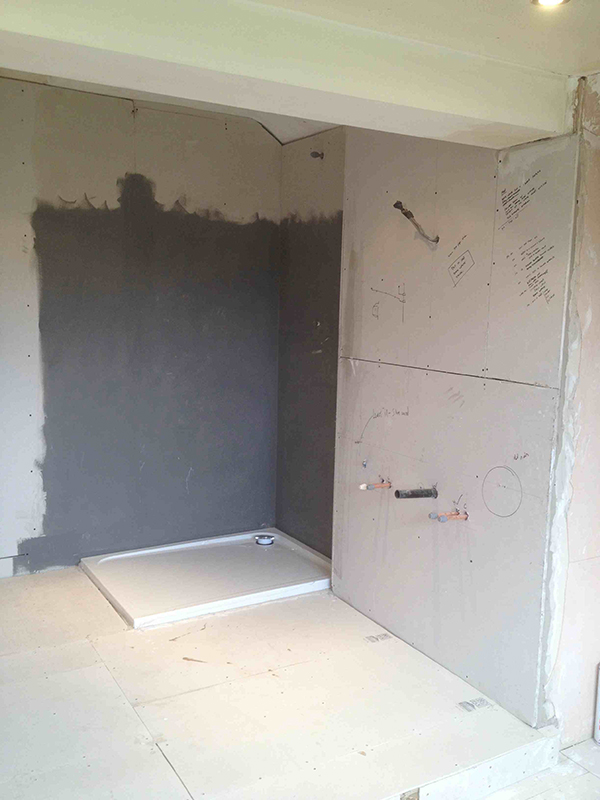
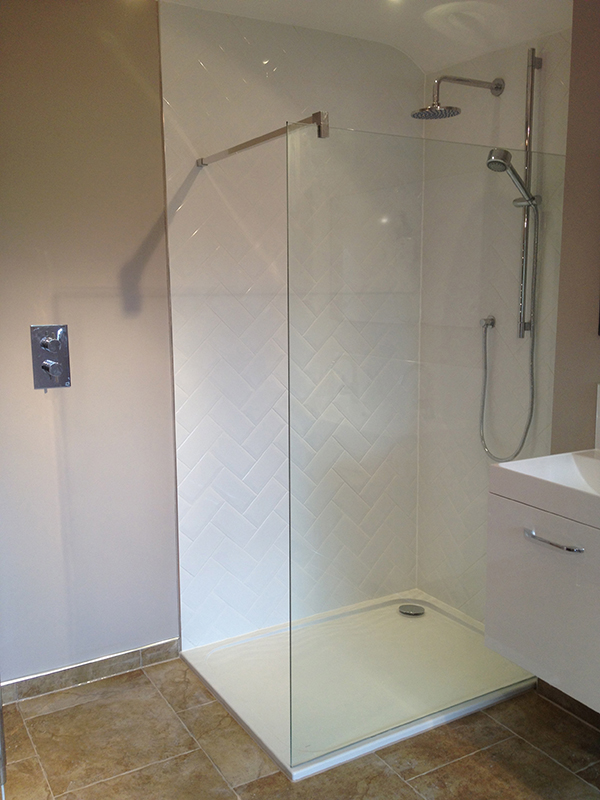
A concealed shower valve was fitted which allowed the user to turn the shower on from outside the cubicle. Please see here for more information as to how this was achieved or carry on reading to see the end result.
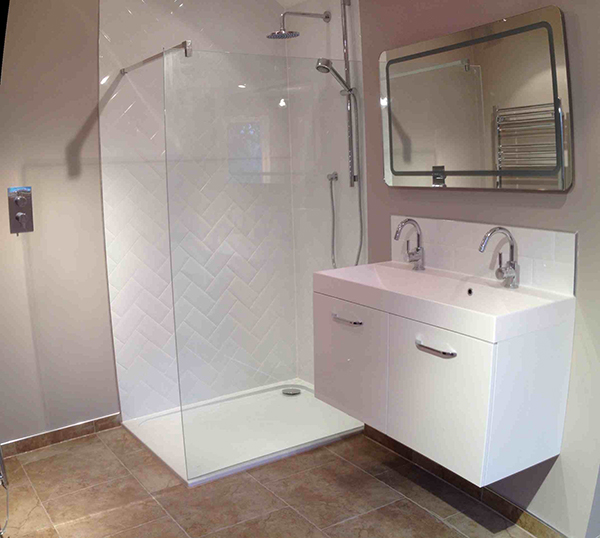
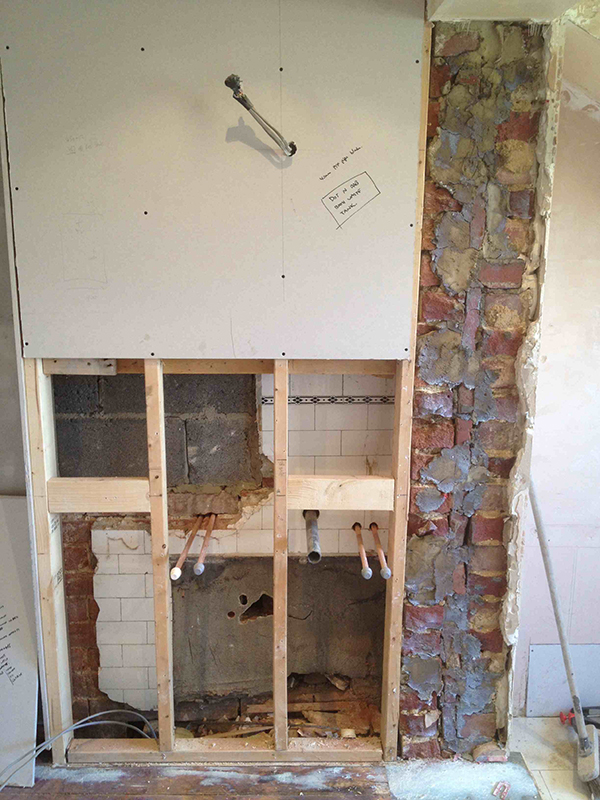
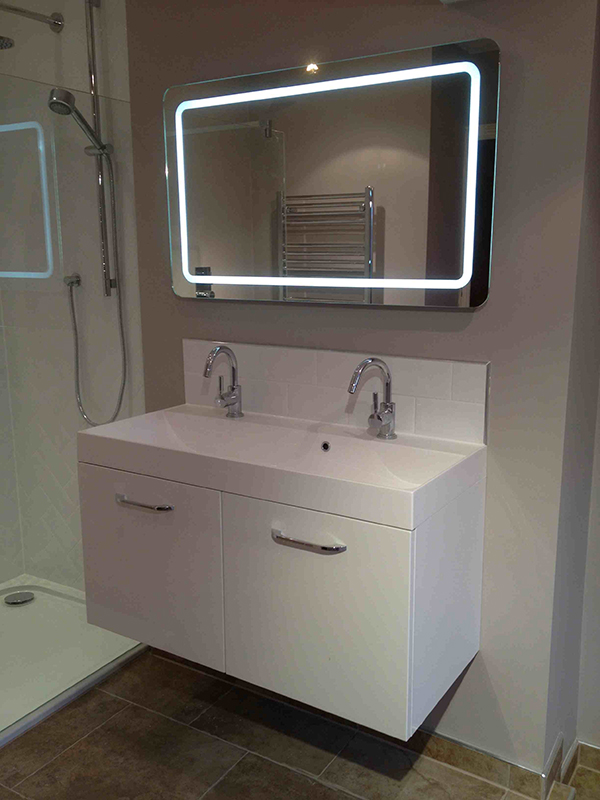
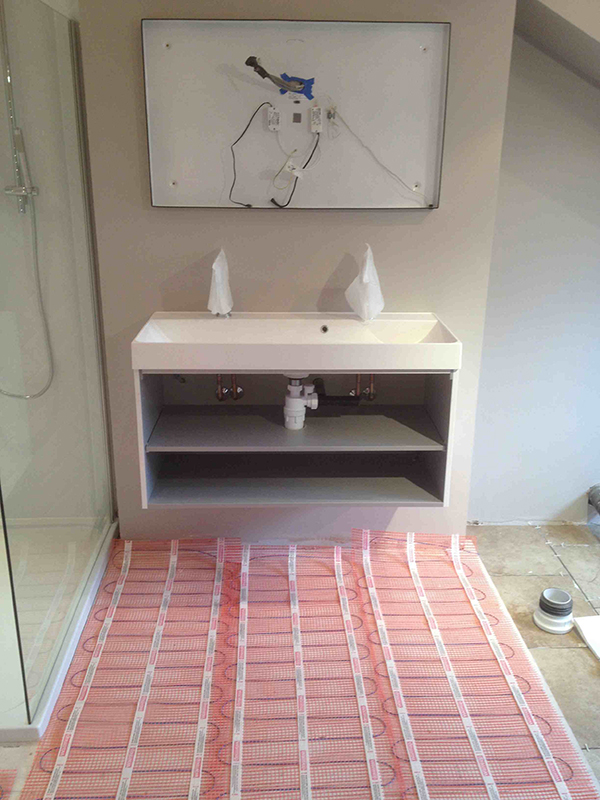
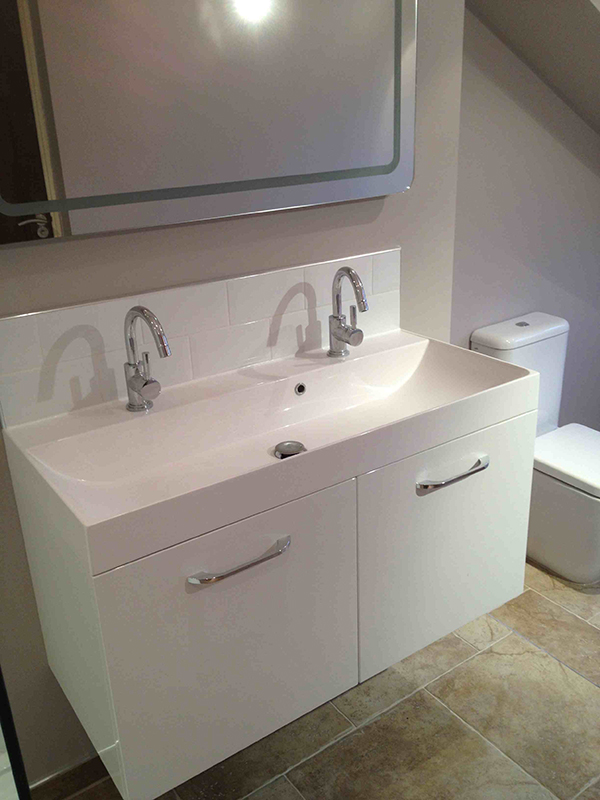
Provisions were made for a wall hung, ‘his & hers’ vanity unit – studwork was built and reinforced at strategic parts that would carry fixings and hot & cold pipework was run, as well as waste pipework.
Joinery
Studwork was built, insulated & boarded as required to conceal the new shower valve & partition up one side of the room which previously opened into another dressing room.
Electrics
Provisions were made for:
- An extractor fan
- Low energy ceiling spotlights
- A dual fuel towel radiator
- LED bathroom mirror positioned at a set height over the wall hung basin.
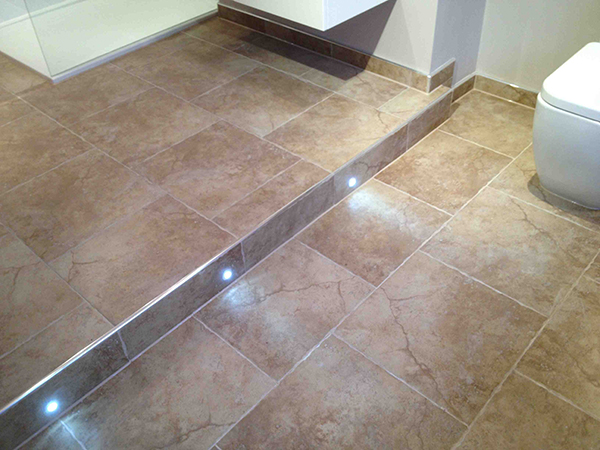
- Subtle LED lighting in the step
- Undertile heating throughout the bathroom.
Plastering
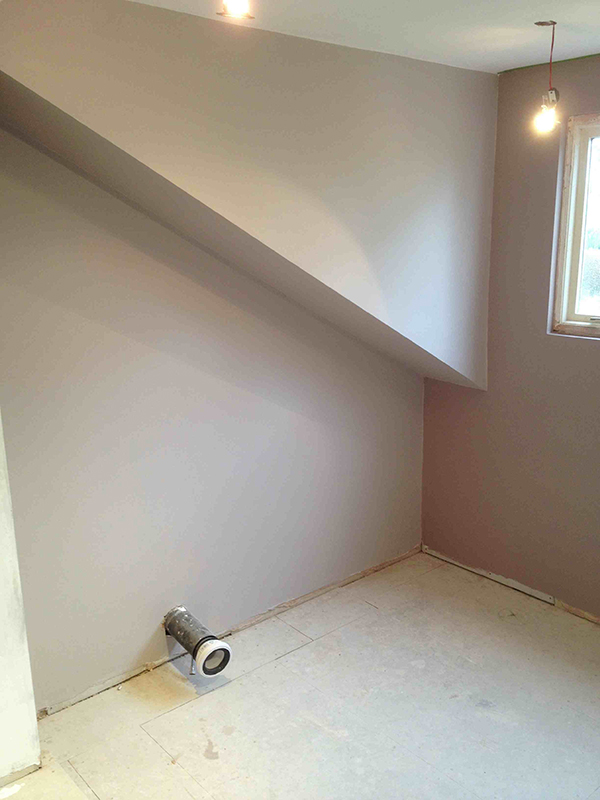
Many walls were boarded out or bonded up prior to re-skimming throughout for a top class finish.
Painting / decorating
The walls were prepared & painted in an emulsion paint suitable for bathrooms & any woodwork e.g. window cills, skirting & architrave was treated where necessary.
Wall tiling
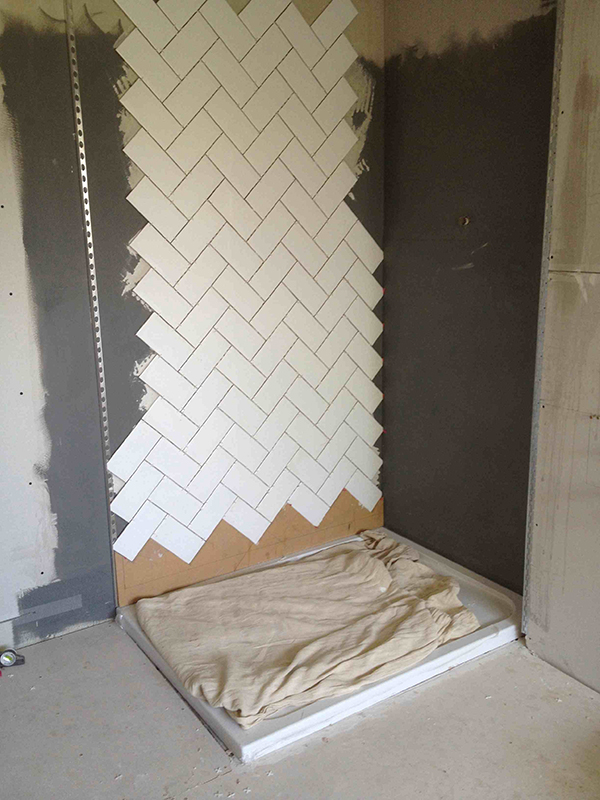
Small 10cm x 20cm bevelled white ceramic tiles were chosen by the customer from our local tile supplier and these were applied in a unique fashion after tanking out the walls in the ‘wet area.’
Floor tiling
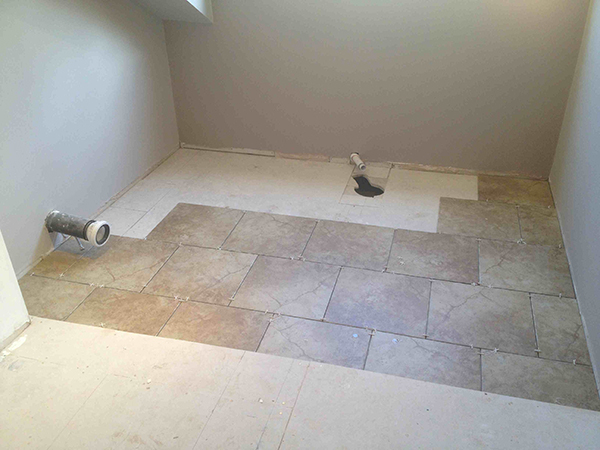
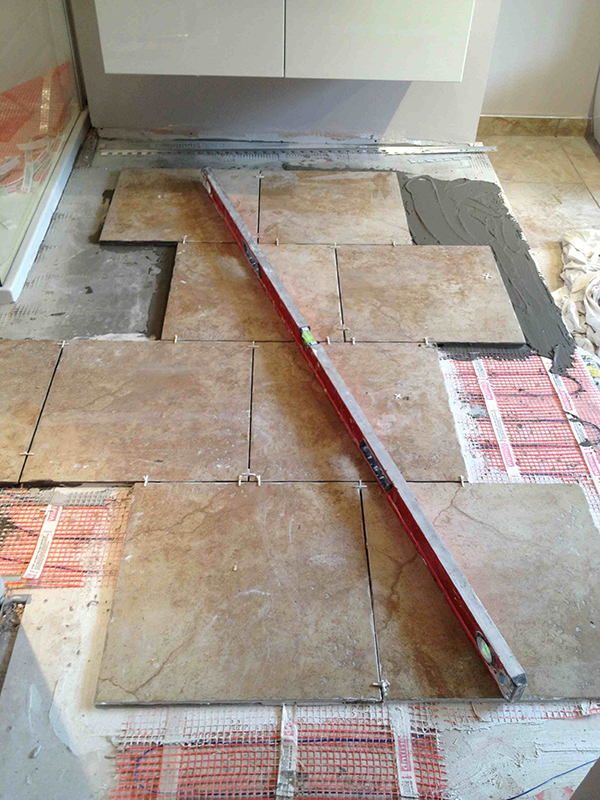
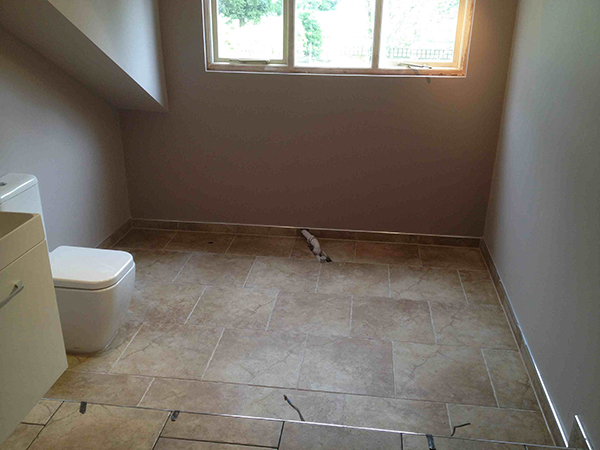
Porcelain tiles were chosen for the floor, to be laid in a brick bond pattern as shown above, after 1st preparing the floor with no more ply tile backer boards.
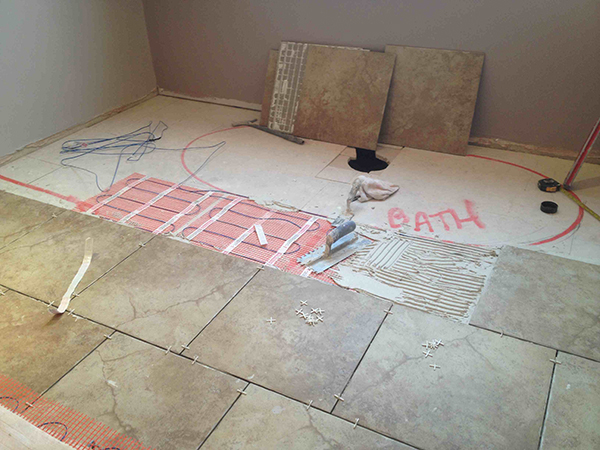
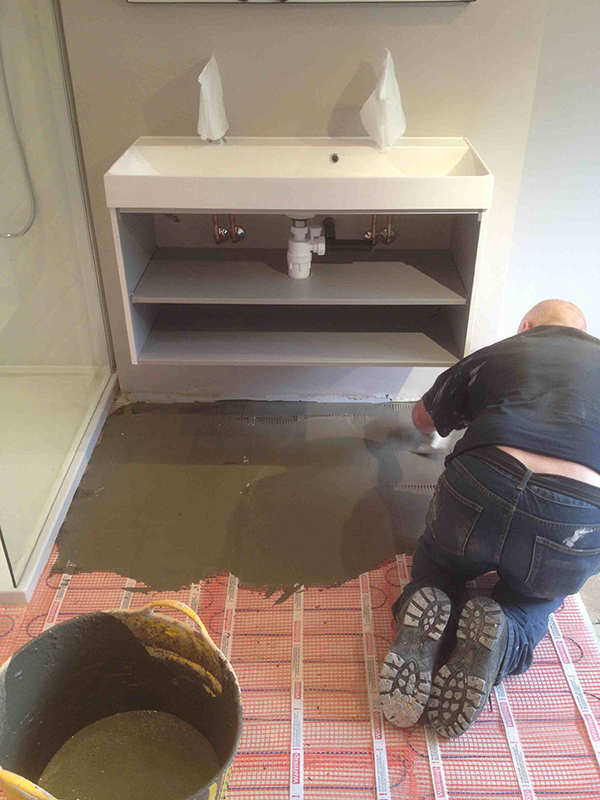
After dry fitting the tiles, underfloor heating was added – note how the heating mats does not extend under the bath or toilet. Tight co-ordination between the plumber & tiler / electrician is important here!
Uneven parts of the floor were levelled with a self levelling compound prior to fixing the tiles.
Once the floor tiling was complete, tiled upstands were fitted rather than skirting boards to cover the wall / floor junctions.
Colour co-ordinated grout & silicon was used to finish off the tiling.
Plumbing 2nd fix
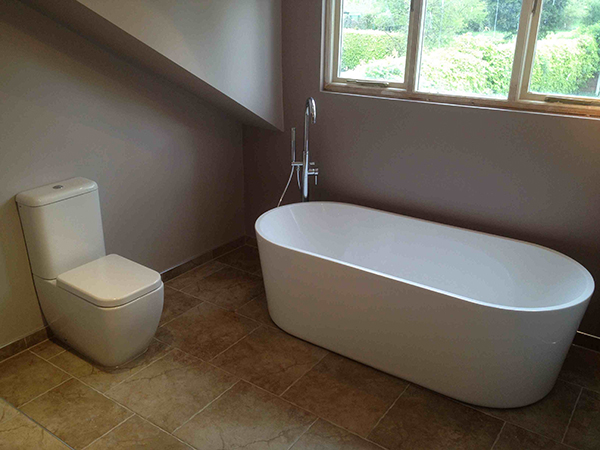
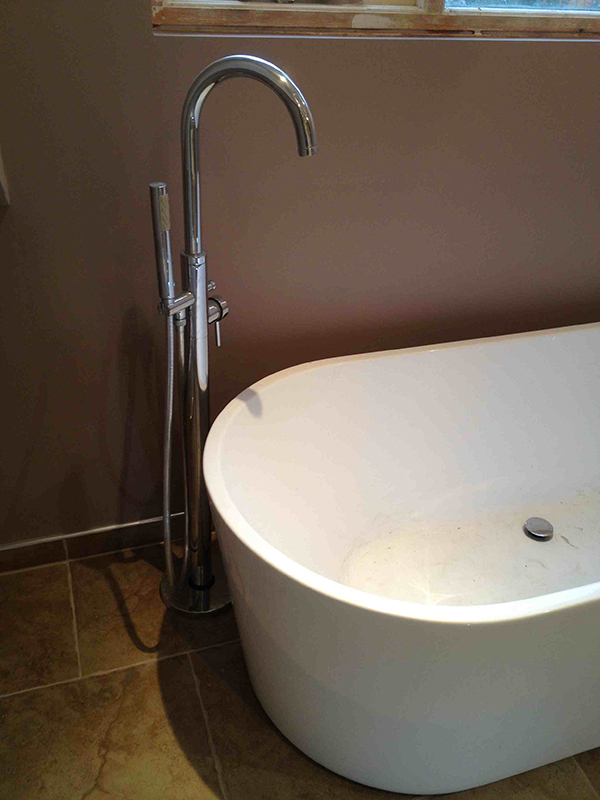
The toilet & freestanding bath were fitted once tiling & plastering / painting were complete.
A tall bath filler was added as an alternative to deck mounted bath taps.
The wall hung ‘his & hers’ vanity unit was attached and a small splashback was also added.
A semi-open glass shower enclosure was added as well as a 2 part thermostatic mixer shower with a concealed diverter valve.
Summary
This bathroom installation would take around 2 weeks to complete under normal circumstances (in this case we took a little longer as we were doing 2 other bathrooms concurrently).
The work schedule was very tightly organised by a project manager (me) ensuring the work was done in the correct order to give the best finish in the shortest time.
It involved many tradesmen that the homeowner may have found difficult to source individually, and then organise into a tight schedule:
On this job we had a joiner, tiler, plumber, electrician, plasterer and a couple of labourers & painters – All project managed by a single source to make the process as smooth as possible.
Thanks for reading, get in touch if you would like a nice new bathroom in under 2 weeks.
Chris

