This article shows how an oversized bathroom can often be split into a house bathroom and an en suite with a bit of clever planning.
Introduction
When looking to add an en suite it is often useful to see whether you can split the existing house bathroom into 2 separate rooms I.e. a house bathroom AND an en suite accessed from a new doorway off an adjacent bedroom.
This is because it is often easier to add an en suite into the same footprint as the existing bathroom as plumbing and drainage pipework is already present.
Contrast this to trying to add an en suite to the opposite side of the house, a long distance away from any hot and cold water pipework or (more crucially) any drainage pipework.
Please note that this approach is not always possible with the small size of British bathrooms often being a major limiting factor.
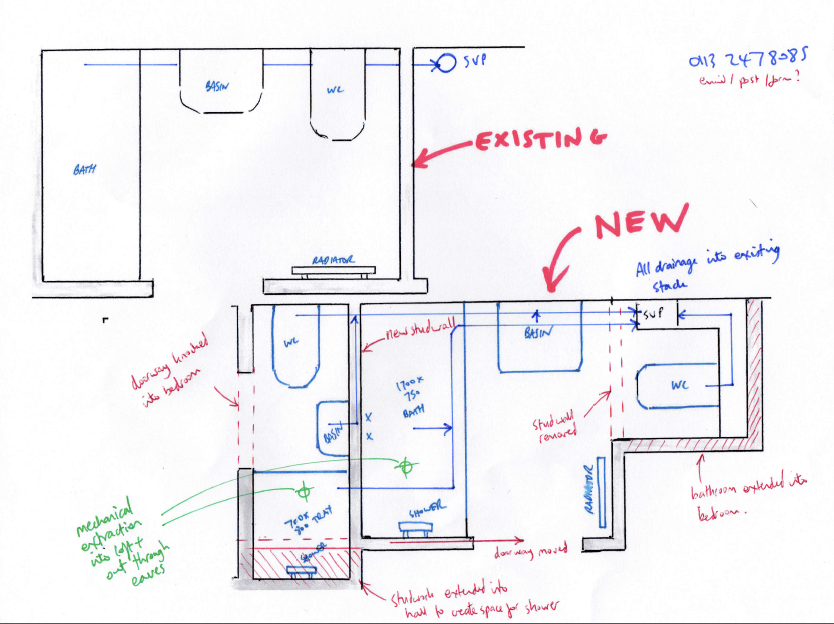
However, in this instance a plan was drawn up that satisfied all of the customers needs:
The existing bathroom was to have the space currently occupied by the bath ‘stolen’ off it to produce an en suite accessed from a new doorway from the bedroom.
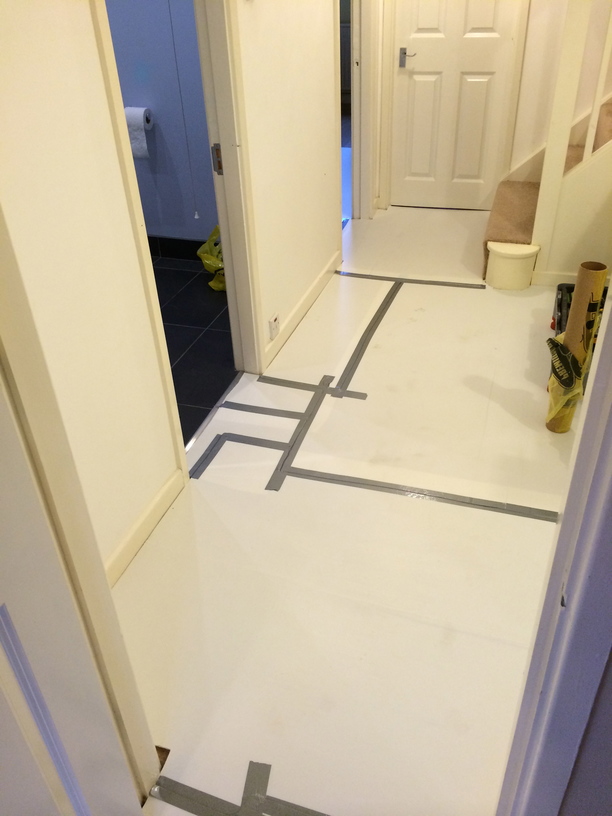
The space ‘stolen’ from the bathroom (170cm x 70cm) with the building of a new stud wall was then extended into the hall by 30cm, making the new en suite size 200cm x 70cm.
Into this tight space would be fitted a:
- toilet
- hand basin
- towel radiator
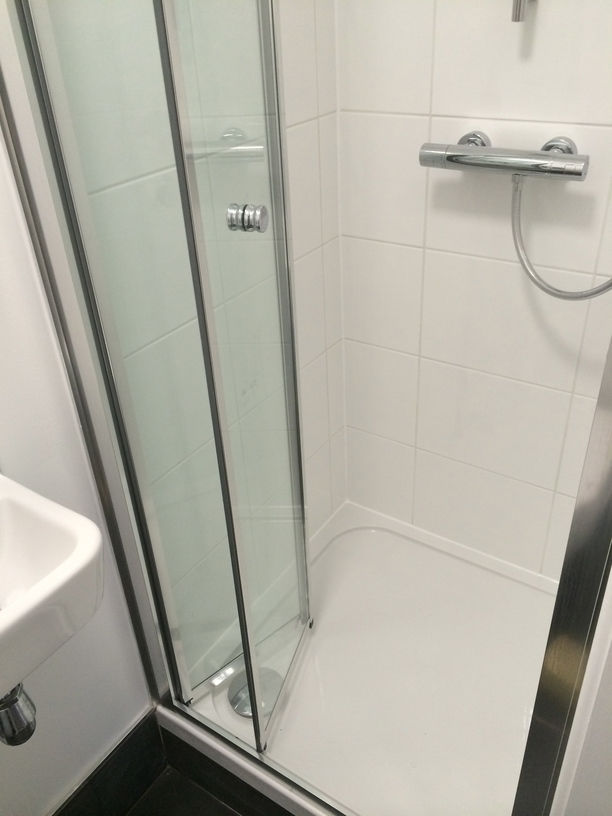
- shower enclosure
RECAP – The minimum size for an en suite shower room is approximately 190cm x 70cm
As the house bathroom was being made smaller by the en suite on one side, the room was extended into another bedroom on the other, to provide space for the wall hung toilet in a new position.
This plan also necessitated moving the door into the house bathroom and relocating the radiator onto an adjacent wall, as well as lots of other work!
This plan took into account many things such as the existing drainage and how it would tie into the new layout, wall and floor construction and joist direction vs the intended position of new drainage pipes that would be required etc etc.
This is where it is useful for a main contractor to plan (and deliver) all the work as he will have an appreciation for all of the necessary trades and how their work will come together to deliver the project as a whole.
For example this job had waste disposal, general building work, joinery & door hanging, wall and floor tiling, glazing, plastering, painting, plumbing and custom fitted solid oak shelving…
Also it involved other parties such as building control, a waste disposal firm, glazing firm, a local tile merchant and of course our local bathroom supplier (we have excellent knowledge of all the best local suppliers.)
Again, this is where a project manager comes into his or her own.
Please see here for how important it is to be able to bring together various trades in order to complete a bathroom installation.
Splitting a bathroom into an en suite & house bathroon (case study)
The existing bathroom was removed along with the wall & floor tiles prior to new work beginning.
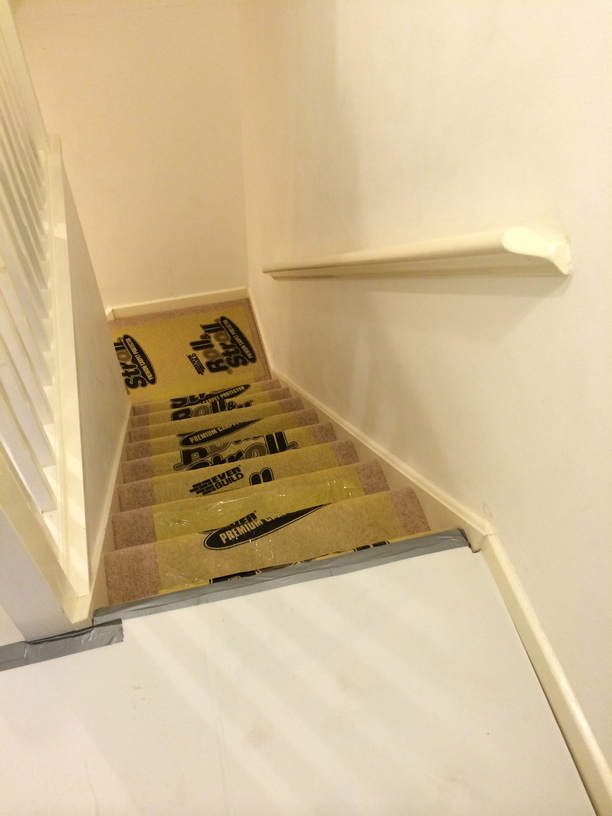
All flooring was covered in either roll n stroll of plastic sheets to protect them and make sweeping up easier.
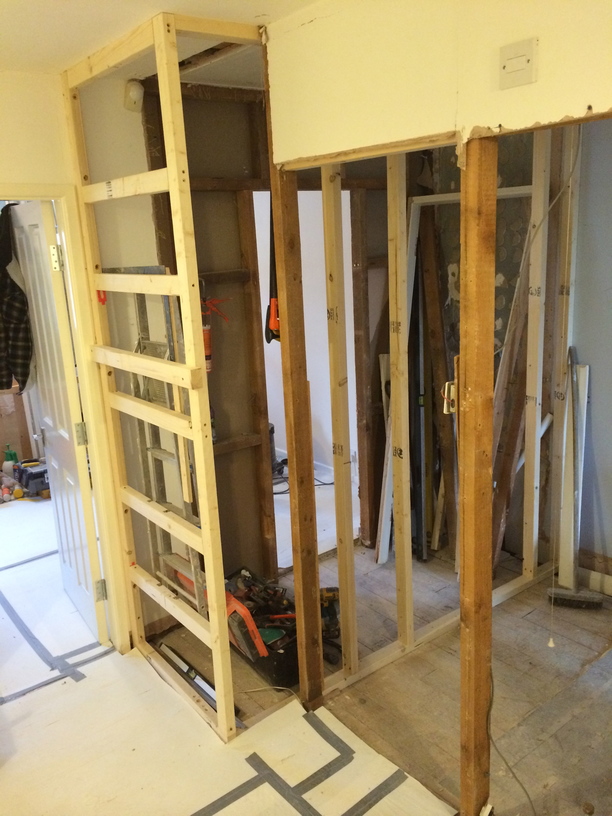
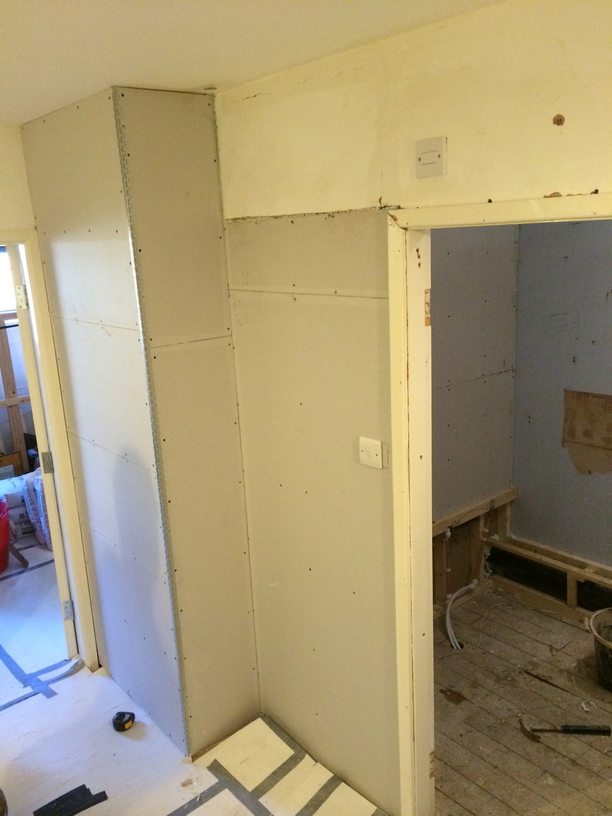
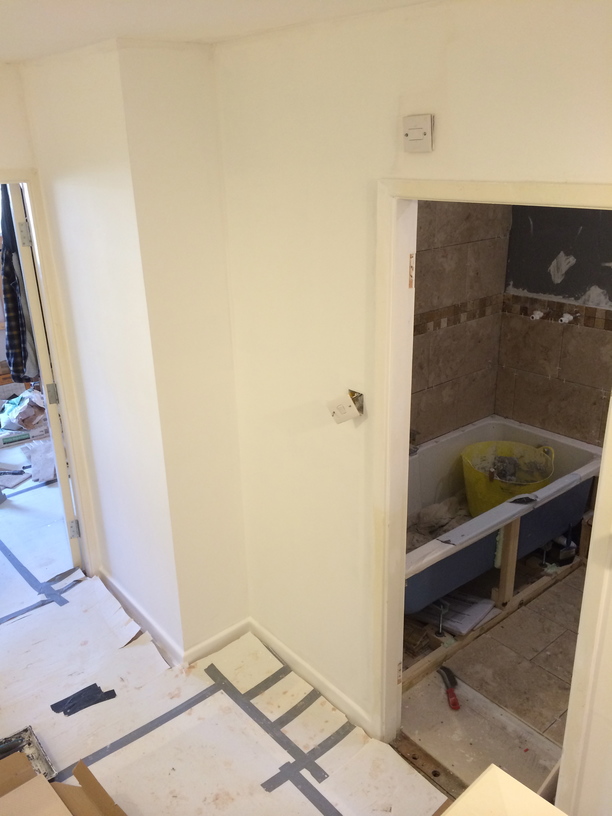
A new stud wall was erected in the bathroom to section of the new en suite, and extend it into the hall slightly to make space for the shower enclosure.
The door to the main bathroom was also moved.
This studwork was then boarded, insulated and prepared for plastering
Once the walls were skimmed, they were then decorated and skirting boards were fitted and carpets trimmed appropriately.
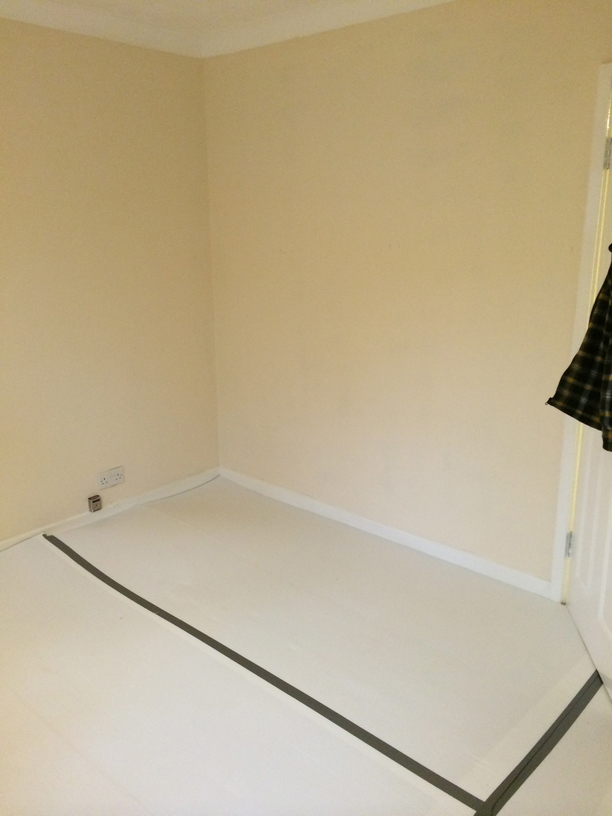
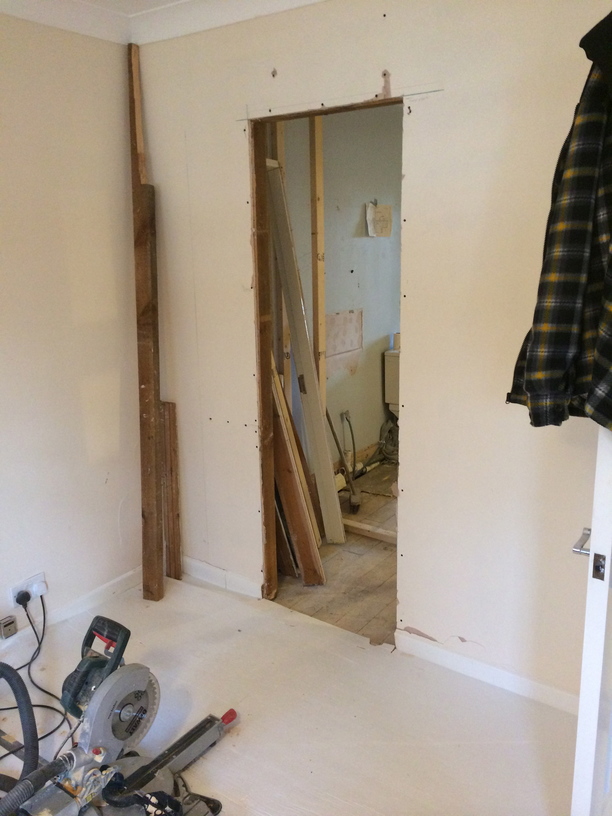
In the bedroom adjoining the en suite a doorway needed to be created.
This was fairly simple as the wall was only a stud wall.
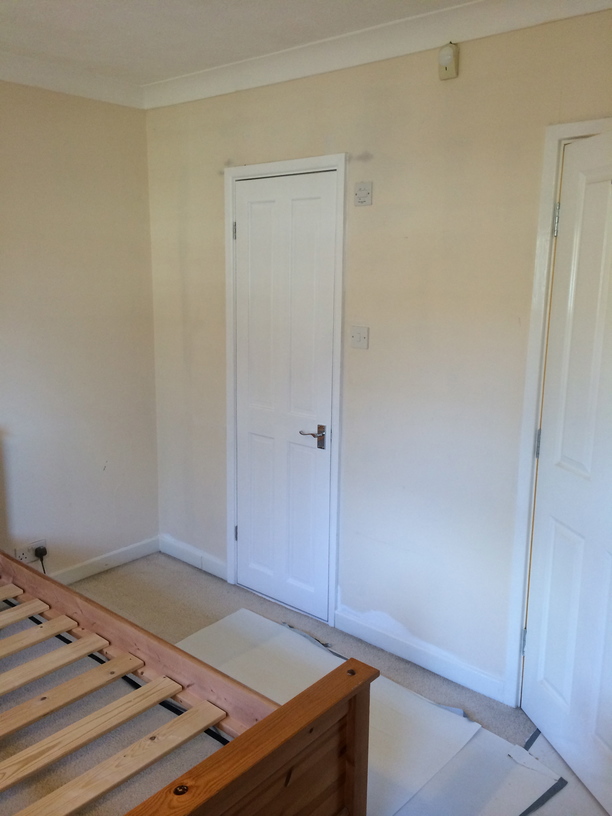
When finished, this door matched all the existing doors in the house.
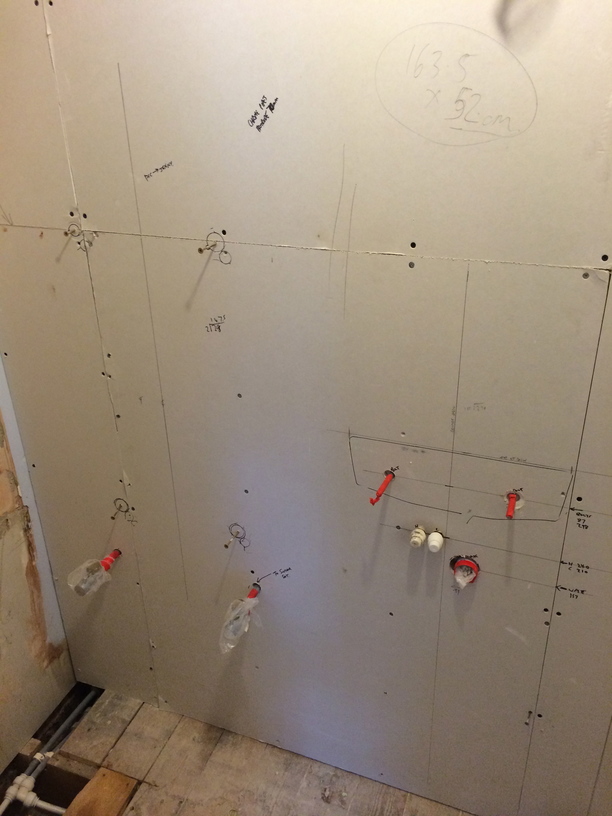
Pipework was run inside the new wall separating the 2 rooms to serve the en suite basin & towel radiator.
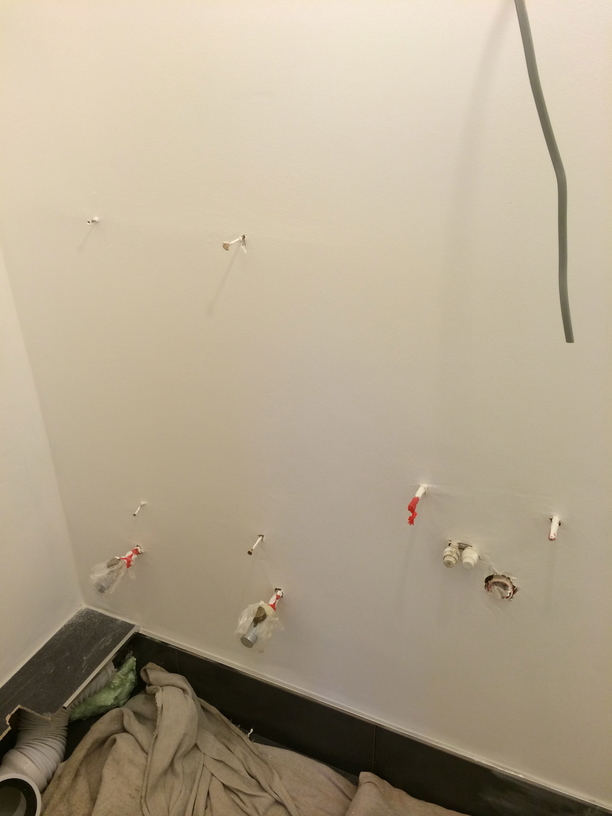
Walls were plastered and painted and pipework for the toilet & shower was also fitted.
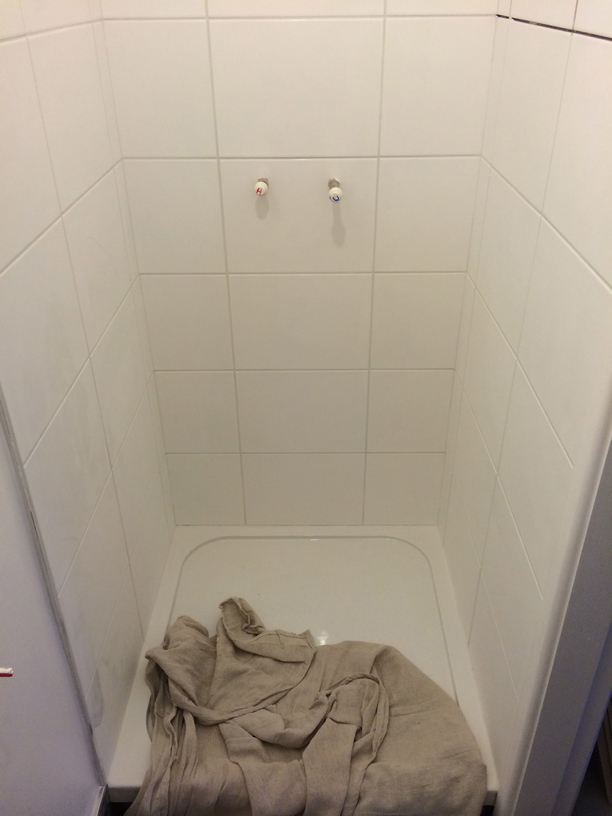
The shower tray was fitted and the walls surrounding it were tanked and tiled.
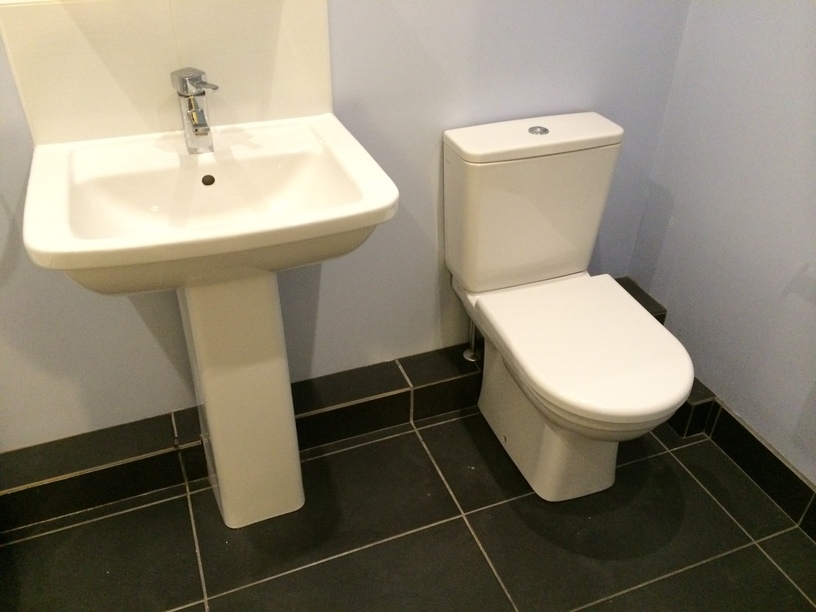
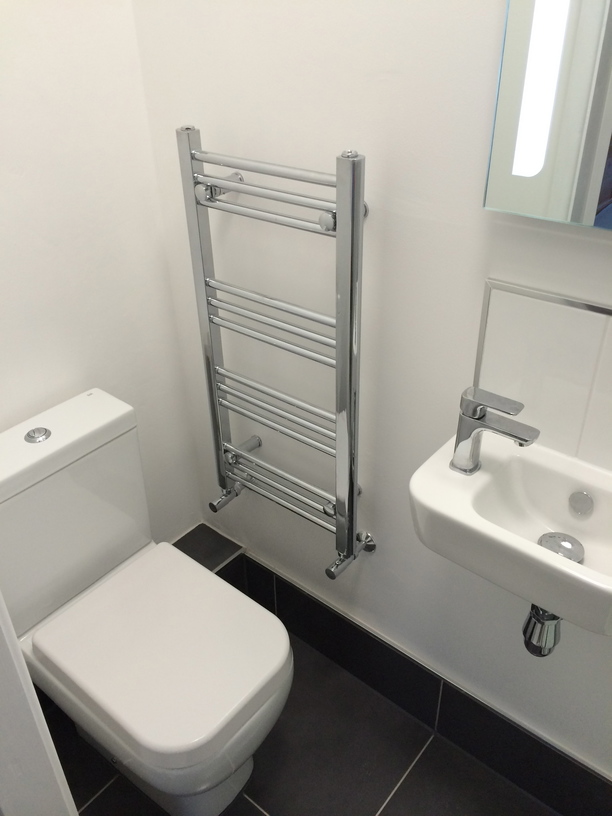
The floor was prepared and tiled and the toilet, basin & radiator were fitted.
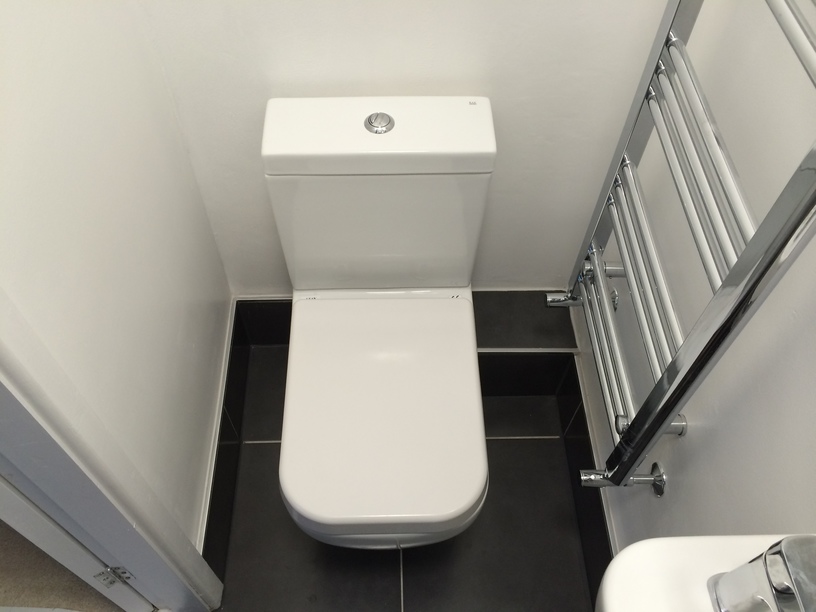
As the room was narrow (only 70cm) the toilet was set off centre so that people sat on it would not burn their shoulders on the towel radiator.
A bifold door was added to the shower enclosure and this was highly suited to the small space as it opened INTO the shower tray.
A thermostatic bar mixer valve was also fitted at this time.
Here you can see how tight the space is, and the door into the en suite had to open outwards into the bedroom as a result.
PS It could have been made into a sliding ‘pocket’ door as an alternative though this does cost more.
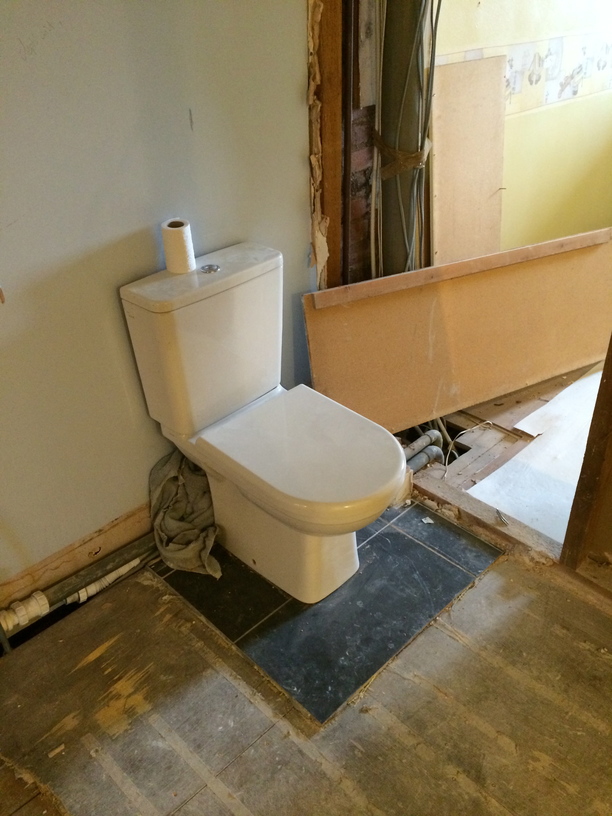
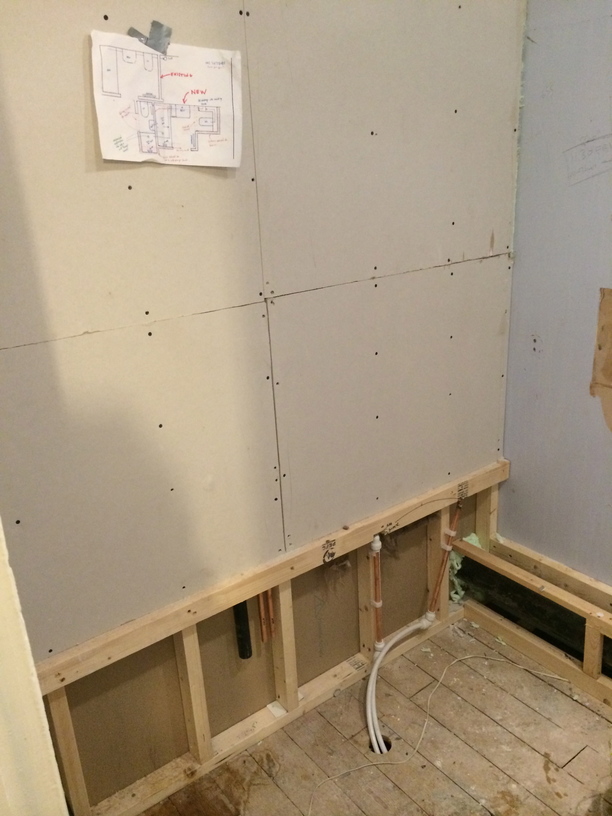
After the existing bathroom was ripped out, the existing toilet was left in situ so that the customer would not be without facilities during the work.
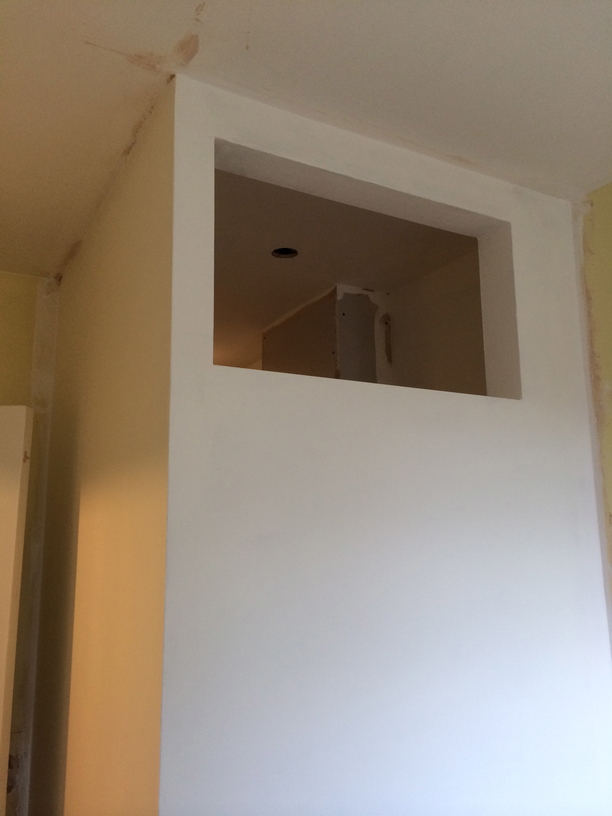
Above you can see that part of the far wall of the bathroom has been removed to extend the room into an adjacent bedroom.
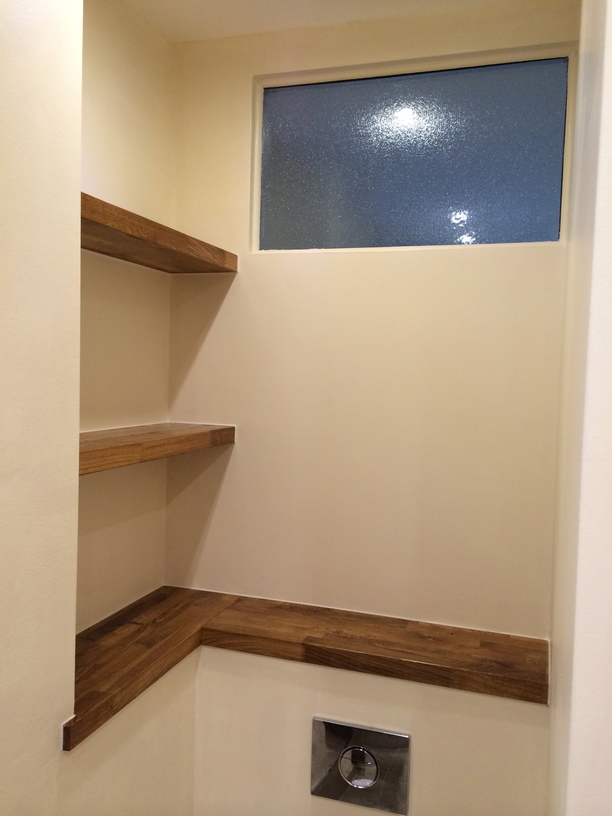
This extended part of the bathroom would ‘house’ the new toilet, and a high level frosted window was to be added to bring in natural light from the adjacent bedroom.
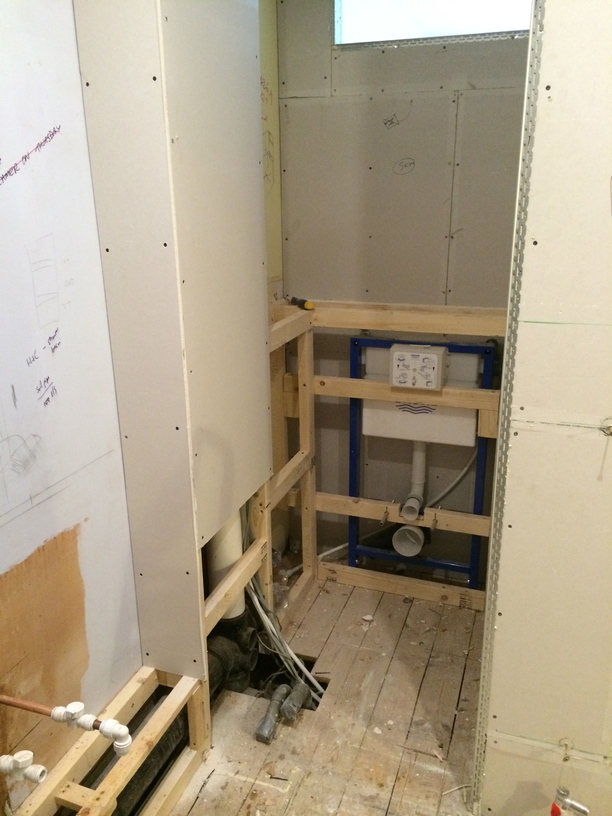
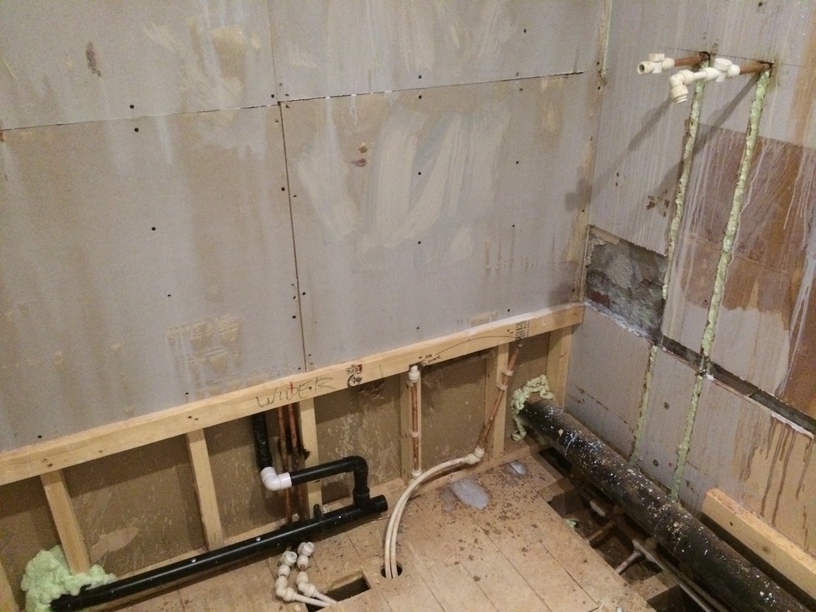
Here you can see the area from the other side – all necessary pipework has been run and boxed into a wooden frame that has been partly boarded up in this picture.
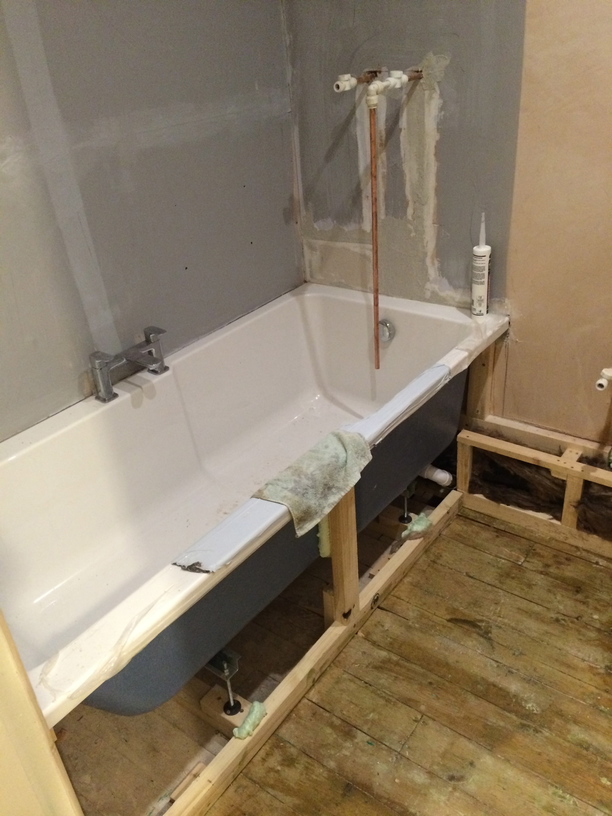
On the opposing side of the bathroom, a new stud wall was built to divide the bathroom from the en suite.
The bath was to sit against this wall with its back edge supported by the horizontal timber to limit flexing and ensure a watertight seal for years to come.
Waste pipework (black pipes above) was run to and from the en suite and to the bathroom shower valve over the bath.
All walls were primed prior to tanking and tiling.
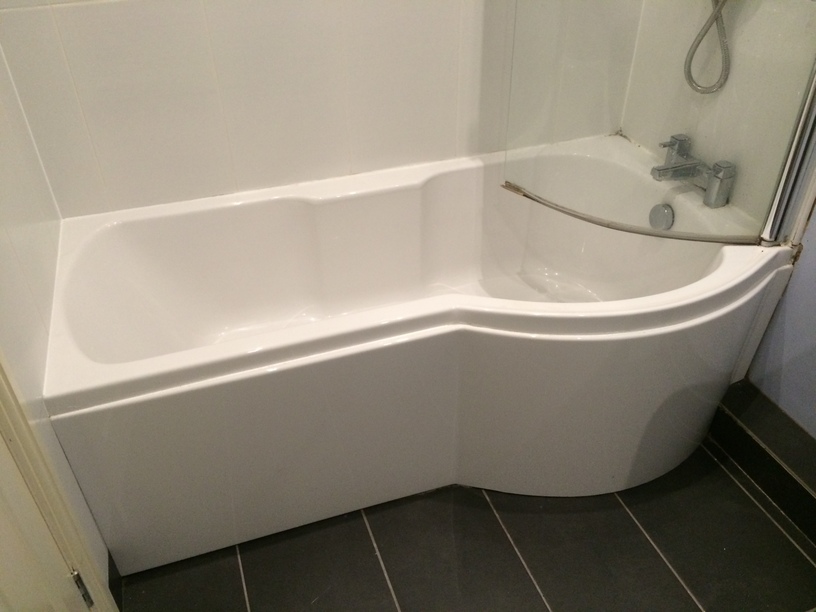
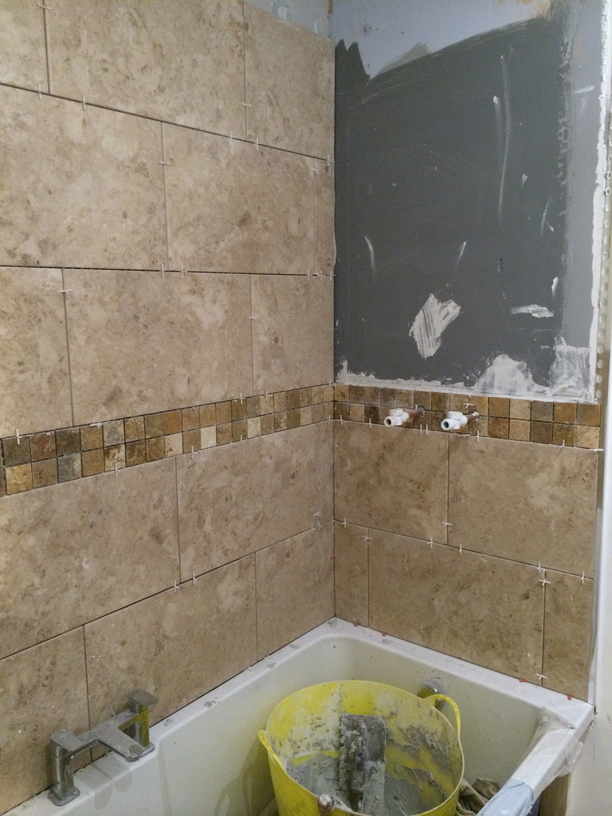
The bath was then fitted into place and a framework is built to support its front edge and to attach the bath panel onto.
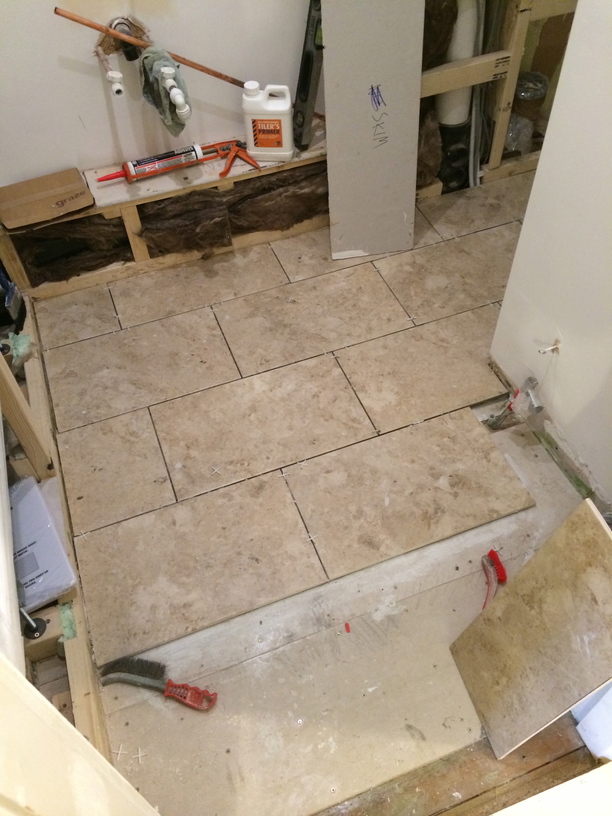
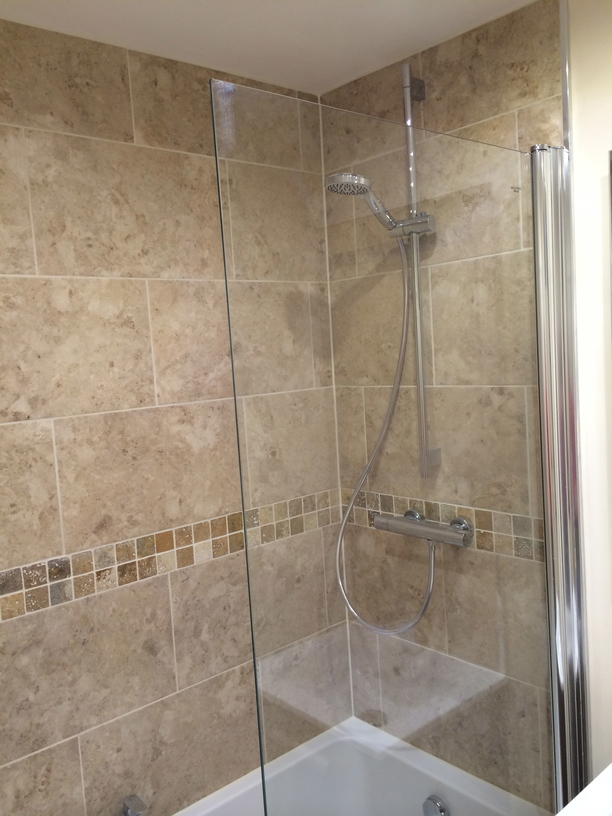
The floor was then prepared for tiling and then tiled with travertine effect ceramic tiles.
The walls were then partly tiled in matching tiles with a stone mosaic border to add interest.
Finally the wall & floor tiles were grouted and the shower was fitted.
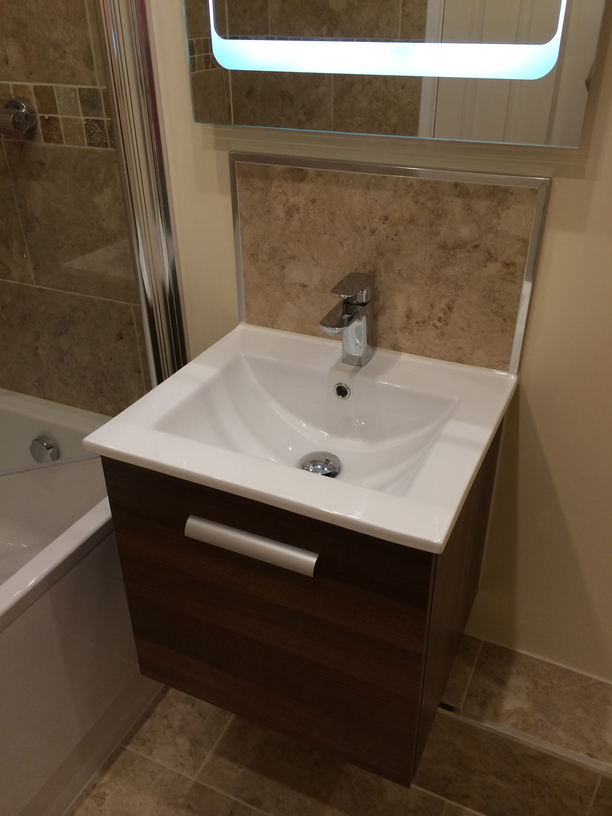
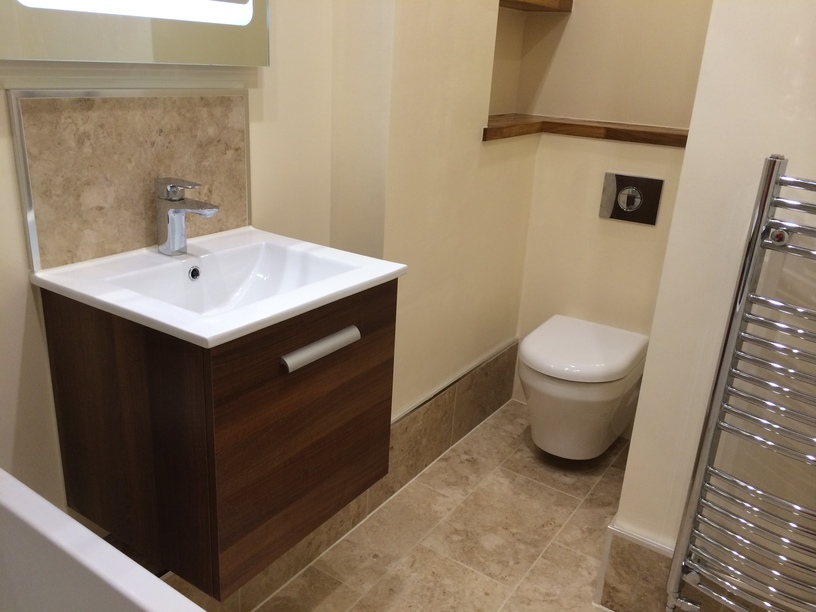
The wall hung basin was attached and a tiled splashback was fitted above it to protect the walls from splashes.
An LED mirror unit was fitted above the basin.
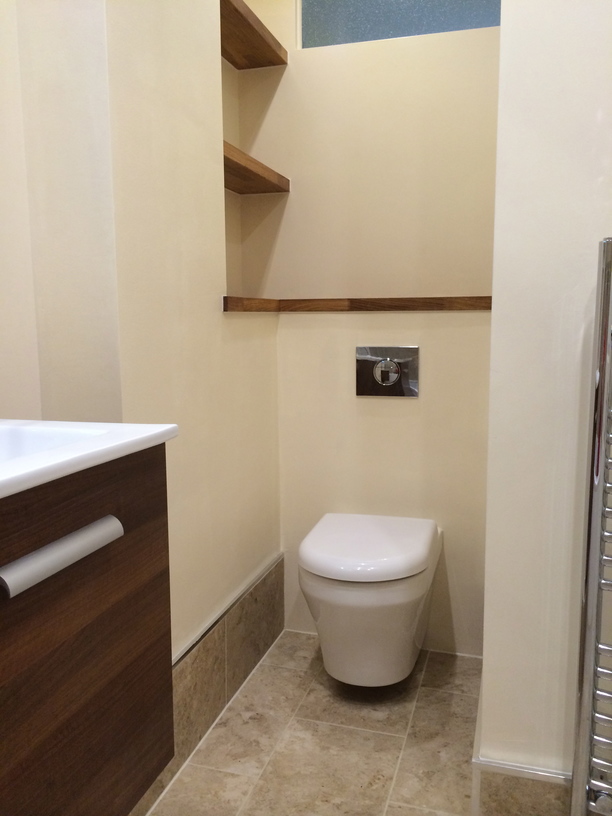
The wall hung toilet was fitted in the space ‘stolen’ from the adjacent bedroom.
A custom made piece of frosted glass (for privacy) was fitted into the aperture and custom made solid oak shelves were fitted to compliment the tiles and basin vanity unit colouring.
Time Taken
Approximately 2.5 weeks.
PS Please see here and here for more information on typical bathroom installation timescales.
About Us
We install quality bathrooms from start to finish, with all the bits in between taken care of. We provide advice and guidance during a free site survey, and we have a blog with lots of articles that cover frequently asked questions and show you examples of our recent work.
We work to detailed, itemised estimates with fixed costs, so you can budget properly without fear of unexpected skyrocketing prices. Our focus is on doing a proper job for a fair price in a reasonable time – see here for more info or contact me for a free quote.
If you have found this insightful or interesting please leave a comment below or get in touch for a free site survey.
Many thanks
Chris

