This article breaks down a complete bathroom installation by ukbathroomguru.com.
Prior to renovation
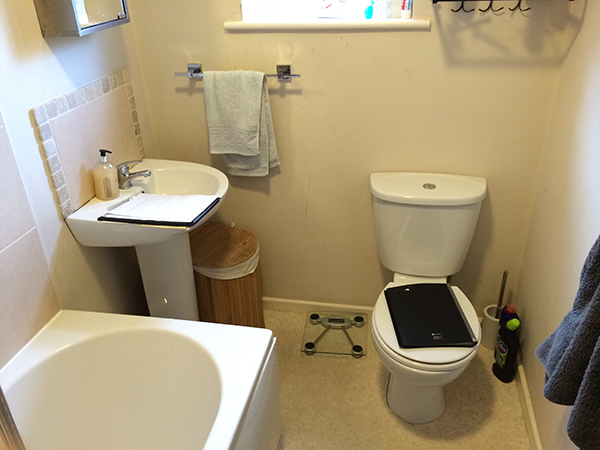
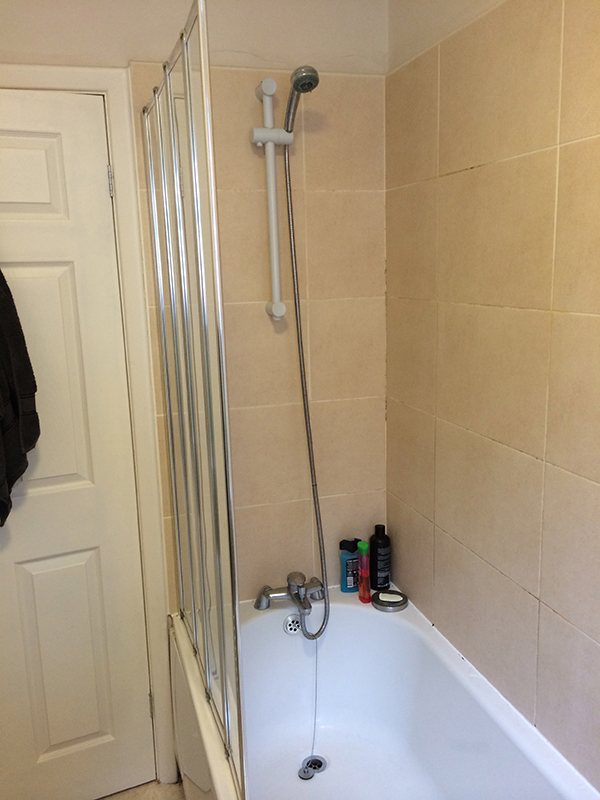
The old bathroom no longer suited the needs of the customer, who wanted a more stylish & functional bathroom.
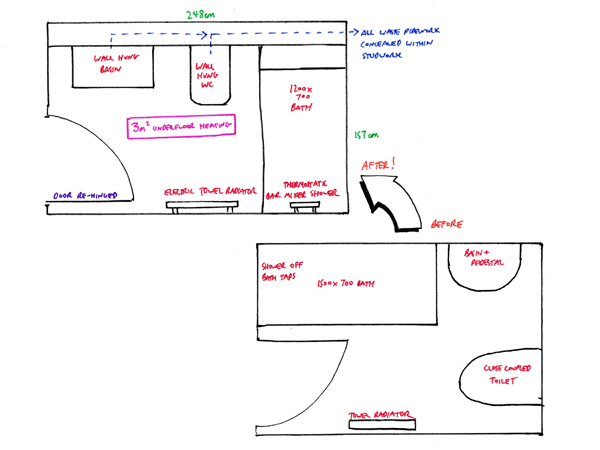
A plan was drawn up to swop round the existing layout to suit the customers requirements.
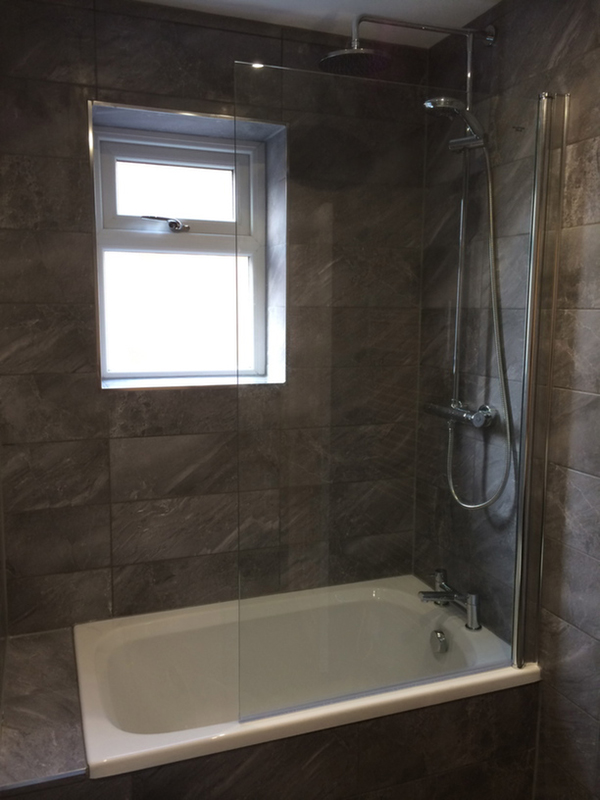
A sunken short bath was to be added under the existing window and a wall hung toilet & basin were to be fitted onto new studwork.
Underfloor heating was to be added to the floor and all the walls & floor were to be tiled as well as the bath panel.
Day 1 + 2
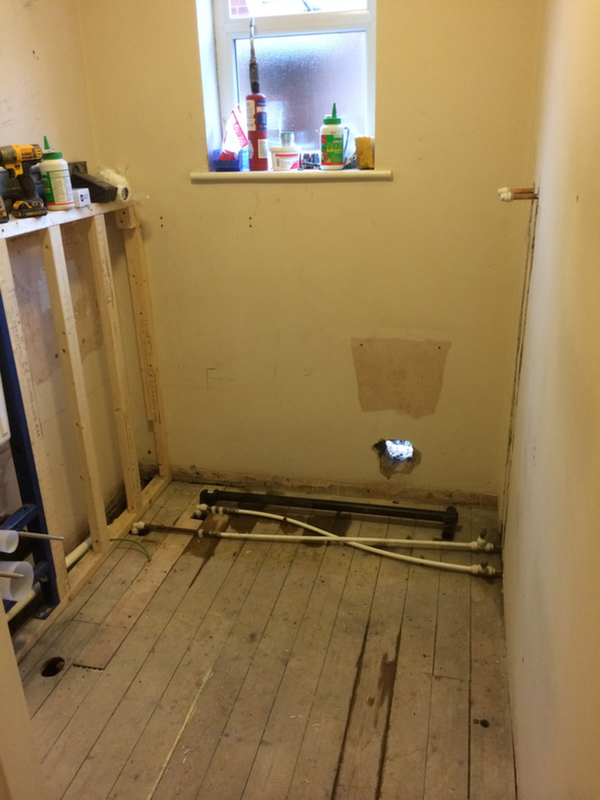
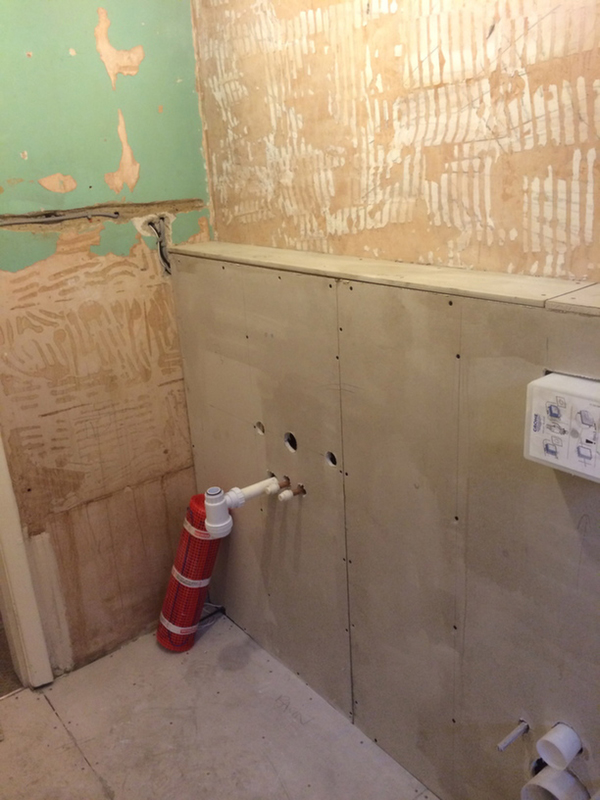
All the existing suite was removed and the radiator pipework was capped off under the floor.
Studwork was build to conceal the wall hung toilet frame (that would support the toilet off the floor) and also to hang the basin off, whilst concealing all pipework.
This wooden studwork was extended to provide additional support for the bath and to provide a framework for the tiled bath panel.
Hot & cold pipework were run to the basin, toilet, bath taps and shower valve positions.
Waste pipes were connected up and tested before being entombed behind plasterboard.
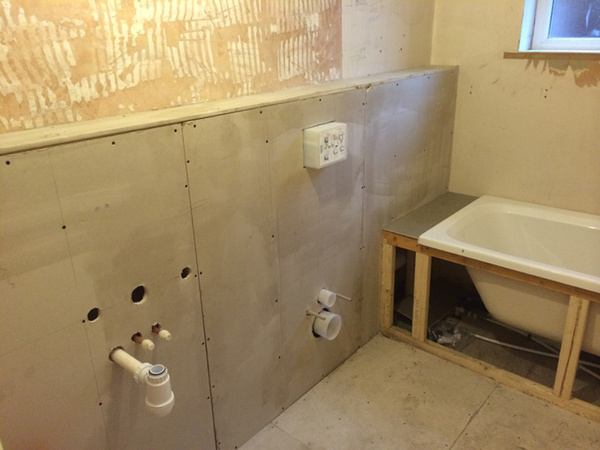
Studwork is boarded out with plasterboard before being primed with an SPR tile primer prior to tiling.
Day 3
Once the 1st fix pipework was checked for accuracy, the studwork was plasterboarded ready for tiling. It was not skimmed prior to tiling as this would have been a waste of time and money, whilst compromising the weight of tiles the boards could hold.
The bath was installed and connected up to the waste after the hot & cold pipes were run in the wall to the intended position of the shower valve.
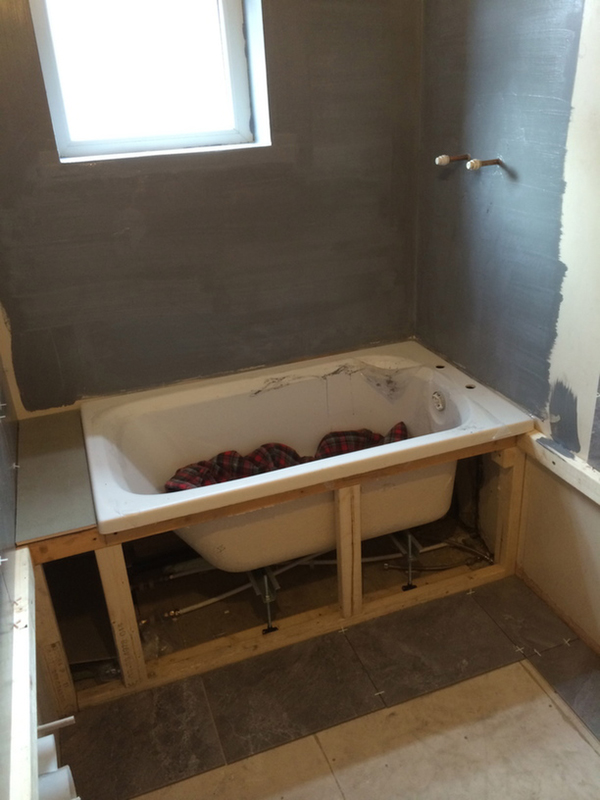
As we were fitting a shower over the bath, the walls surrounding the bath would be subject to direct water from the shower head and therefore vulnerable to water penetration. As a result we chose to waterproof the walls prior to tiling with an all in one tanking kit to negate any problems associated with water ingress behind tiles.
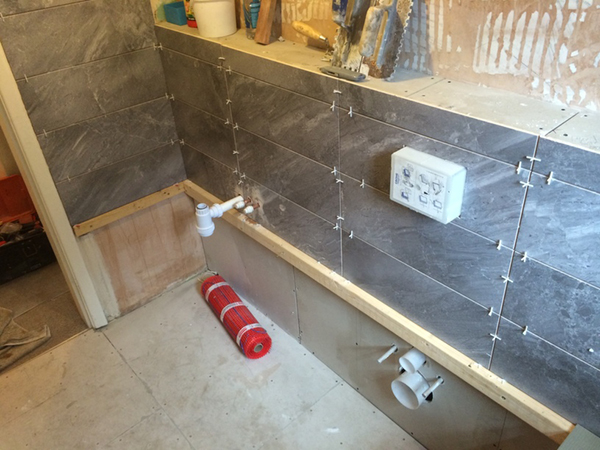
After preparing the walls, tiling can begin.
In this instance, we sourced an excellent value ceramic tile from one of our local suppliers – this is when local knowledge can come in handy.
Day 5
The ceiling was patched and prepared before being painted with anti mould bathroom paint.
Day 6
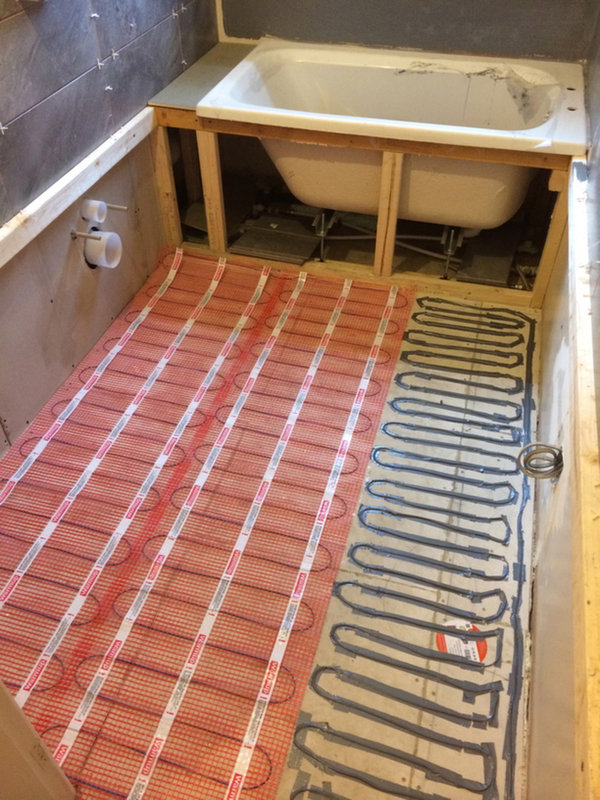
A warmup underfloor heating mat was fitted and tested prior to tiling over the top of it.
Day 7
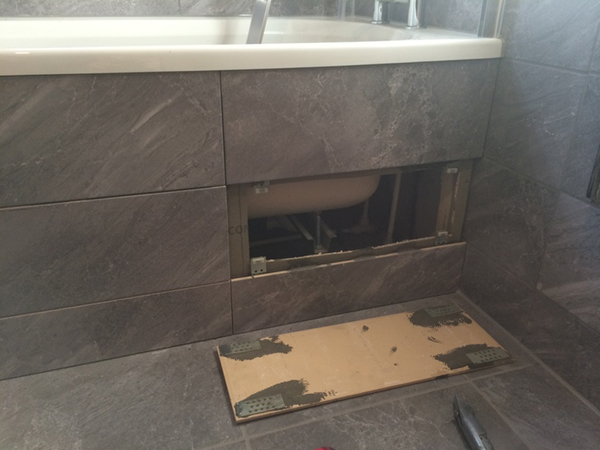
The removable tile on the bath panel was grouted in once checked for fit.

Colour co-ordinated silicone is used to match the tiles and grout and to seal all wall & wall/floor junctions.
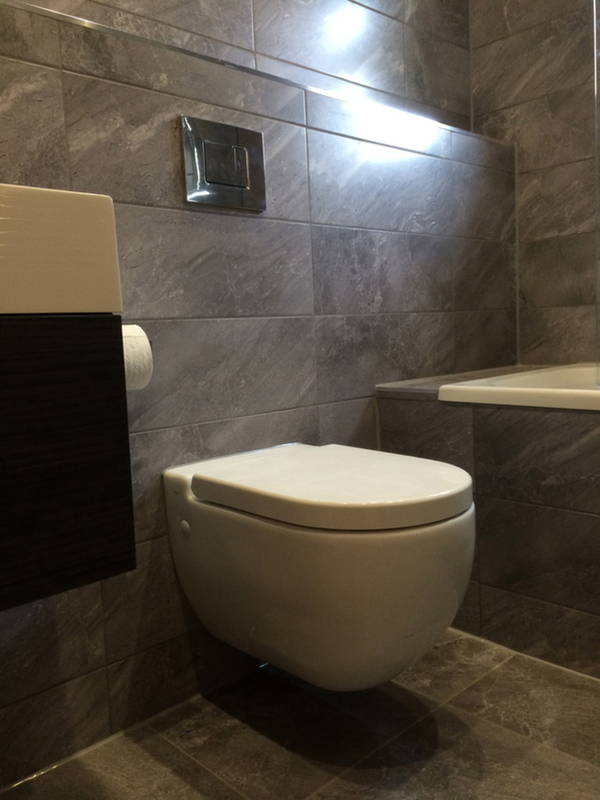
The wall hung toilet was fitted and the Grohe flush plate was also fitted.
This system (metal frame & cistern + wall hung toilet allows for a maximum weight of 400kg so is very strong.
Summary
Thanks for reading, give me a call (or fill in the call back form) if you would like some free advice on adding a new en suite.
Chris
Related articles
- bathroom installation the easy way
- adding an en suite
- adding a small en suite shower room
- en suite installation, leeds
- en suite installation, bramhope