Do You Enjoy Queuing Outside Your Own Bathroom Every Morning?
Was that why you bought a house, to wait in line? I get it, families expand, and situations change.
Moving to a new bigger house is not always an option, and it’s suuuuuuch an upheaval!
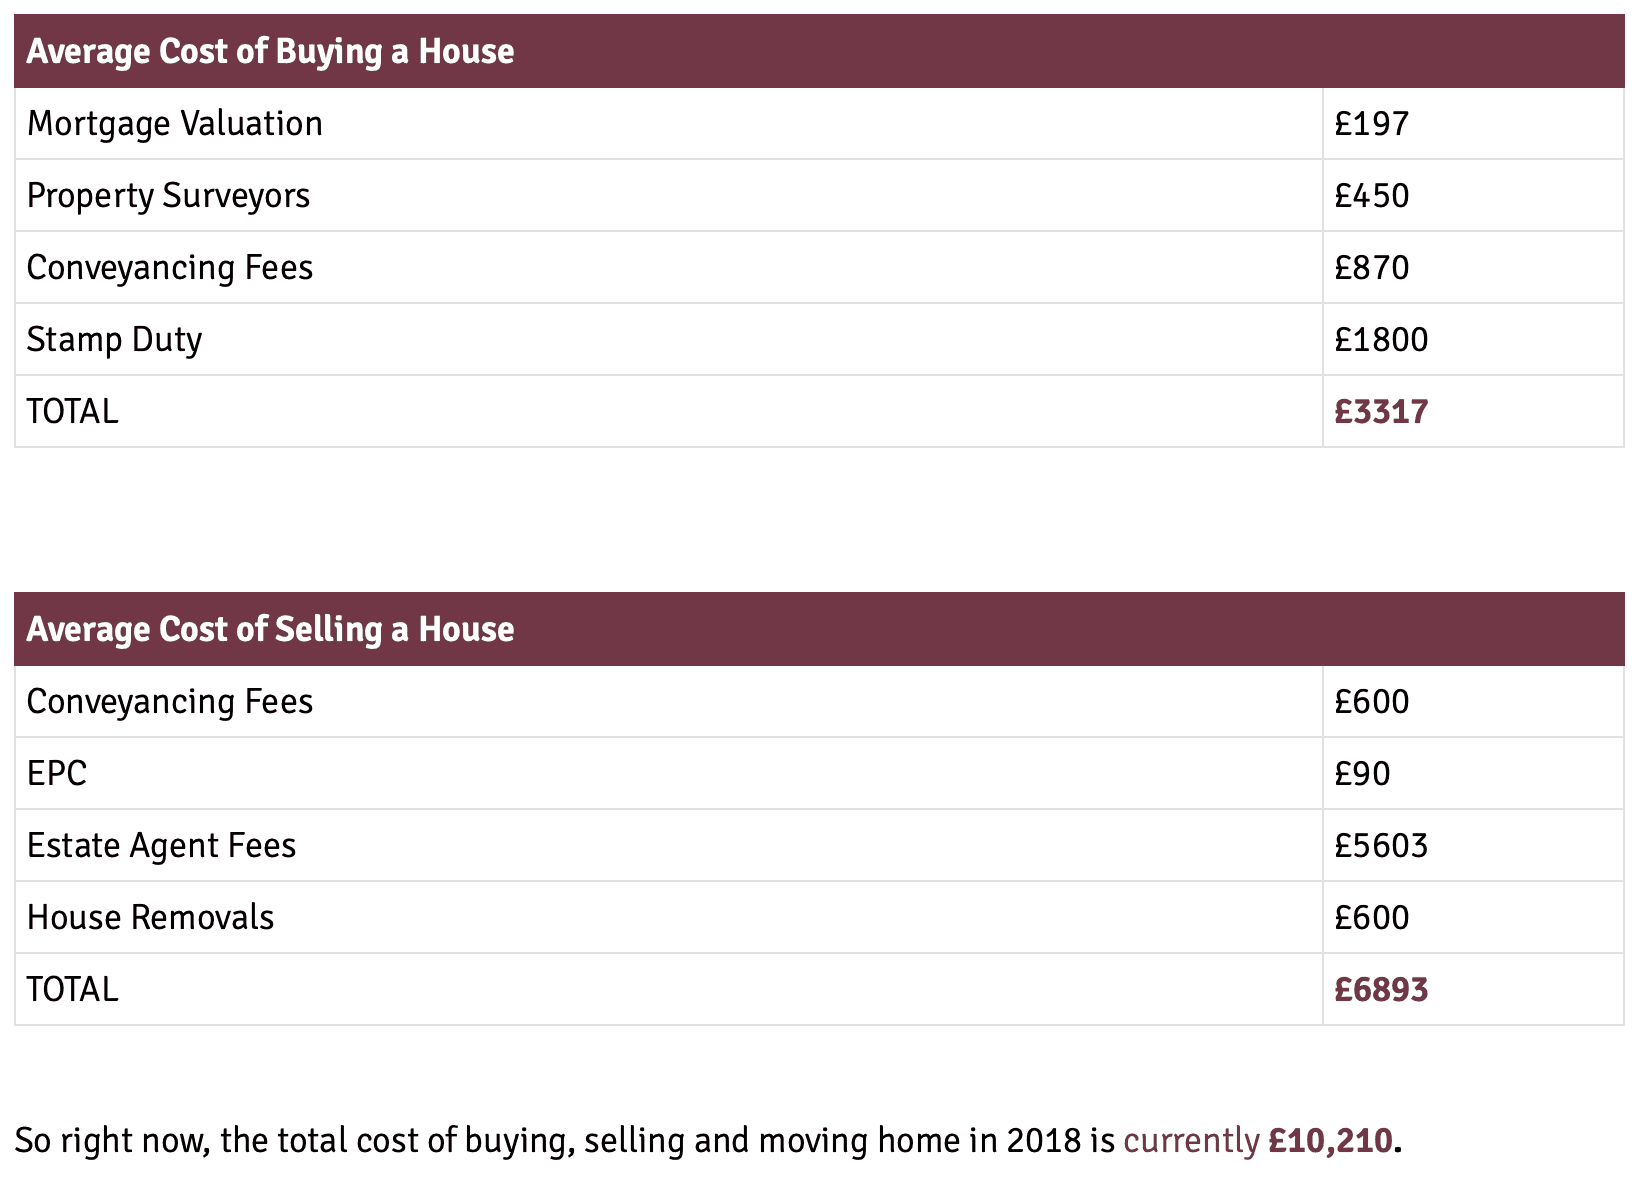
According to mybigmove.com, the average cost to move house in 2018 was over £10,000.
And this doesn’t factor in the cost of upsizing your house, which may be a further £30,000 or more. (And that’s more like £60,000 once you’ve factored in mortgage interest!!!!!!)
Wouldn’t it be easier if you had your own en suite in your current house, and you could save £50,000 or more in the process vs moving to a bigger house?!
OF COURSE IT WOULD!
And just think of all that work you wouldn’t have to do in order to earn all that extra money, and all of the time you’d free up to spend doing the things that you love.
Which begs the question—is it feasible in your house? Me & my team have designed, planned, and then subsequently installed many ensuites like yours. That’s why we have so many happy customers:
A quick story…
When Jenny first came to us, she wanted an en suite in her Chapel Allerton place. We came up with a plan to split the house bathroom into a brand-new house bathroom AND an en suite off the master bedroom.
The result was great, and she was really happy. She loved being able to roll out of bed and straight into her en suite, completely undisturbed. Plus, she had a nice new house bathroom to boot.
When she eventually moved into her next property, her house sold very quickly for a great price that easily recouped her initial investment. She later told me that the estate agent was amazed with how the space had been used and was sure that this had helped sell the house quickly when so many other houses around did not have the additional facilities.
So, Jenny actually made money by installing the facilities that improved her life whilst she lived at the house.
Win-win!
According to Nationwide Building Society, a well-designed en suite could add 5% onto the value of a property, which equates to £12,500 on a £250,000 house. Jenny, Mathew, Katie, Karen, Sharon, and many others greatly benefited from working with us.
Why Choose Us
My customers were savvy enough to realize that they probably couldn’t effectively plan the work on their own (where to start?!) and they knew they definitely didn’t want the hassle of having to find the whole team of tradesmen this type of work requires:
Joiner
Window & Floor Fitter
Plumber
Tiler
Roofer (potentially)
Electrician
Plasterer
Painter & Decorator
What were they going to do, get 3 quotes for each trade and then patch all their separate tradesmen into some kind of team? They’d have to wait in for 30 different tradesmen – God knows how many of which would even show up or give them a quote even if they did! And the work itself would take months as each trade became available!
But disregarding that, they just didn’t want to plant themselves squarely in the middle of all these people to manage the job without any real knowledge or know-how of how the job should be done.
Let Us Help You Plan Your New Ensuite With A Free Consultation.
PS. We’ll also send you our in depth PDF guide on ‘Adding an ensuite’ which contains everything you need to know about this kind of job with loads of pictures, case studies and example budgets.