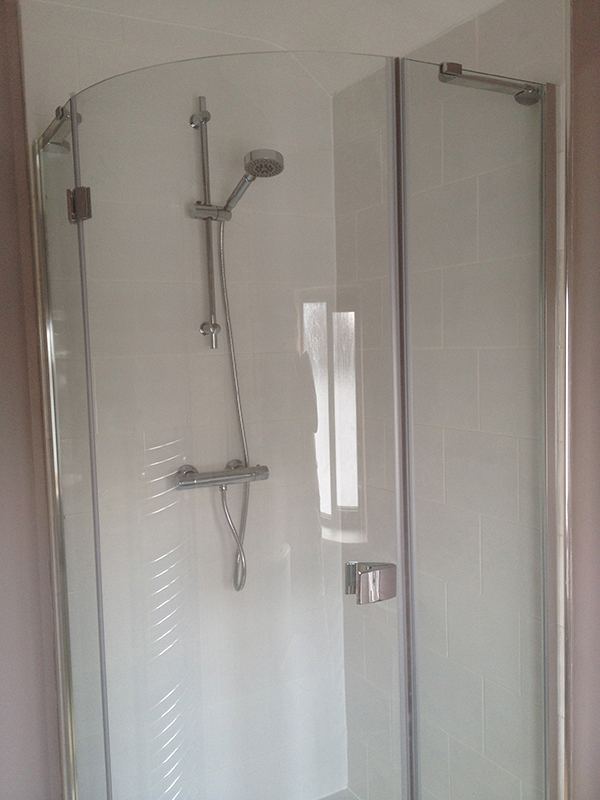
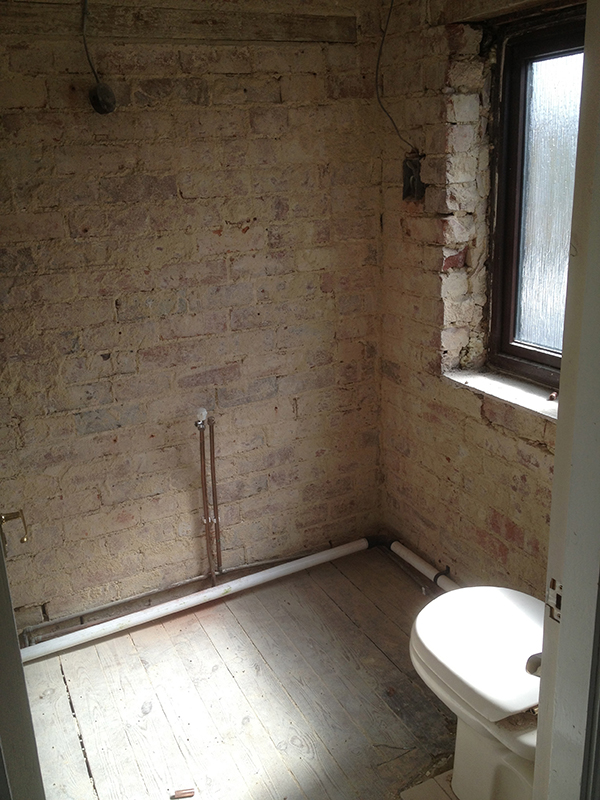
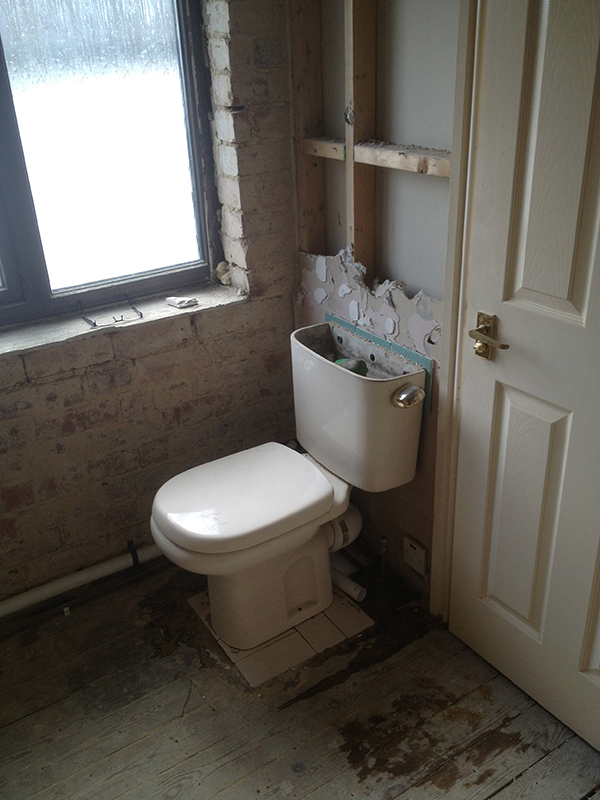
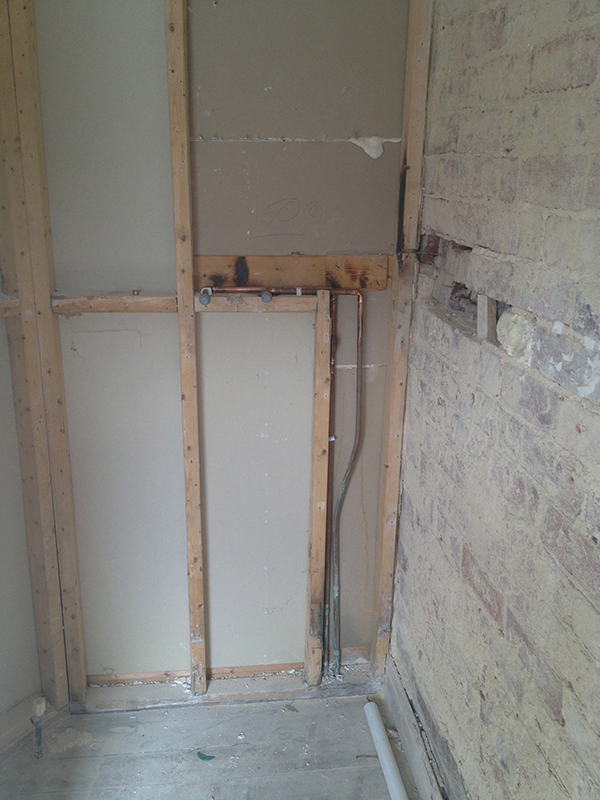
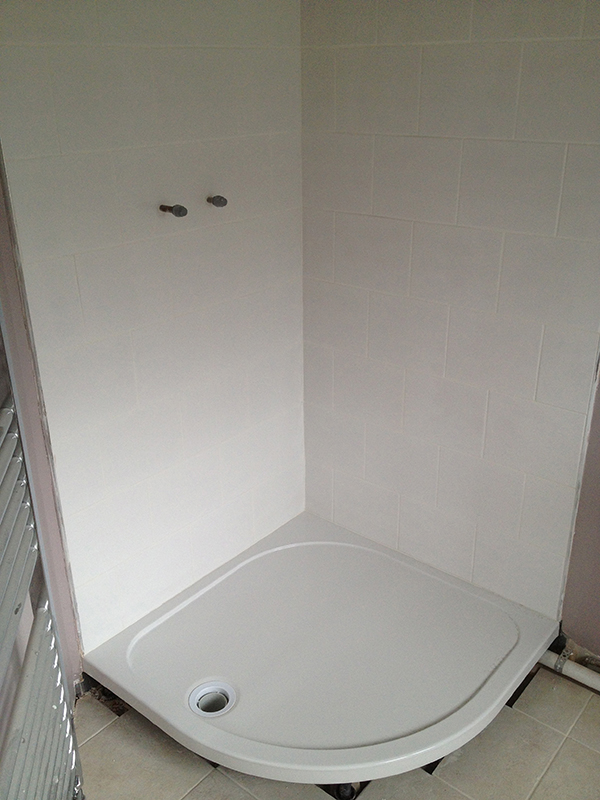
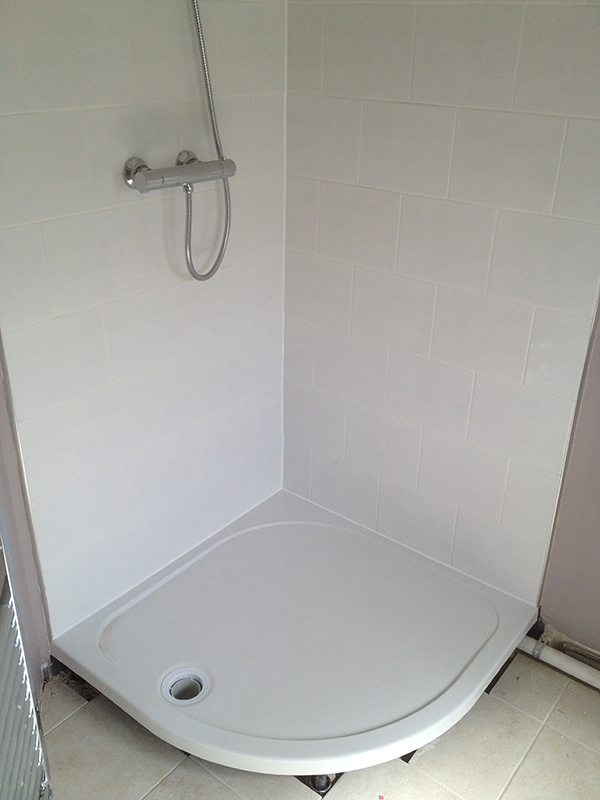
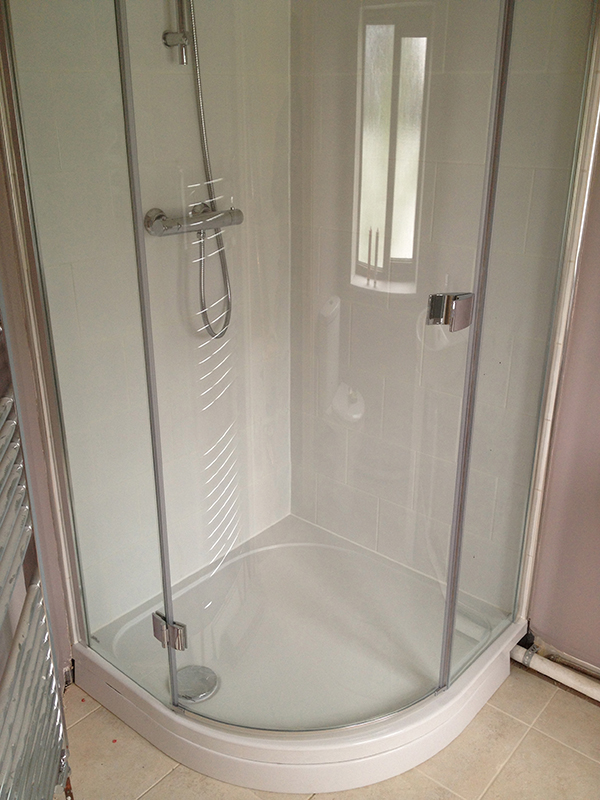
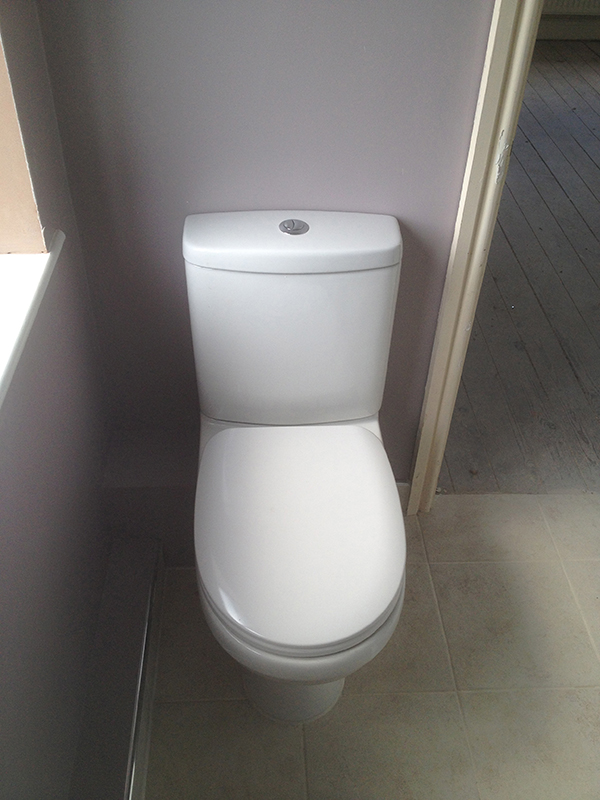
This complete bathroom was installed in under 2 weeks by ukbathroomguru.com.
Overview
This bathroom involved the supply & project management of several trades
- labourers
- plasterer
- painter
- plumber
- electrician
- tiler
The layout of the new bathroom was kept the same as it worked well and meant existing plumbing did not have to be altered much, saving the customer money.
Day 1
The existing suite was removed and the walls were stripped back to brick, as the render was found to be blown i.e. coming away from the brickwork behind.’
The existing toilet was left in situ so that facilities would remain undisturbed during part of the installation (where possible).
Day 2
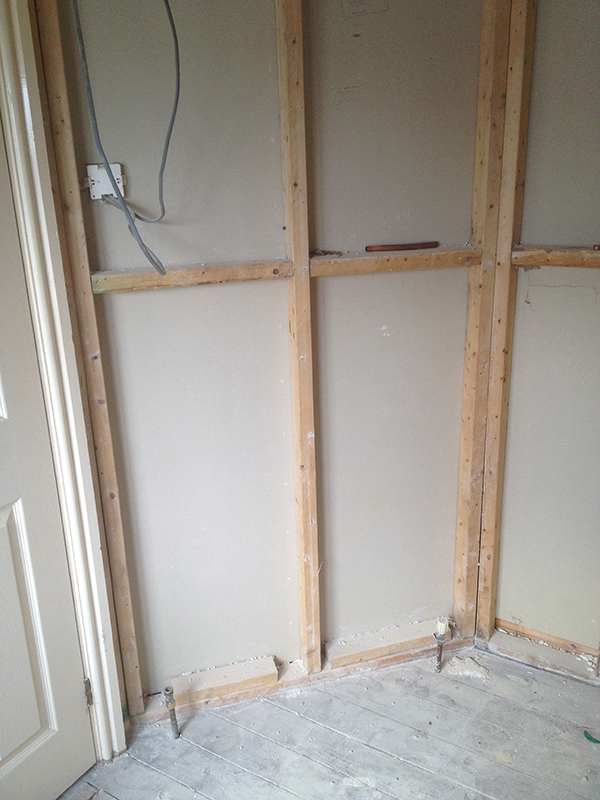
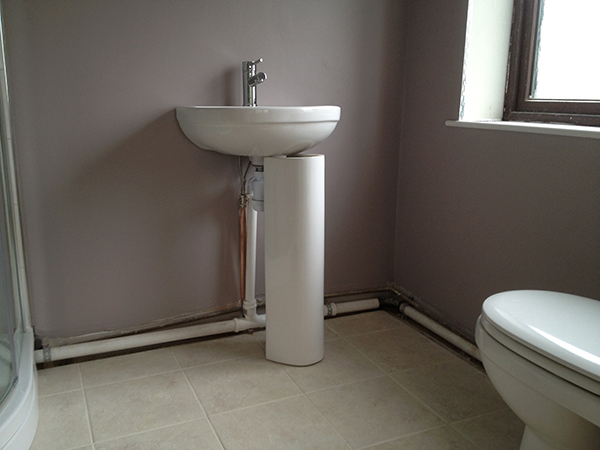
First fix plumbing was then carried out which involved amending pipework where necessary to suit the new suite items, though because the layout was the same this was minimal.
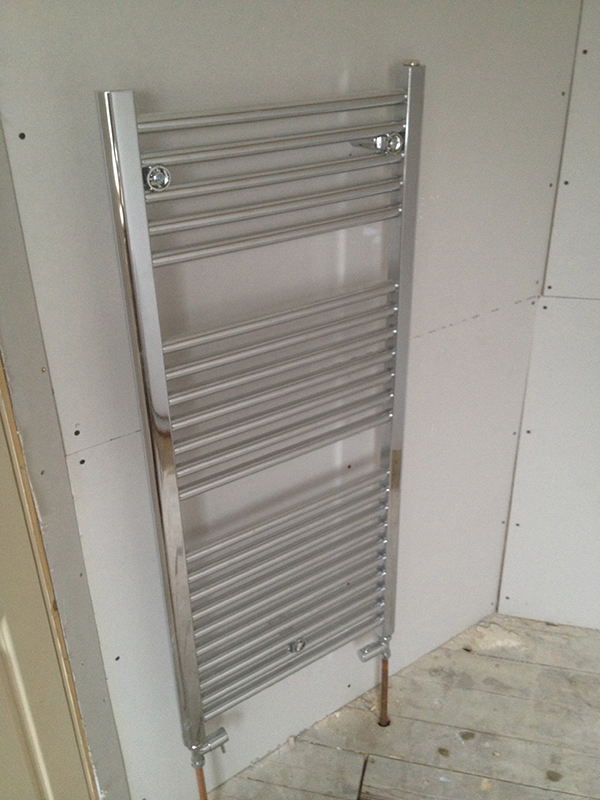
The wall behind the towel radiator was stripped back and reboarded and this gave us the opportunity to reinforce the stud work behind the radiator so that it would be better supported (i.e. attached to new wooden noggins between the studs, and not just into the plasterboard.)
Electrics were also re-jigged at this time, moving the light switch to the other side of the door as it was being hinged the opposing way, and adding ceiling spotlights and an extractor fan to control the humidity.
Day 3
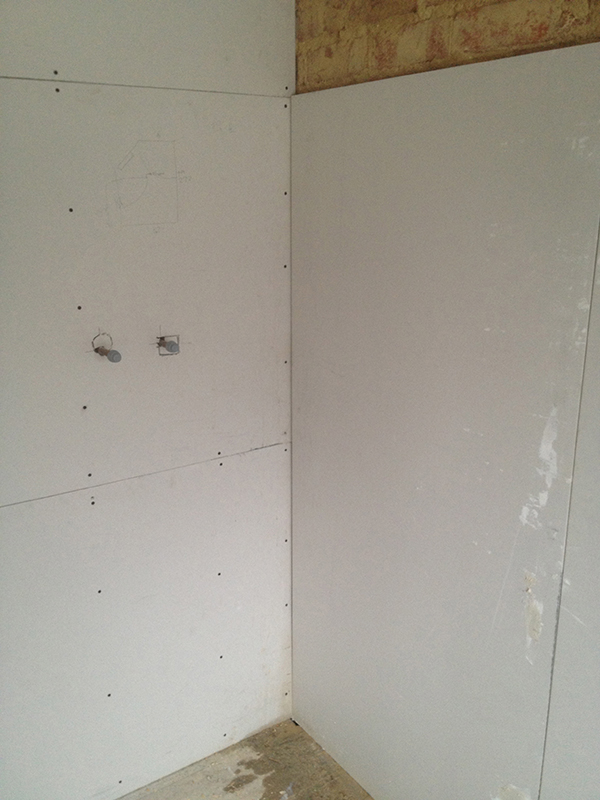
The walls were reboarded, ready to tile and plaster onto.
The internal stud work walls were boarded by screwing plasterboard onto the stud work, and the brick walls were boarded by dotting and dabbing the boards into position.
A wooden window cill was also fitted at this time.
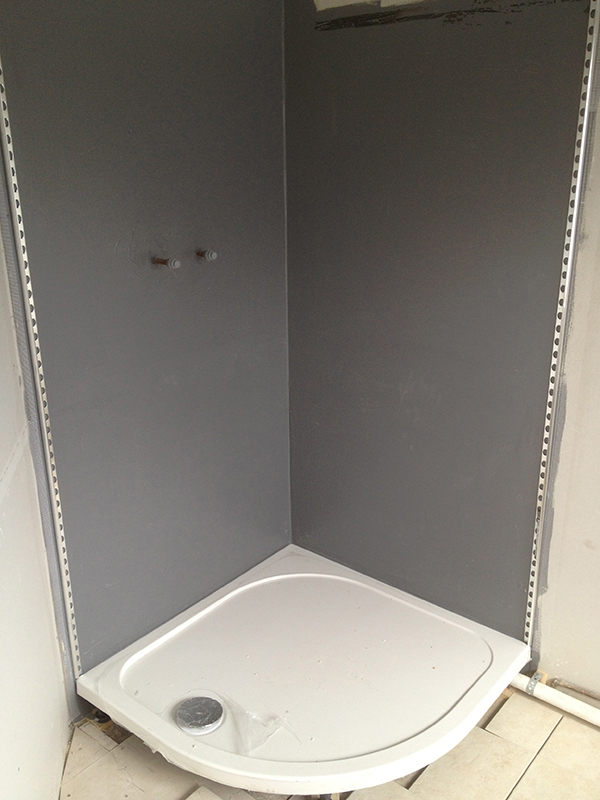
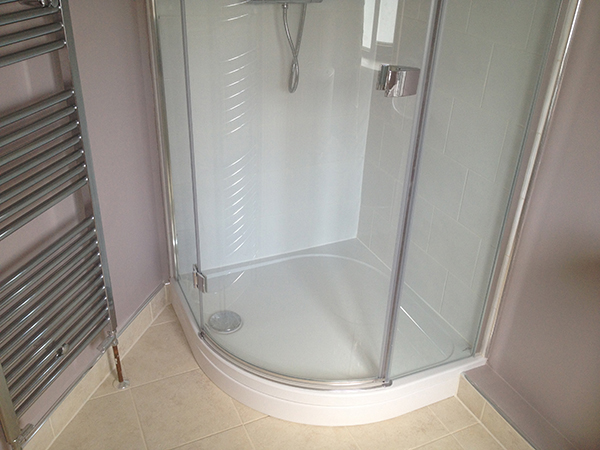
The floor was then prepared, levelled & tiled before the shower tray was installed so that the tray could be set at the correct height to fit the riser kit that came with it (which is a pre-determined height.)
Day 4
The shower enclosure was tanked to ensure a long-lasting trouble-free tile installation and tile trims were glued into position to separate the tiled area from the plastered area. This is an alternative approach to plastering the whole wall and then tiling over part of it, and it has a couple of benefits:
Quicker
Tiling & plastering can be done simultaneously, rather than waiting a minimum of 4 weeks for fresh plaster to dry out prior to tiling.
Better tile adhesion
Tile backer boards can carry tiles of up to 60 kg/m2 rather than 20kg/m2 for tiles onto plaster, meaning that you can fit a greater range of tiles, including larger, thicker, heavier tiles (such as natural stone.)
The walls & ceiling were then skimmed, and the plaster was allowed to dry over the next couple of days.
Day 5
The shower enclosure was then tiled with ceramic tiles in a brick pattern, before being grouted and sealed with silicon where necessary.
Day 6
2nd fixed plumbing is then carried out which involves fitting the new:
- bar mixer shower valve & riser rail
- shower enclosure & tray riser
- basin & mixer tap
- close coupled toilet
- towel radiator
Day 7
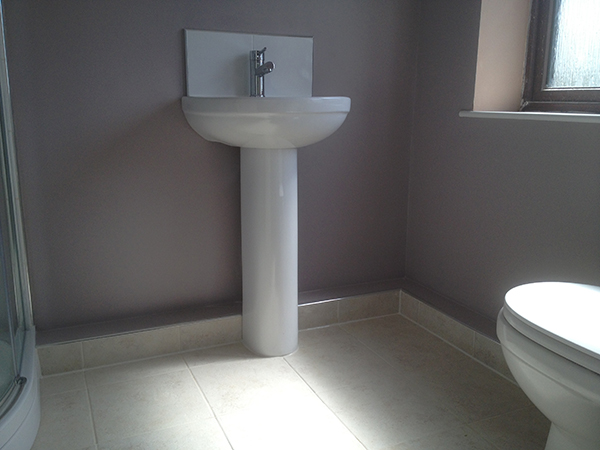
All waste pipes are boxed in and tiled / painted where appropriate, and the basin is given a small splashback.
Day 8
Summary
The work schedule was very tightly organised by a project manager (me) ensuring the work was done in the correct order to give the best finish in the shortest time.
It involved many tradesmen that the homeowner may have found difficult to source individually, and then organise into a tight schedule: In this instance, I organised a team consisting of an electrician, tiler, plumber, and a labourer & painter that did the bathroom while the customer was away – All project managed by me to make the process as smooth as possible.
Thanks for reading, give me a call if you would like a nice new bathroom in under 2 weeks.
Chris

