Here’s a recent wetroom installation carried out by ukbathroomguru.com in Adel, Leeds.
Overview
We install quality bathrooms & wet-rooms from start to finish, with all the bits in between taken care of so you don’t have to worry about finding reliable, affordable tradesmen and then coordinating all their work.
We provide advice and guidance during a free site survey, and we have a blog with lots of articles that cover frequently asked questions and show you examples of our recent work so you know you what you can expect in terms of quality and pride in our work.
We install bathrooms from start to finish, supplying all the necessary trades and project managing the whole process, so you don’t have to!
We work to detailed, itemised estimates with fixed costs, so you can budget properly without fear of unexpected skyrocketing prices.
Our focus is on doing a proper job for a fair price in a reasonable time.
Case Study – Wetroom Installation Adel, Leeds
Before
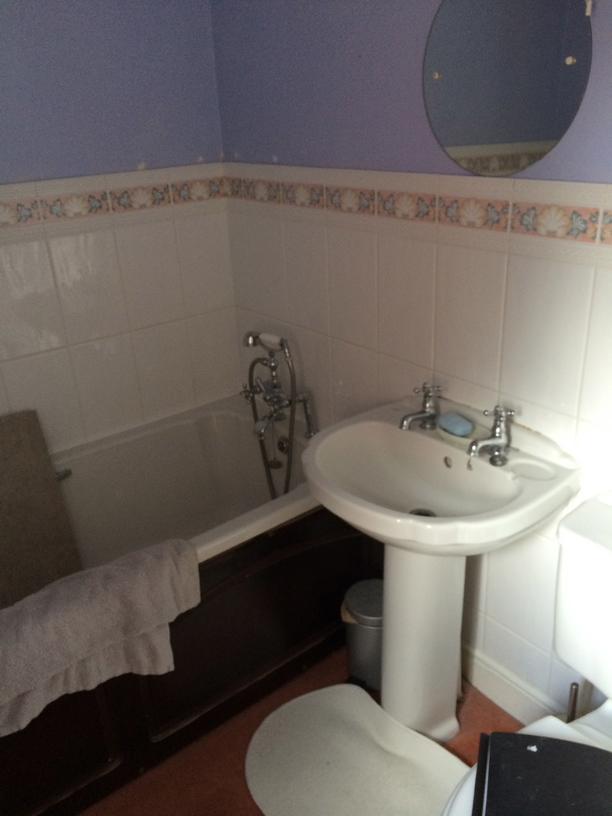
The old en suite had a bath and a cramped separate shower and it was decided that the bath was no longer needed, and that by removing it, a larger shower area could be created.
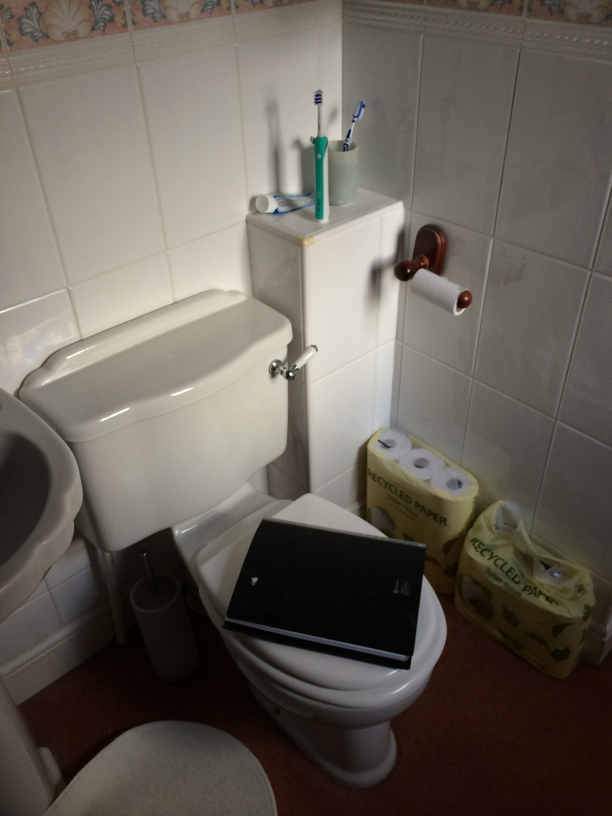
The close coupled toilet was not attractive and unsightly boxes concealed pipework.
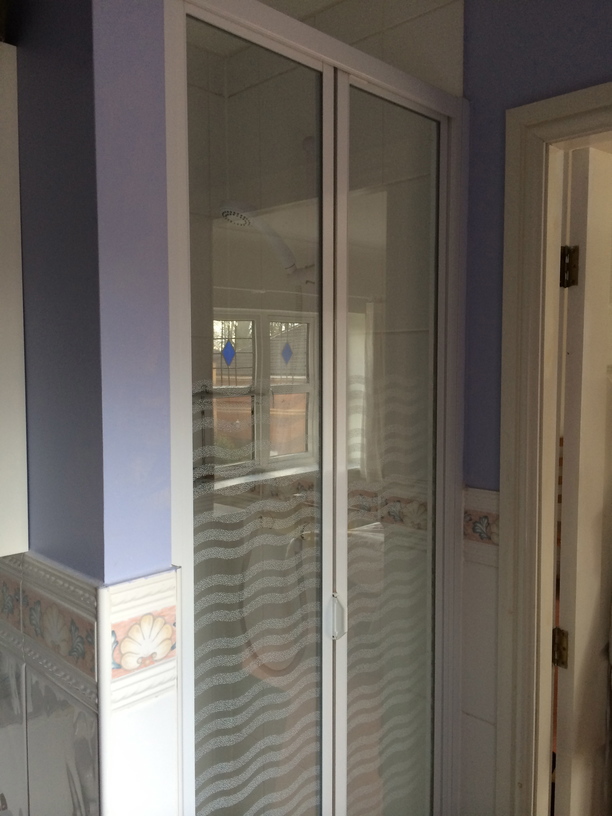
A false wall made the room look smaller and made the showering area a bit dark.
Planning The Work

During a free site survey, a new plan was worked out.
This was done by listening to the customers requirements and then making suggestions as to what was available, what would fit in their space and would work within the limitations of their existing plumbing & heating systems and location of their drainage pipes etc.
This is where a bathroom planner in a showroom cannot help you as they cannot physically inspect the floor joists & drainage runs etc!
Rough sketches (above) and pictures on this site of past work were used to communicate rough ideas.
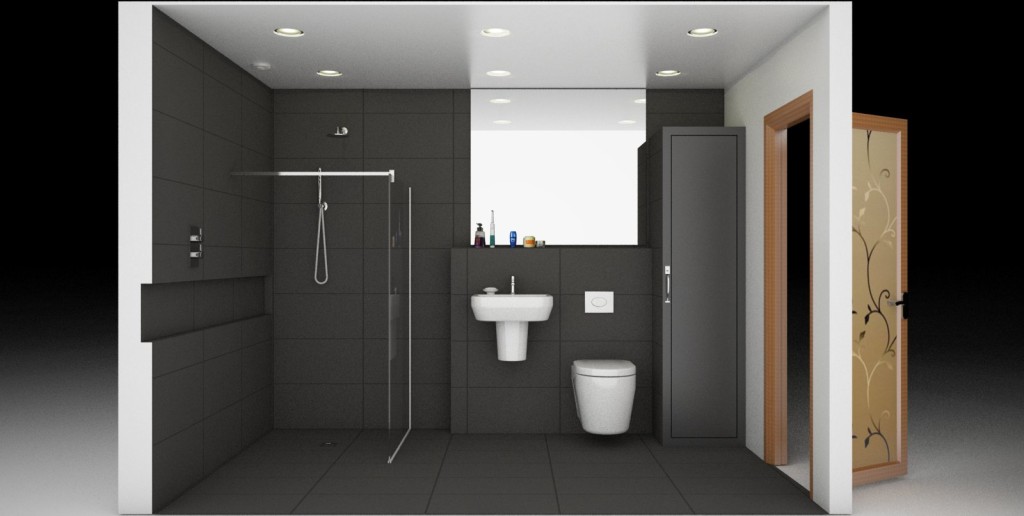
A 3D CAD drawing was used to further refine the plan……
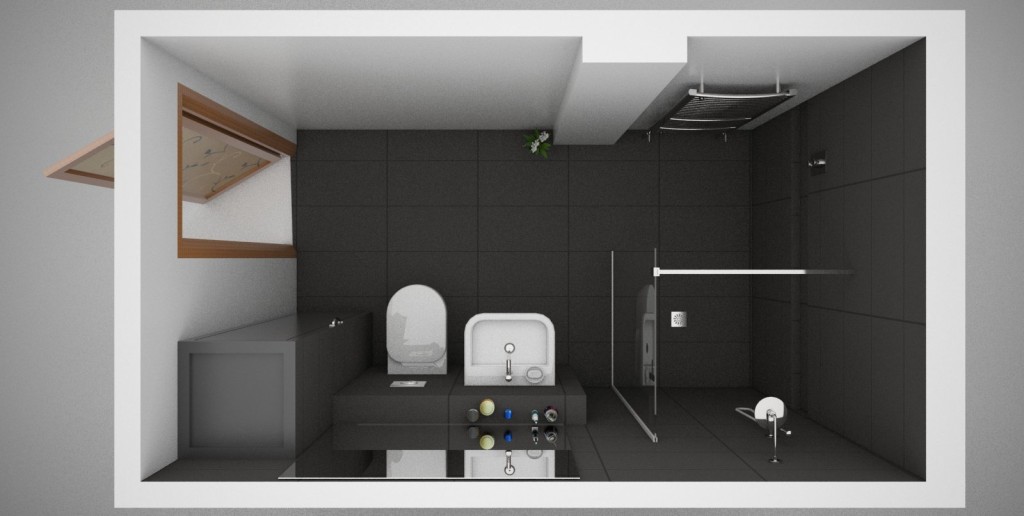
…and show the scheme from a couple of different angles.
PS Please see here for an article on visualising your new bathroom.
Installation
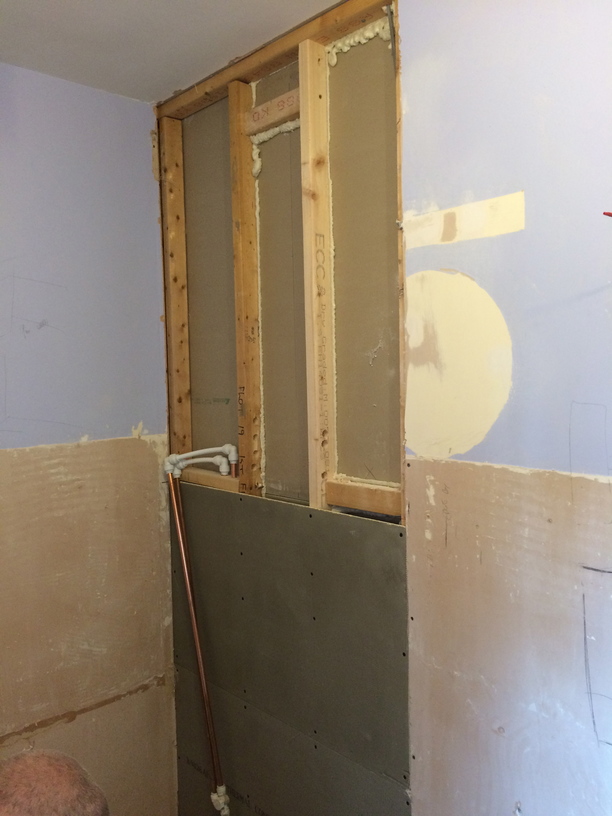
Walls were reinforced with extra timber where they were found to be lacking, and water porous plasterboard was replaced with specialist tile backer boards to protect against water ingress.
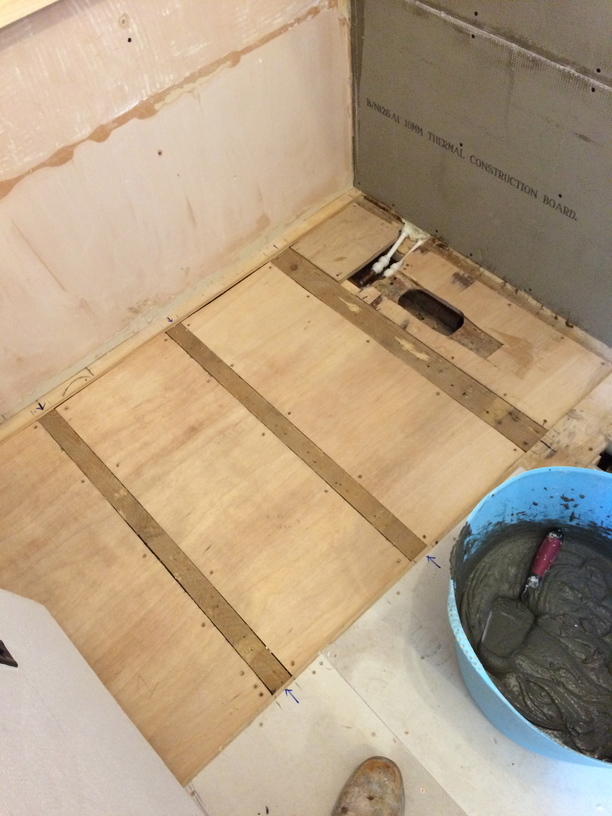
A lowered platform was made to accept the wet-room tray former which would allow for level access showering i.e. no shower tray, only a drain in the tiled floor.
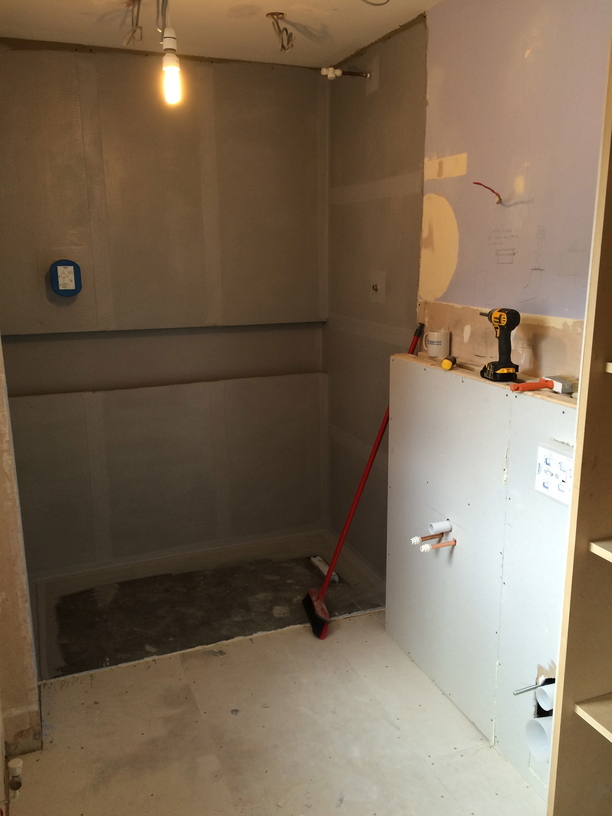
All wet areas were tanked prior to tiling.
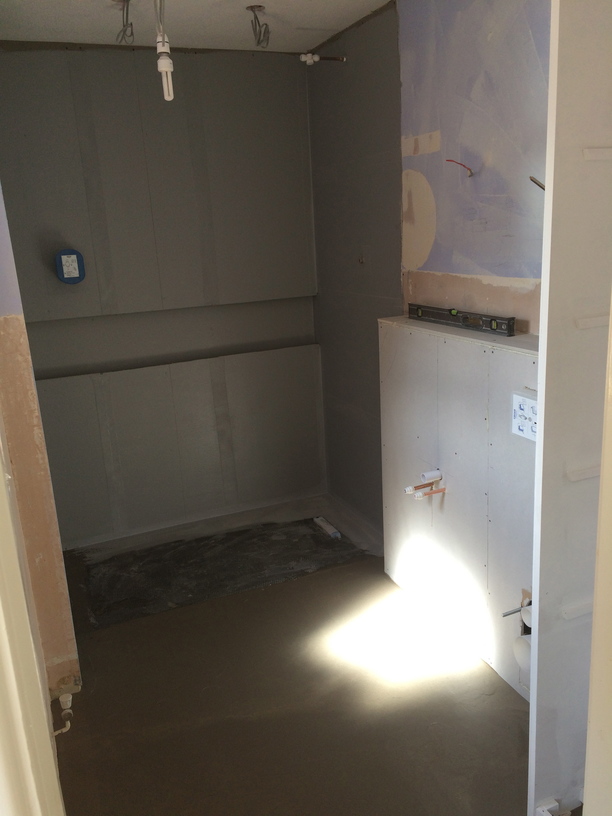
Electric underfloor heating was laid out over the tile backer boards and a layer of self leveling compound was poured over the top to ensure a completely flat surface on which to tile.
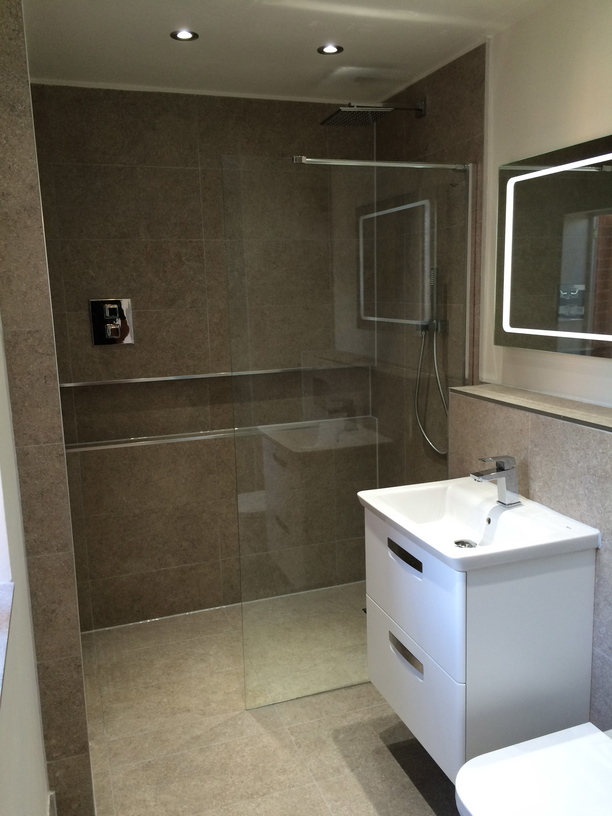
Finished Wet-Room

The room was then fully tiled and grouted.
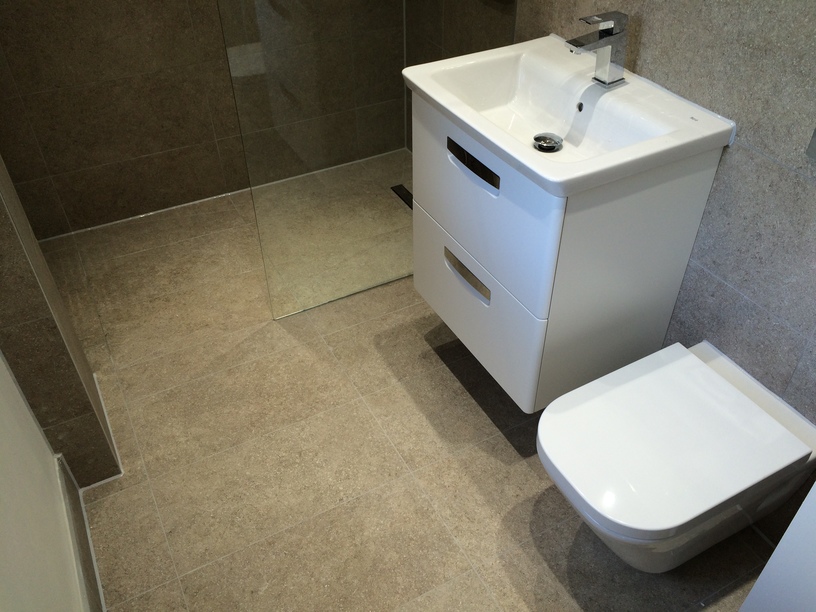
The showering area could be easily accessed without a step up, and was separated from the rest of the bathroom by a large glass screen that made the space feel light, airy & spacious – a great improvement from the previous design.
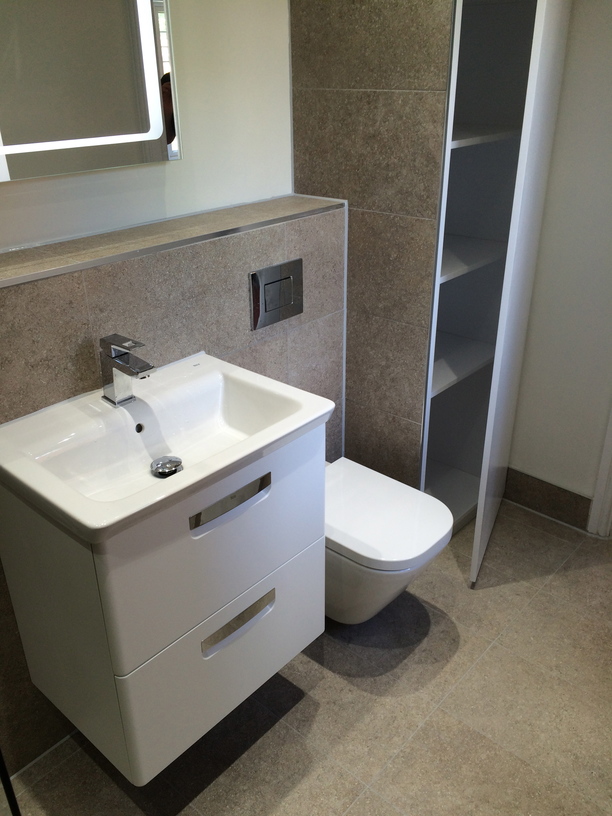
A wall mounted toilet & basin vanity unit were fitted.
Top tip: Wall hung furniture allows for easy cleaning underneith and gives the illusion of space as more of the floor space is visible.
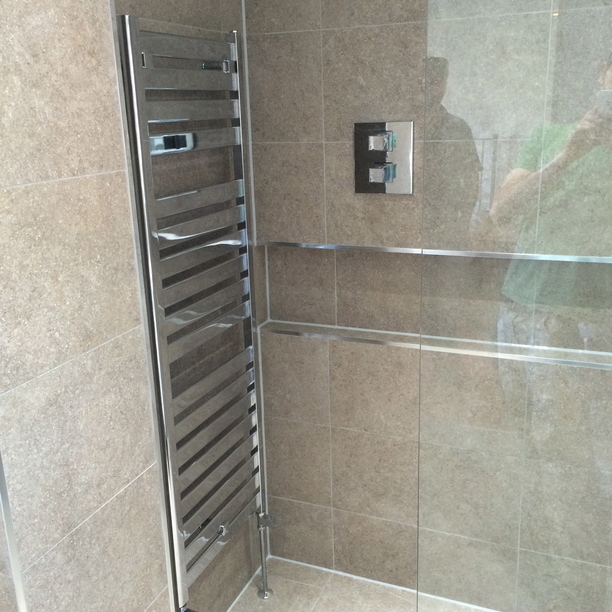
A thermostatic concealed shower valve was fitted, as was a towel radiator.
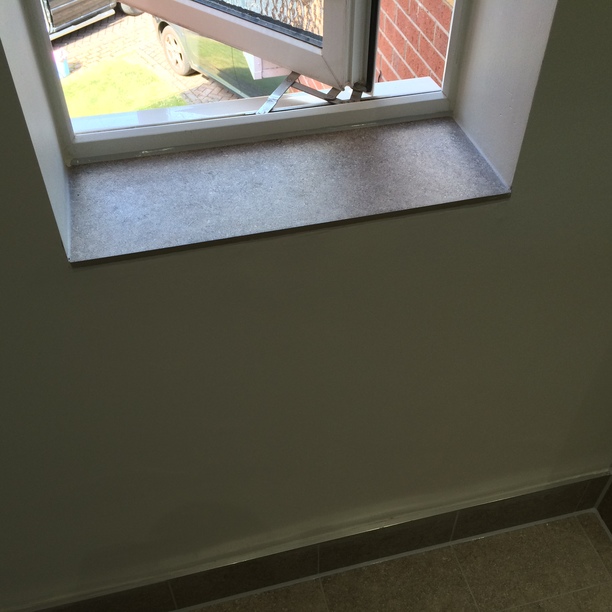
Tiled upstands were complimented with a tiled window cill.
Time Taken
This installation took approximately 2 weeks, but during this time we also did a downstairs WC as well.
Thanks for reading
Ask me any questions you like or get in touch for a free site survey.
Thanks,
Chris