This article explains why you need to tank (or waterproof) the walls around a shower or bath and explains how to do this with waterproof matting.
Why do I need this?
If water gets in behind tiles through….
- cracked or missing grout
- an incomplete / broken silicon seal (normally related to flexing of the bath due to incorrect fitting)
- the grout itself (especially if you have a power shower)
…..and the substrate (wall material) behind the tiles is not waterproof, then it can fail resulting in tiles falling off walls (as well as wall disintegration) and major remedial work to put everything right.
Please see my article water ingress behind tiles for more information.
Do it right 1st time and you will not have to do it twice!
Intro
Using waterproof matting to tank an area is an alternative to using an all in one tanking kit that I described in a previous article.
Please see here for a direct comparison of the 2 methods.
Waterproof matting
This product is used to ensure fully watertight wall surfaces prior to tiling, but there are a number of different manufacturers that make similar products.
They all work in a similar way, in that they essentially involve adhering a waterproof sheet to a non waterproof substrate behind e.g. plasterboard.
This waterproof layer inhibits the passage of moisture from within the tiled area through to surfaces and structures which may be sensitive to the effects of prolonged water migration beneath – standard plasterboard in this example.
In order to tank a shower with waterproof matting, you will need:
- sanitary silicon to seal any gaps in the plasterboard
- surface primer to prime the plasterboard
- flexible, cement-based tile adhesive to bed the matting into
- waterproof matting
The matting itself is sold in tiling merchants in 1m wide rolls (and then depending on the manufacturer) by the metre i.e. some brands you can buy 1m x 1m or 1m x 3m and other brands come in 1 x 5m rolls.
The cost?
The 1m wide matting is around £20/m, so in the example above where I have run a 1m high piece of matting around a 800 x 800 shower tray:
1.6m of matting £30 (assuming 2m purchased)
Tile adhesive £6 (¼ of a £25 bag = £6ish)
TOTAL COST £66
Time taken 45 minutes including mixing adhesive & cleanup
Please see my article on Preparing walls for tiling – re-boarding for more information on wall surface preparation which covers the different options available to you and my recommendations.
Why tank?
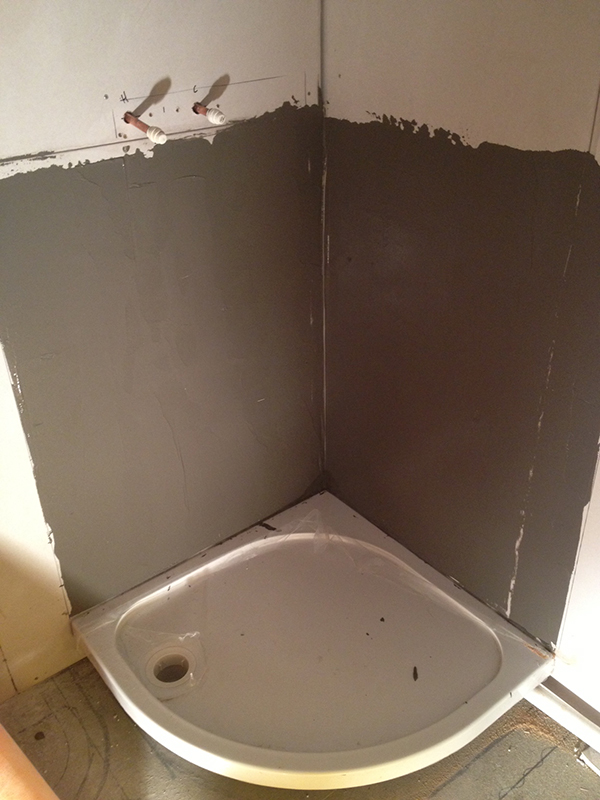
In this bathroom (done by me in Leeds) I have chosen to use a standard plasterboard to board out the walls with, combined with a tanking kit for the area in the shower enclosure.
Moisture resistant plasterboard or specilaist tile backer boards are better but more expensive, but using regular plasterboard allows for lower re-boarding costs (when compared to using other wall boards) whilst ensuring the wet areas are adequately prepared to resist any potential water penetration behind the tiles.
When to tank?
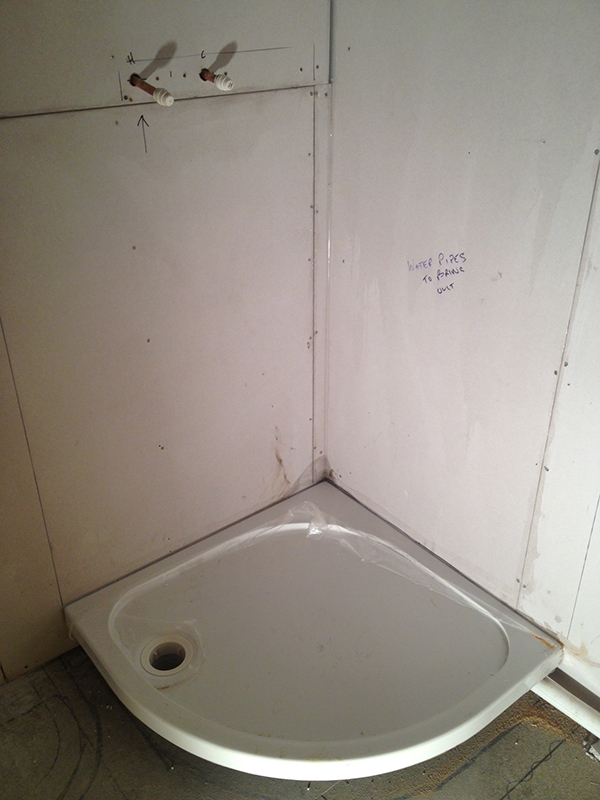
After the 1st fix plumbing work & re-boarding has been done and before the wall tiling.
The shower tray has been permanently fitted in place with a primary silicon seal (which has been allowed to dry) the waste has been connected and tested, and the feet have been screwed to the floor.
Where to tank?
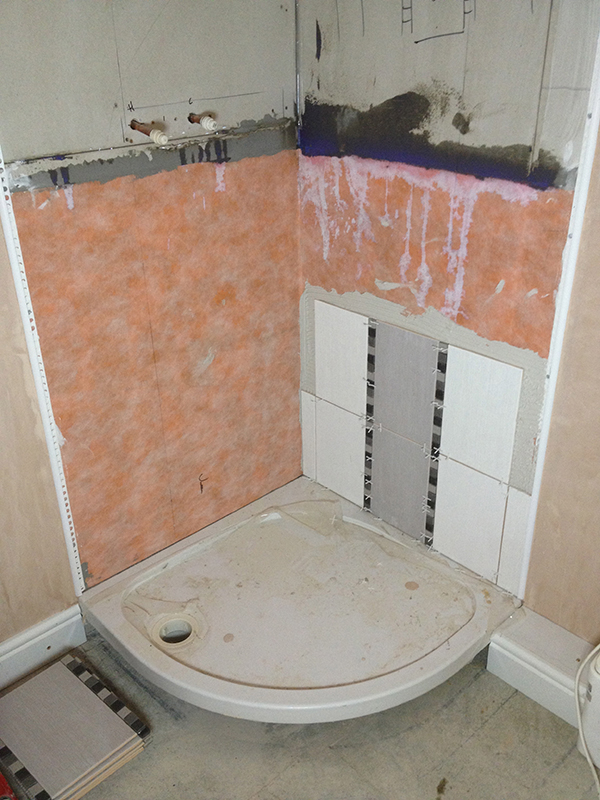
Wall areas that are in the wettest area – in this instance around the lower half of the shower enclosure.
If you wished, you could apply another 1m wide band of matting to the upper half of the enclosure (overlapping
the matting by a couple of inches) but you may wish to save an extra £50 by leaving it out.
Surface preparation
- Surfaces to be coated must be clean, dry, free from oil, grease and any other contaminants.
- All gaps or joints in the plasterboard must be filled with sanitary silicon sealant (colour not important – done in clear here so it is hard to see.)
- When the wet-zone area is structurally sound with no movement (due to correct fixing of the boards) all surfaces are primed with a single coat of primer (with a large paint brush) which is then allowed to dry (approx 1 hour).
Tips of the trade
Leave the protective film of the shower tray on.Clear up any drips onto the bath / taps immediately as this primer is very hard to remove once it has dried.
Application
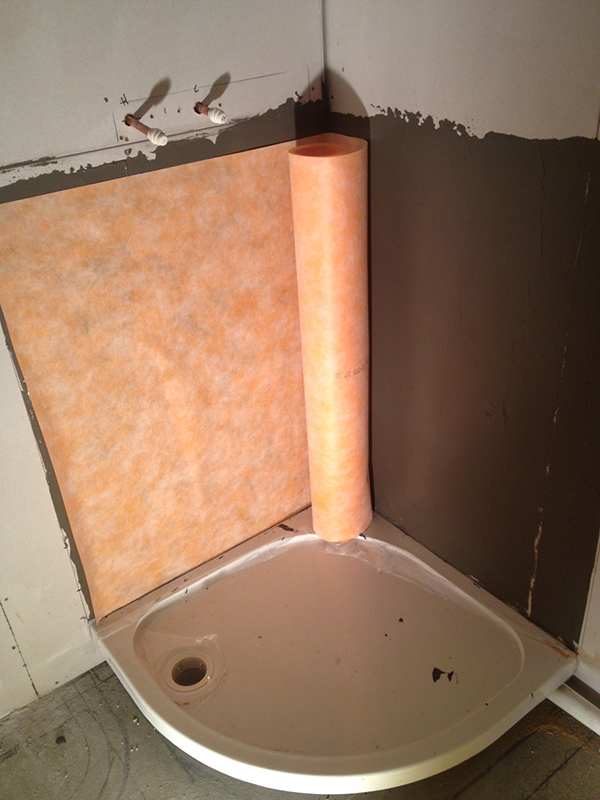
Apply a layer of flexible, cement-based tile adhesive with a small notch trowel to the area that the membrane will cover. You can use this same adhesive to tile with after tanking, so none will be wasted.
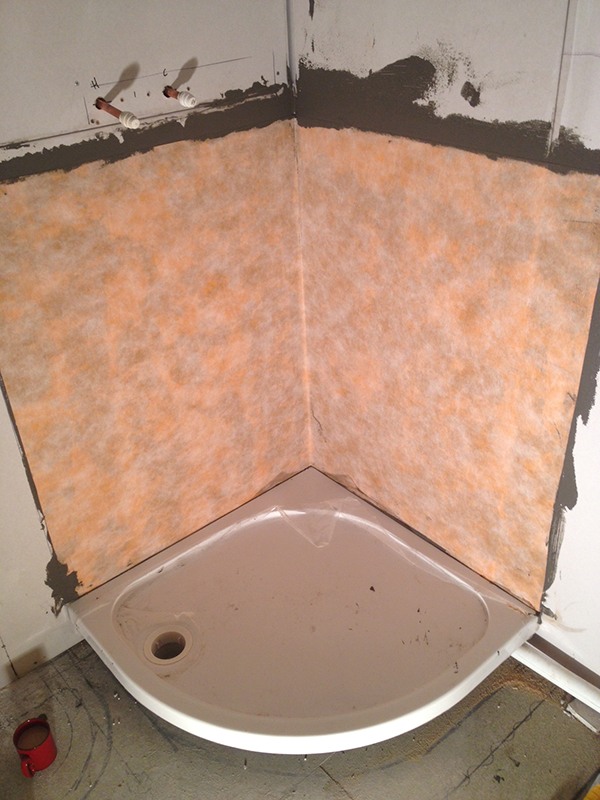
Press the membrane into the adhesive and and then use the flat edge of your trowel to smooth over the membrane, ensuring it is pushed fully into the corner. Cut off any excess with a stanley knife or pair of scissors.
You should aim to leave a flat surface on which to tile, so all air bubbles or voids in the adhesive should be flattened out before continuing.
I have chosen to run the matting horizontally around both walls of the enclosure so that I use a single piece as opposed to running it vertically, which would necessitate using 2 pieces joined in the corner (as the matting is only 1m wide)
This could be a potential weak spot for water ingress (even if the matting was overlapped with joint tape) or at the very least would create a less than perfect (in terms of flatness) surface on which to tile due to the build up of tile adhesive under & between the 2 layers of matting.
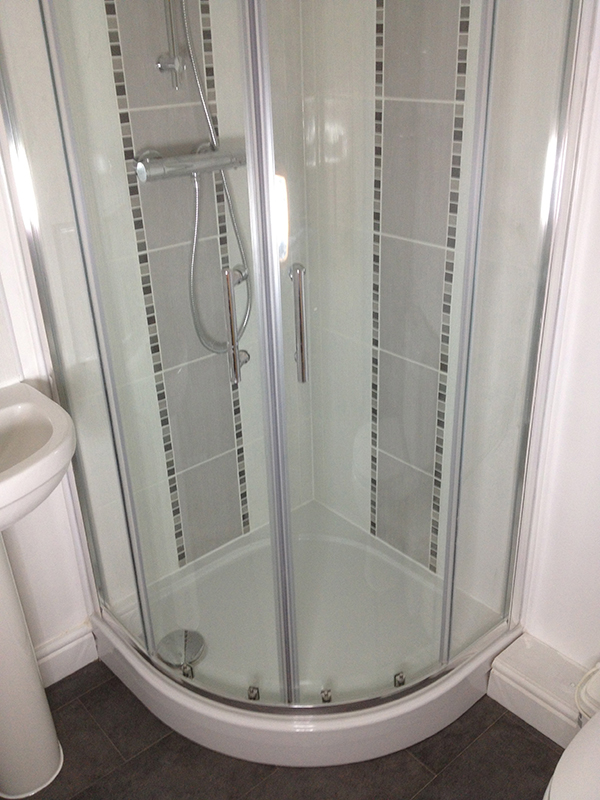
The enclosure can now be tiled.
Immediate tiling is the main benefit of this method compared against an all in one tanking kit where you have to wait for the membrane to dry (as it is painted on.)
Top tip
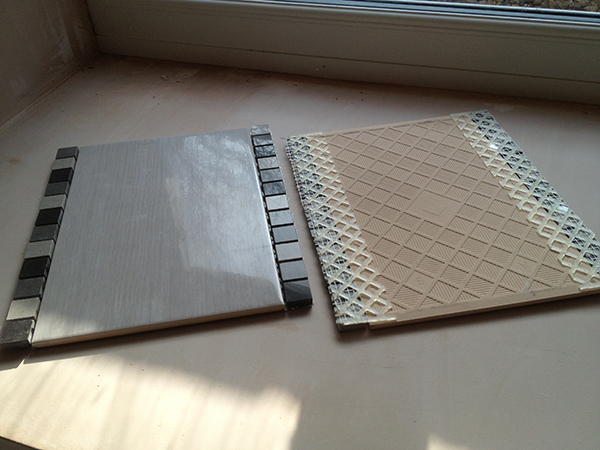
Use a mosaic mesh backing sheet to make fitting mosaics easier – In this bathroom I stuck the mosaics to the central tile to make installation easier.
Conclusion
Using waterproof matting is easy and cheap to do (under £50 in this example) and an area such as this one can be done in under an hour.
It can then be tiled immediately using a polymer modified cement based flexible adhesive.
If using a tubbed adhesive, walls sealed with this tanking kit should be treated as impermeable and a suitable drying time should therefore be allowed before grouting, which may be several days.

