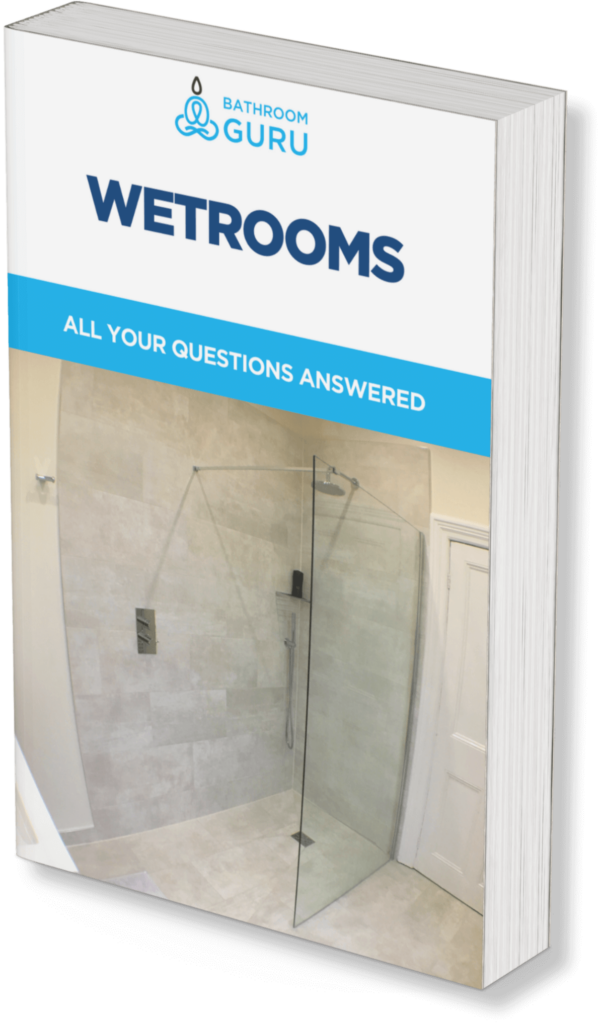
Sometimes There Is A Better Approach To Installing Disability Baths To Help People That Find Getting In And Out Of The Bath Difficult With Age Or Arthritis.
Introduction
You may want to replace a bath as you (or someone close to you) can no longer easily get in and out of it.
However, you may not want to re-do the entire bathroom due to the extra costs involved.
(You should always work with what you’ve got to keep the budget down!)
Therefore, as I see it, you have 3 options:
1. A specialist disability bathroom installer can supply & install a disability bath and this can rack up quite a bill.
2. You may choose to install a shower enclosure in place of the bath.
3. You may choose to install a walk in shower (often called a wetroom), which many people choose to do as it looks great and is completely level – meaning there are no trip hazards.
This makes wet rooms well suited for people with mobility issues or wheelchair users, or those just wanting a high end hotel type finish!
Recent Installation – Roundhay, Leeds
The existing bath was removed.
The wall tiles and floor covering were stripped where necessary – you have to go back to the bare bones for all wet room installations to guarantee water tightness.
Floorboards are removed so that a wet room tray former can be fitted at a level that when tiled allows it to be completely level with the existing floor tiles.
The position of the wetroom tray former is carefully calculated within the overall bathroom layout & to suit the existing drainage and floor joist positions.
Noggins and joists are then inserted to ensure that the tray edges are fully supported and that the installation is strong.
In this instance we strengthened up the floor where excessive notching had occurred to one of the floor joists.
Hot and cold supply pipework is recessed under the floorboards.
The old bath waste (that ran above the floorboards is removed, and a new solvent weld waste pipe is run under the floorboards to the soil stack (outside the house) at this time.
18mm WBP plywood is then used to make the construction even more solid, and this is primed prior to the installation of the tray former on top.
At this stage the trap is attached to the waste pipe and its position is checked so that it will tighten up onto the tray when installed. It is also thoroughly tested for leaks before proceeding.
The tray former is then glued into position and levelled and the waste is connected up and tested.
The walls are bonded up to give a level finish prior to tiling.
When installing a wet room it is very important to ensure that the whole area behind the tiles is adequately tanked or waterproofed.
This ensures that if and when any water gets in behind the tiles, no problems are caused in that you effectively have a waterproof barrier to prevent water penetration into the walls and/or floor.
This helps to keep water in your wet room and not in your kitchen below your bathroom for example.
Here the wet area in and around the shower enclosure has been thoroughly tanked with an all in one tanking kit, with all joints reinforced with special tape to prevent gaps from opening up at wall / floor junctions etc.
The wet room tray is then tiled with mosaic tiles that follow the drainage contours perfectly without the need for lots of complicated cuts. (The pre-formed fall on the tray ensures that all waste water from the shower flows centrally into the drain.)
Top Tip: It Is Important When Tiling A Wet Room Floor That Non Slippy Tiles Are Used For Safety.
The walls are then tiled down to the floor tiles to form a watertight seal, much less prone to water ingress.
PS. Finding new wall tiles that match the existing ones can be difficult so sometimes a similar tile has to be used if an exact match cannot be sourced.
All joints in between the tiles are filled with a water-resistant flexible grout, and the wall & floor junctions are sealed with a colour matched silicone sealant.
Finally the glass enclosure is fitted which serves to keep the spray from the shower contained. It is made with 8mm thick safety glass which is sealed to the floor with silicone sealant and held to the wall with metal brackets.
The final result is a beautiful walk in shower that will immeasurably improve the quality of life for the occupants.
All done in under a week for less than you might think.
What We Do
We install quality bathrooms from start to finish, with all the bits in between taken care of.
We’ve done hundreds of bathrooms, en suites, downstairs loos and wetrooms, and some of our recent customer comments can be found here.
We provide advice and guidance during a free site survey, and we have a blog with lots of articles that cover frequently asked questions and show you examples of our recent work.
We install bathrooms from start to finish, supplying all the necessary trades and project managing the whole process, so you don’t have to!
We work to detailed, itemised estimates with fixed costs, so you can budget properly without fear of unexpected skyrocketing prices.
Our focus is on doing a proper job for a fair price in a reasonable time – see here for more info or contact me for a quote.
Thanks for reading
Chris

