This Article Shows How Ukbathroomguru Recently Made An En Suite Into A House Bathroom
Introduction
Normally we add en suites to bedrooms to make customers lives better but sometimes we do the opposite, though for similar reasons. In this recent installation, our customers chose to make their only en suite into second house bathroom to serve their three upstairs bedrooms.
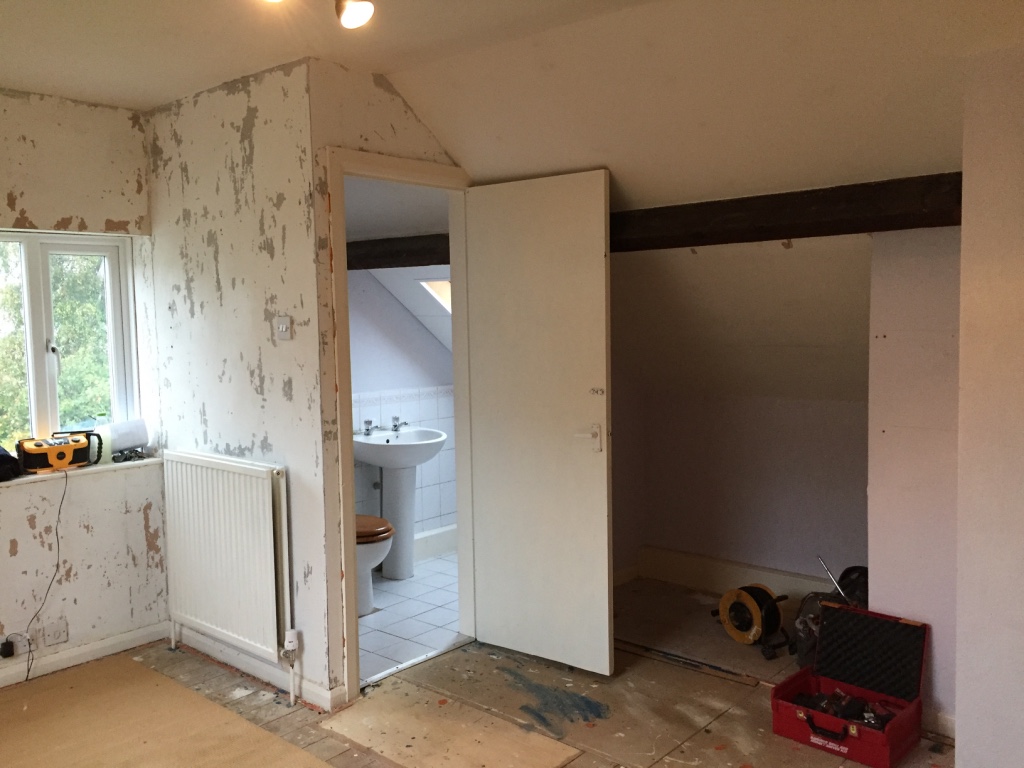
This was a great idea as the house bathroom was located downstairs, and the current layout meant that only one of the three bedrooms could use the upstairs facilities (which only consisted of a basin & a toilet).
By turning the en suite into a house bathroom and adjusting the access accordingly, all three upstairs bedrooms could be able to access the facilities (which would also include a large shower).
The affected bedroom would be made a bit smaller but it would be mostly losing dead space in the eaves that was not being used effectively anyway. Also, after all the work was completed, the bedroom would still be a decent size so there were no concerns there either.
Planning The Work
The plan was to extend the en suite into the bedroom and then rearrange the doorway configurement so that the new bathroom could be accessed independently of the bedroom.
The work was discussed during our free site survey and the feasibility of various options we’re discussed. Finally, a plan was drawn up.

3D CAD drawings were done to help the customer visualise the room.
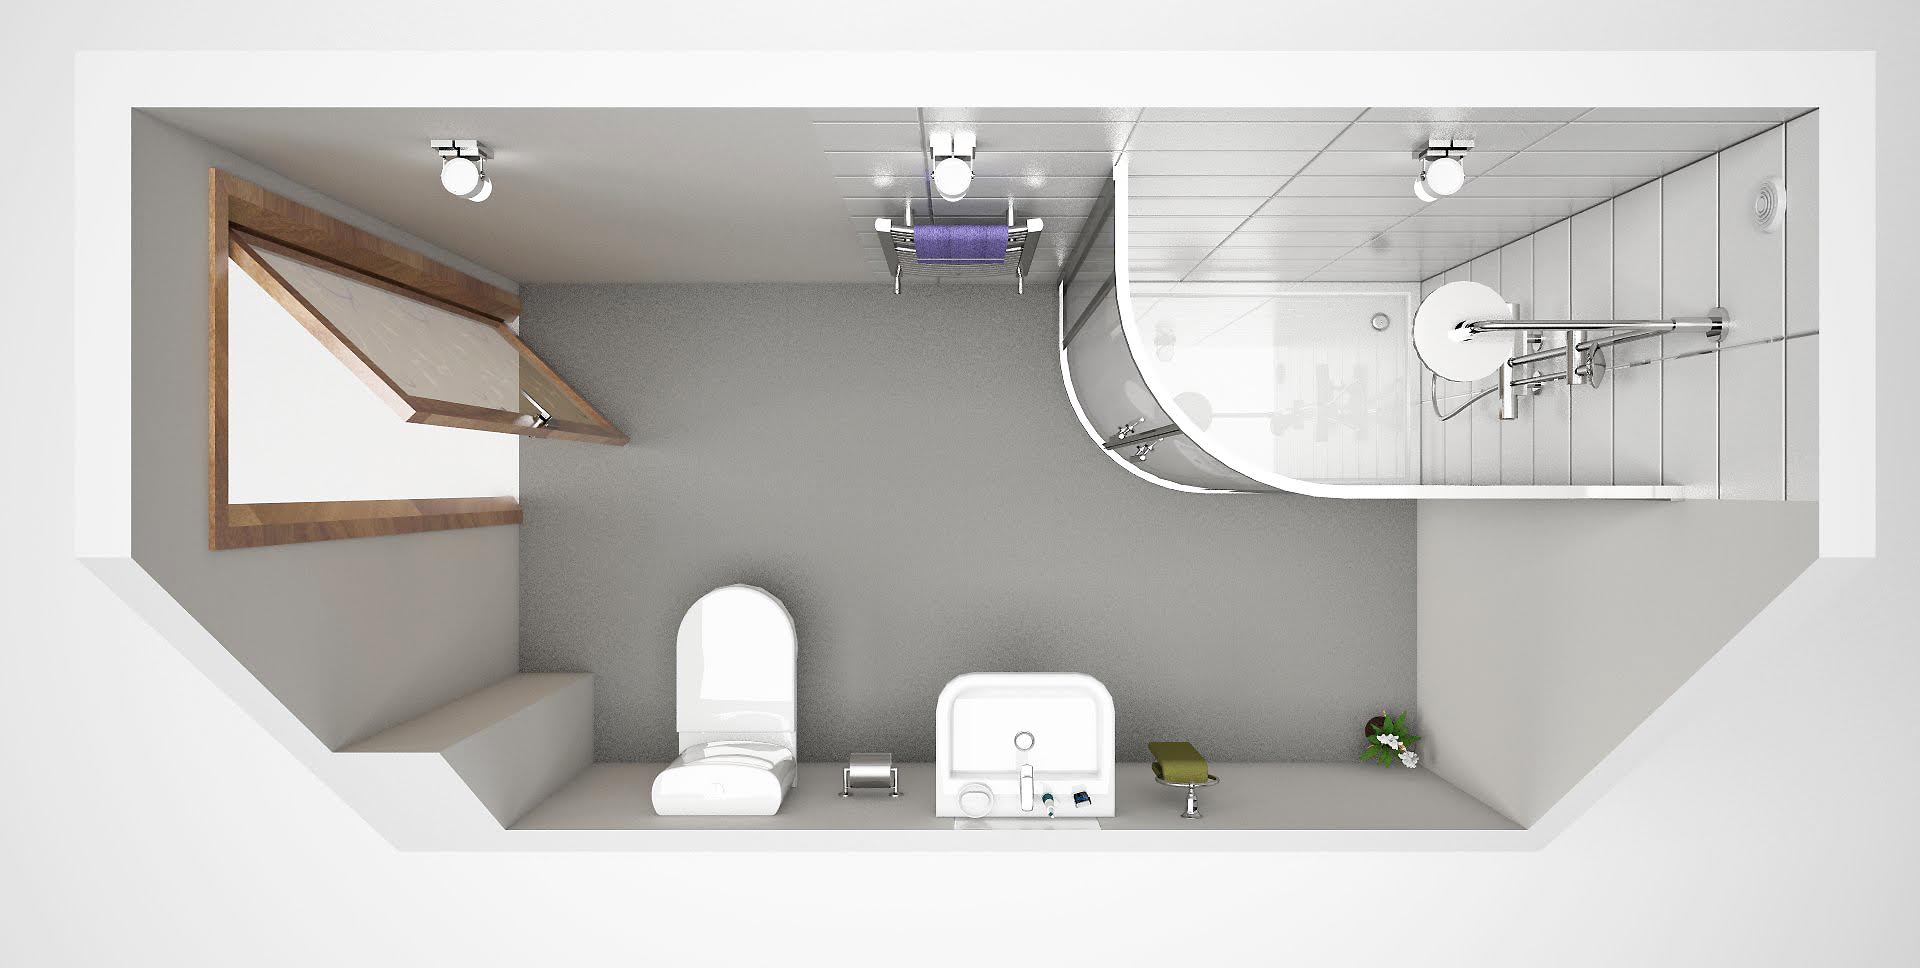
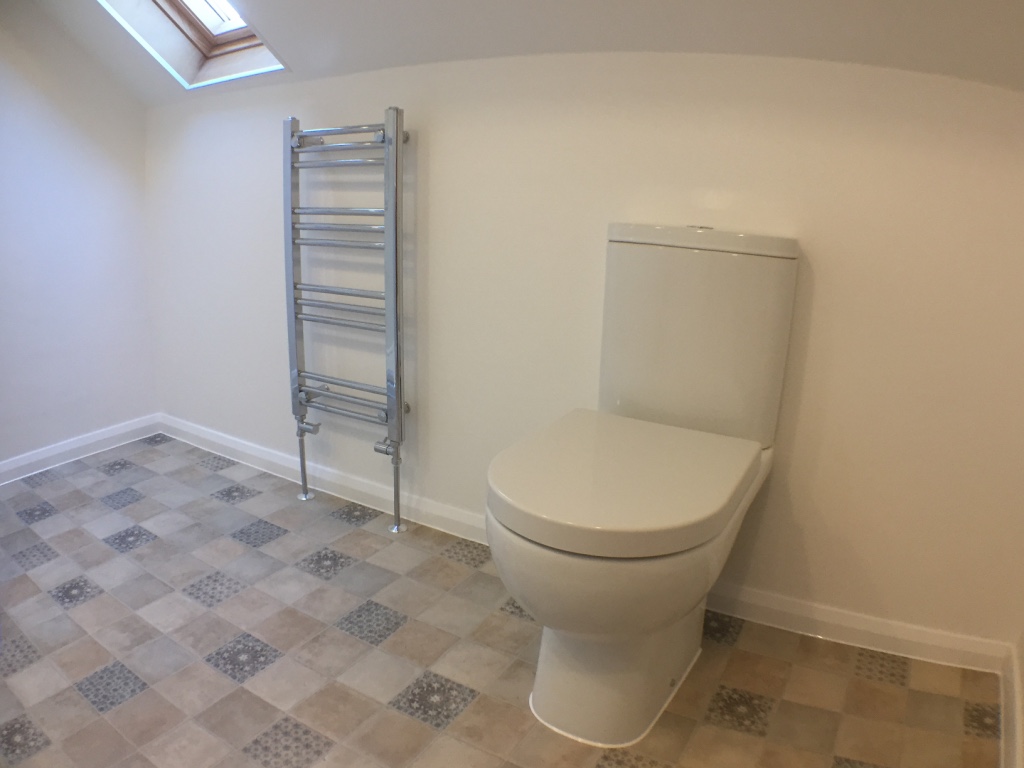
We actually chose to swop the position of the basin & the radiator round in the end to give maximum headroom whilst stood at the basin due to the sloping ceiling of the room.
Installation
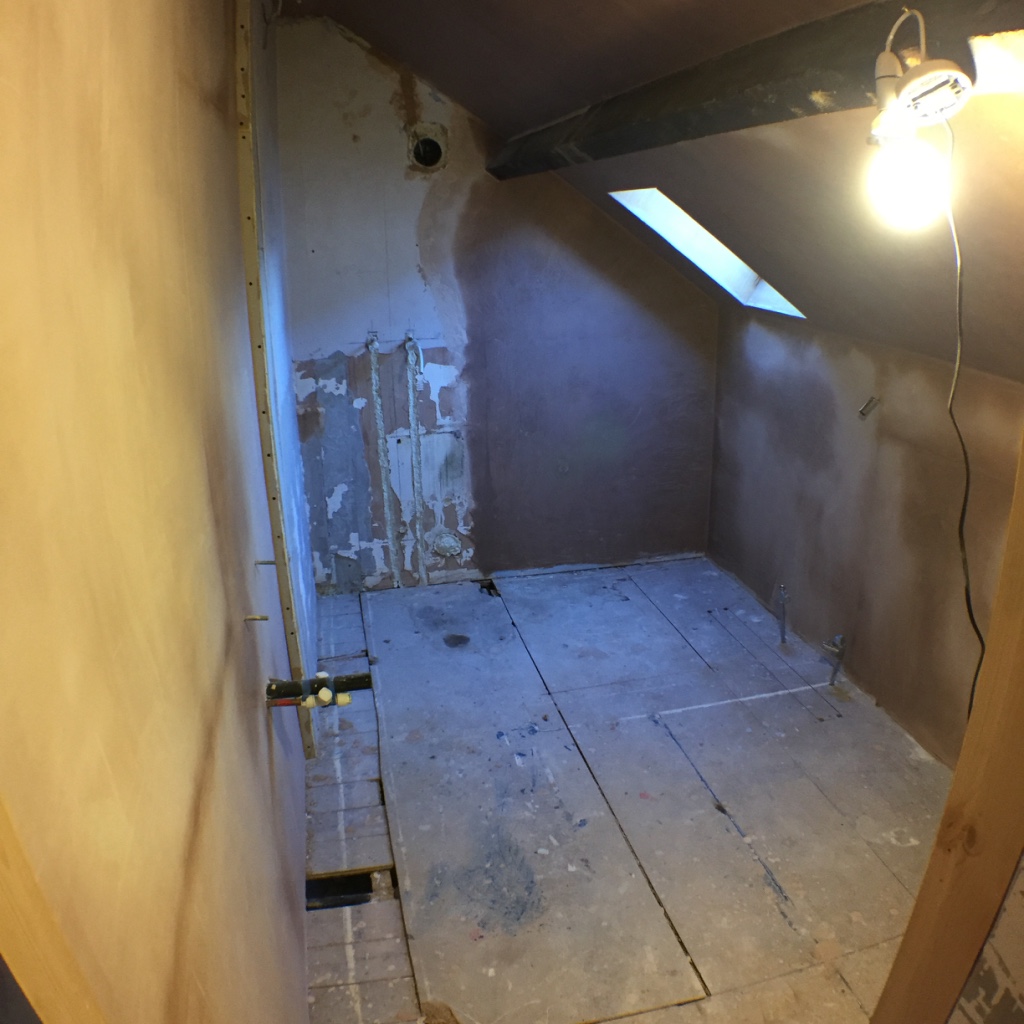
The old en suite walls were removed and the space was cleared out before the new studwork was started.
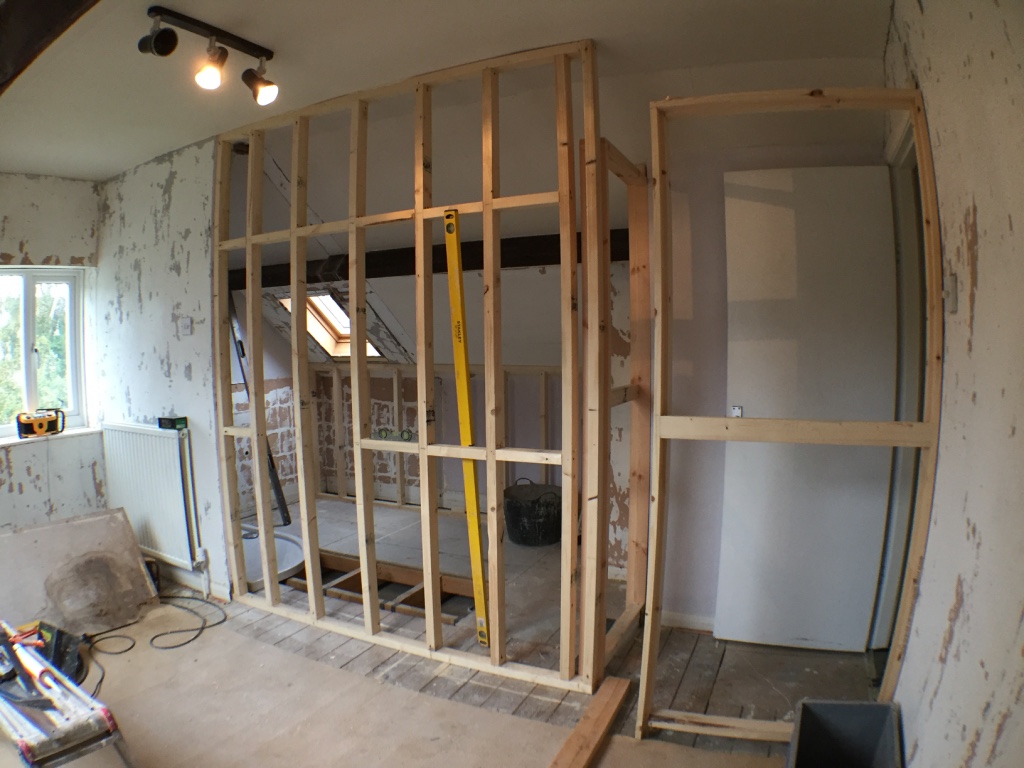
This was then insulated & plasterboarded, and electrical cables and plumbing pipework were run within the walls where necessary. In this case, we had to jig the lighting switches around to suit the new layout / door positions.
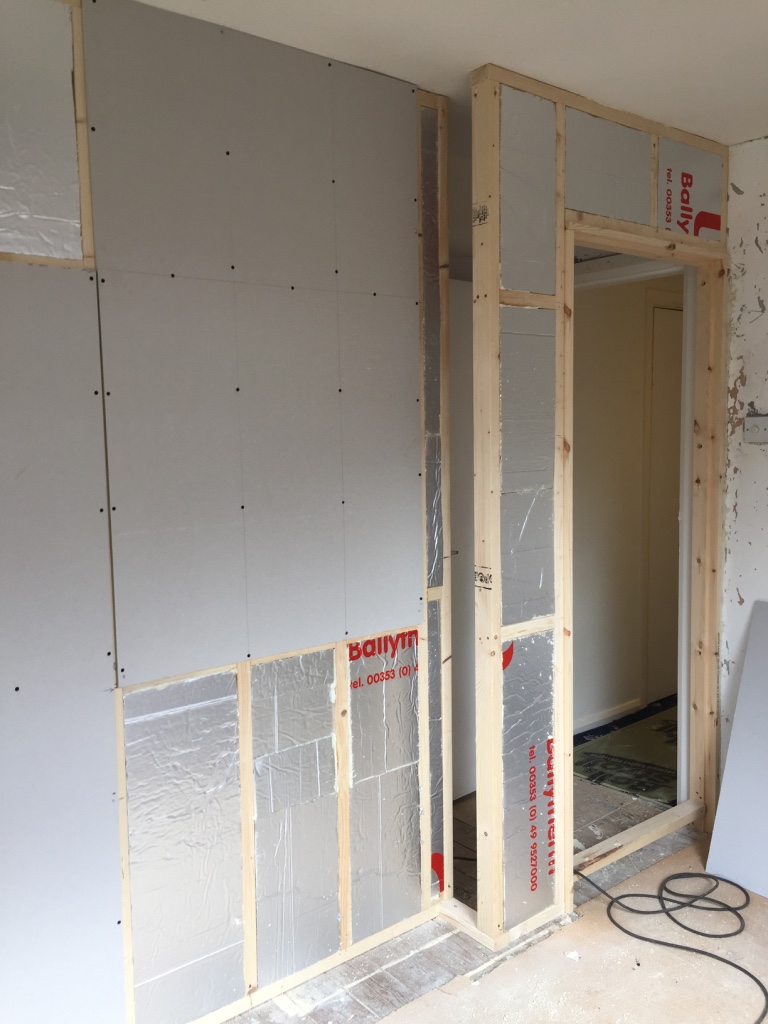
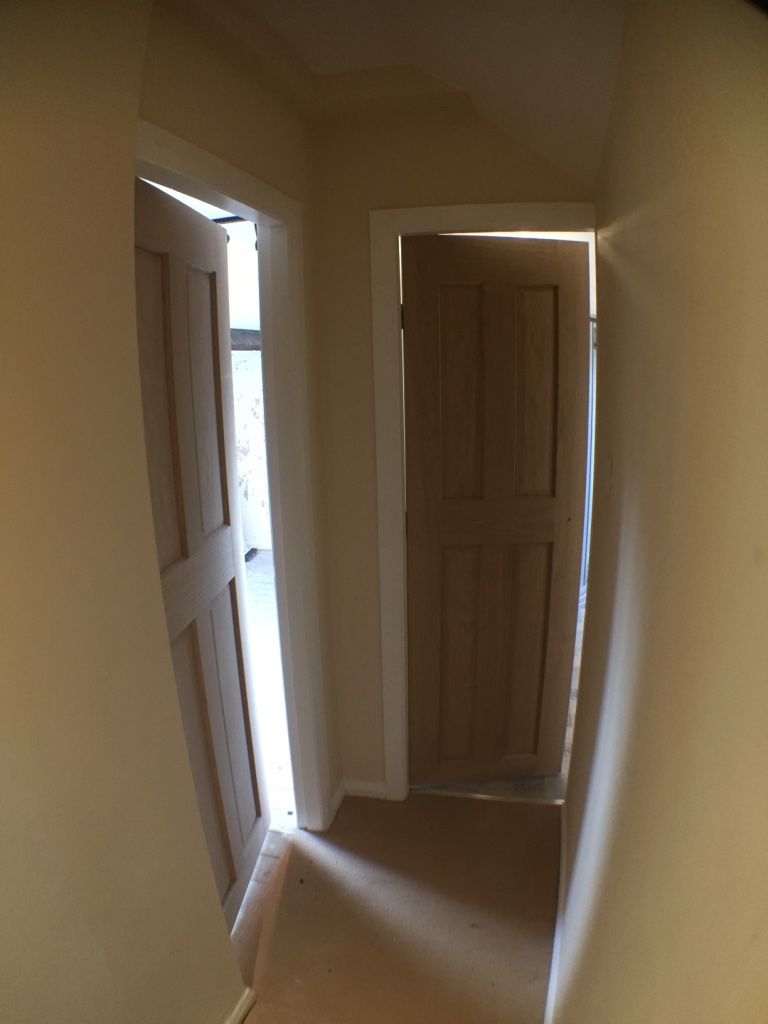
Door frames were fitted to access the bedroom and bathroom.
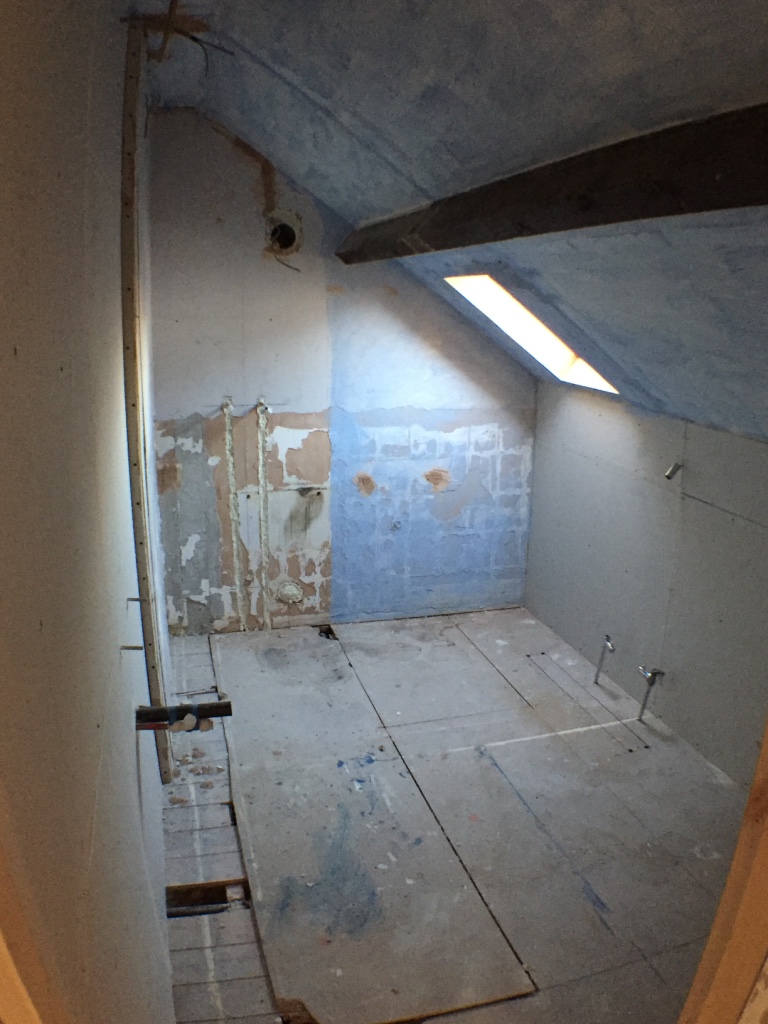
Pipework was installed in the floor and in the walls to suit the new bathroom suite items (shower, basin, toilet & radiator).

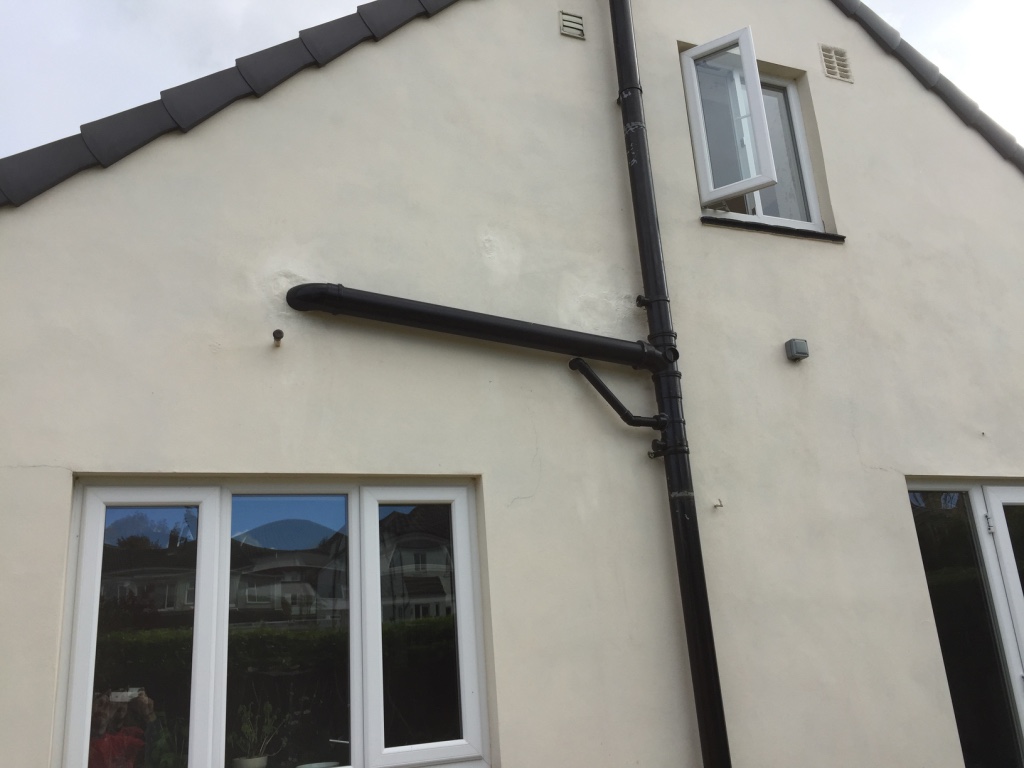
New drainage pipework was installed to suit the new suite locations (and related pipe entry points).
Cement work was patched up and repainted to match the existing paintwork.
Once all the new stud walls were boarded….

….and all the other surfaces were prepared for plastering
Skimming began:

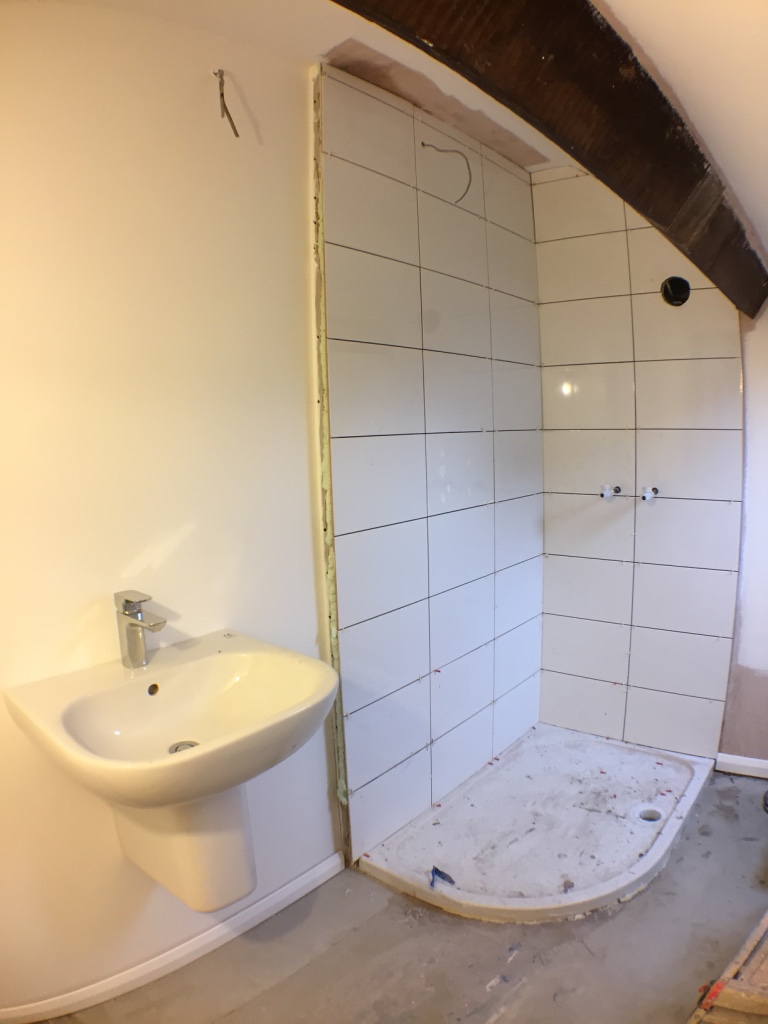
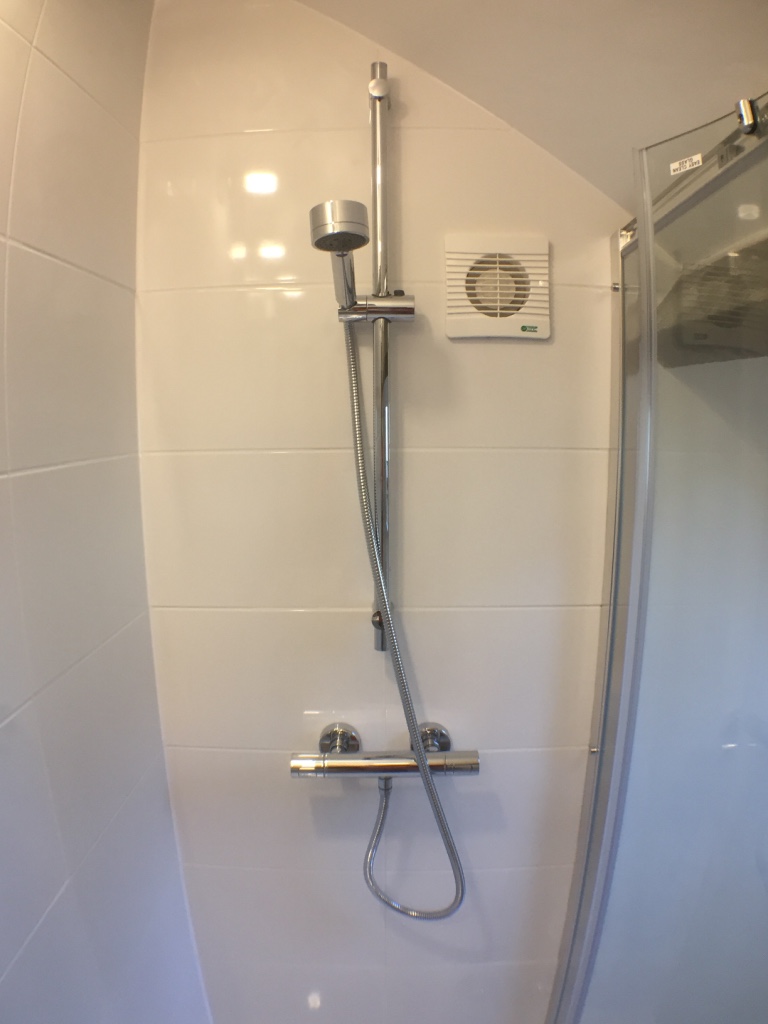
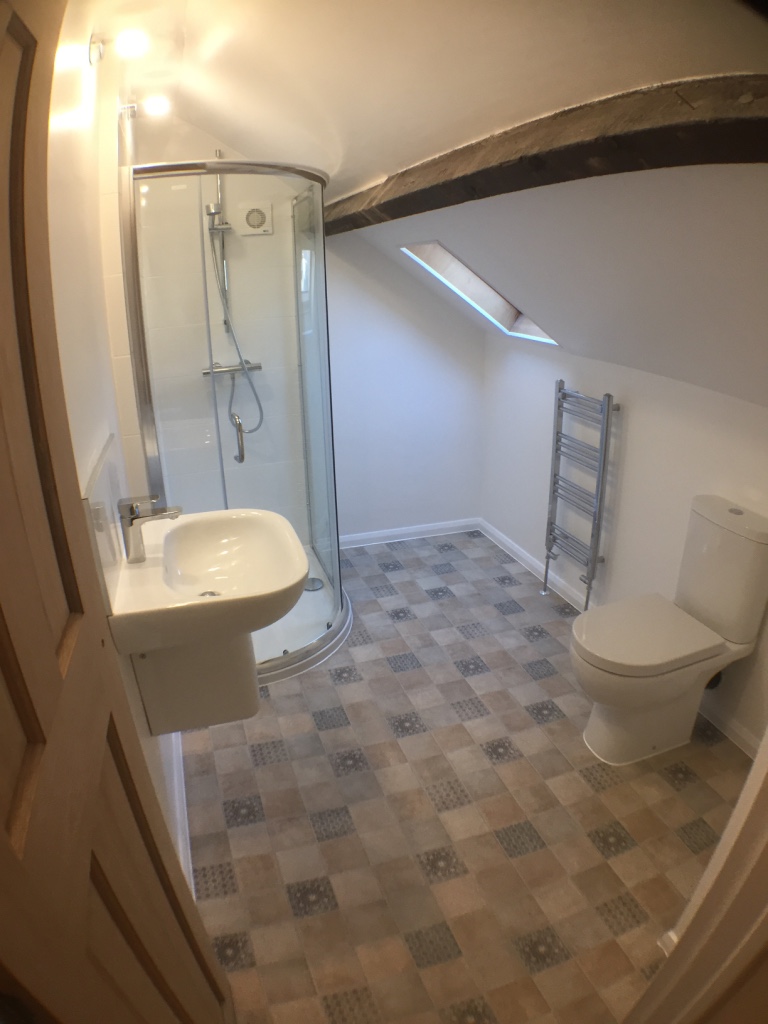
The shower tray was installed and the enclosure was tiled.
(You don’t always have to fully tile your bathroom)
The new doorway arrangement was painted once the plaster had dried.
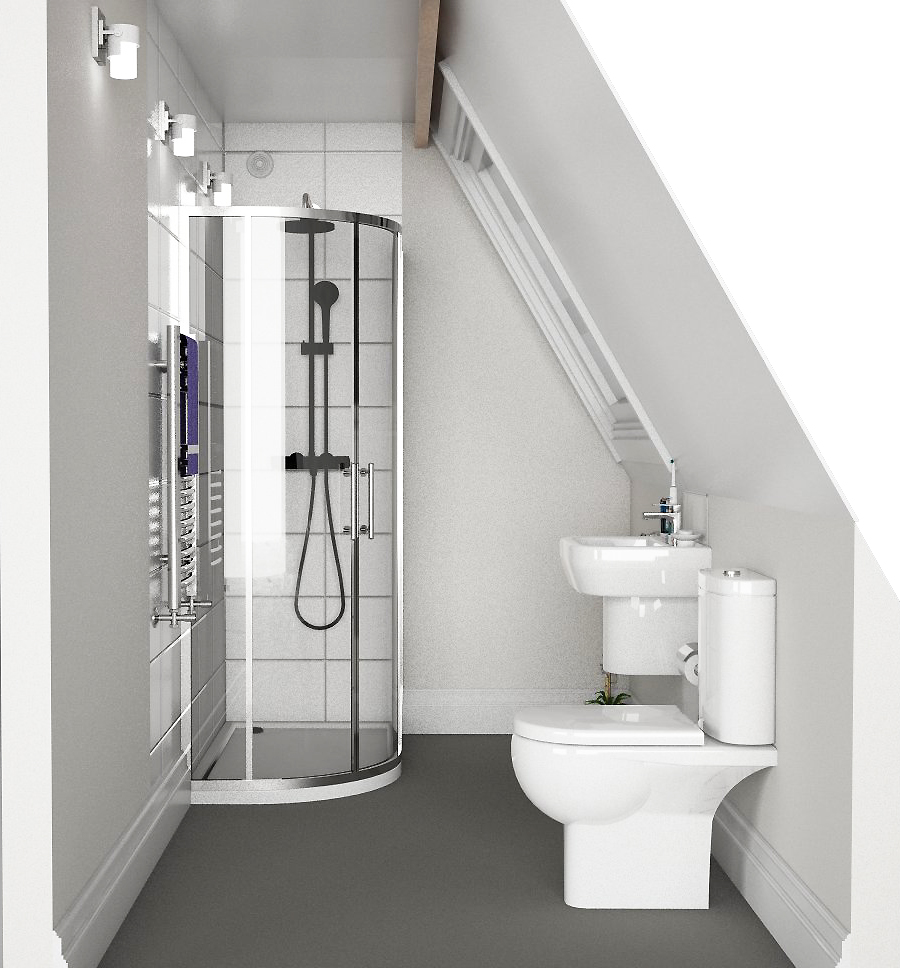
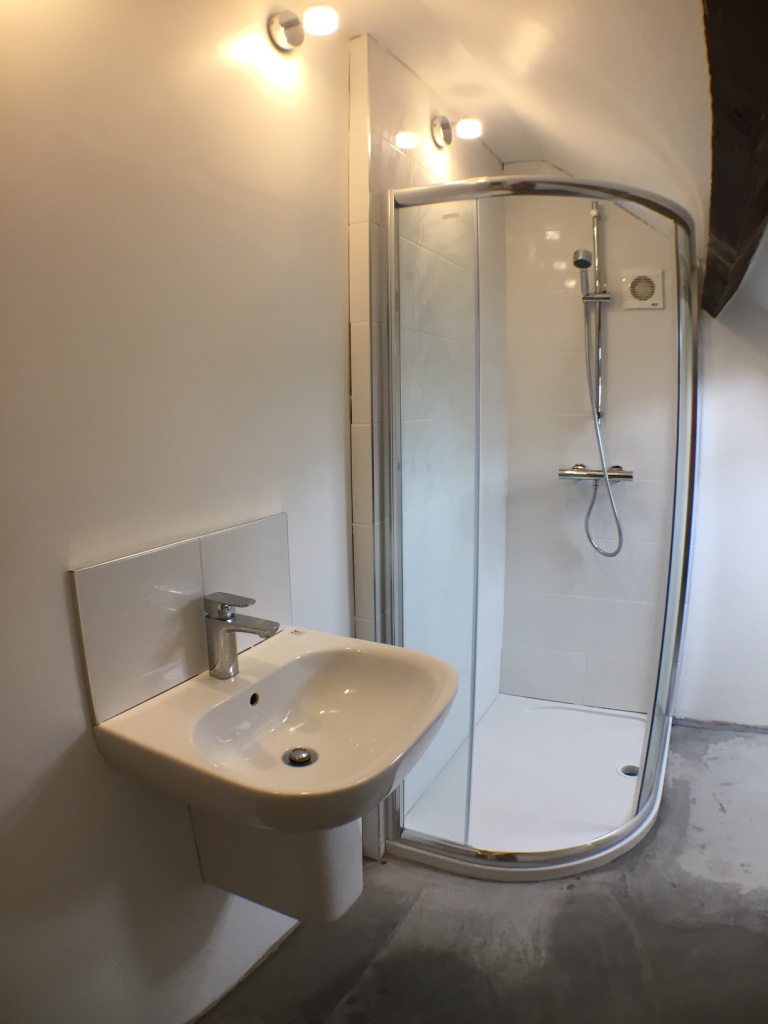
The wall lights were installed and the shower enclosure was fitted into place.
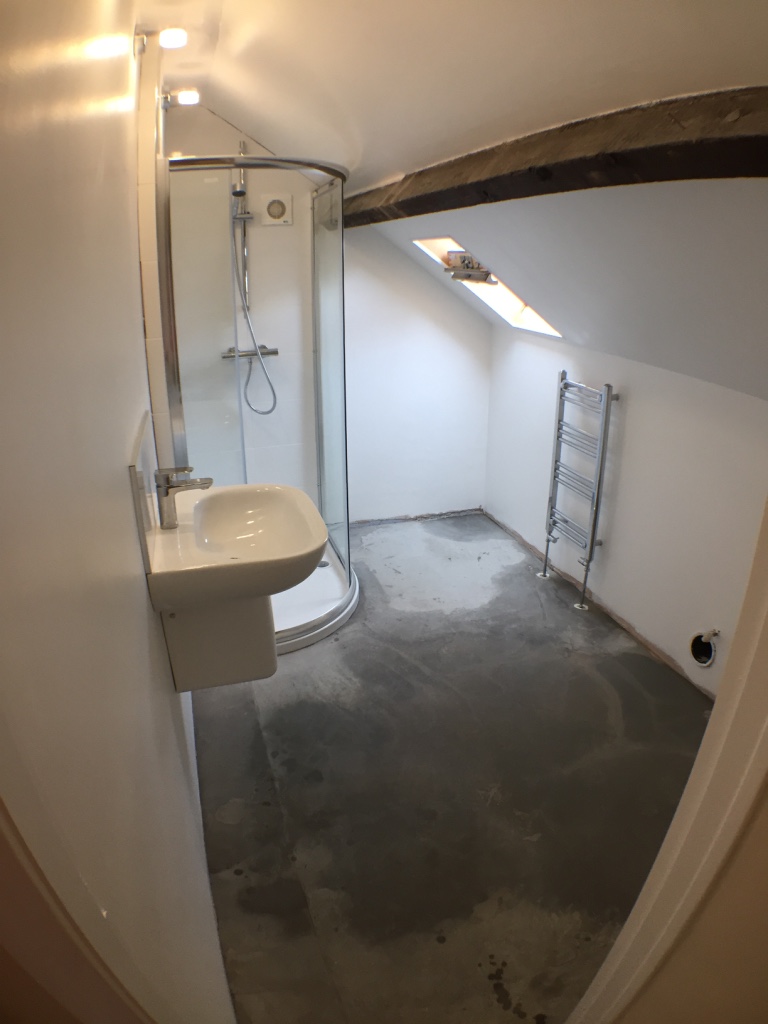
An existing Velux window provided natural light.
PS The height of the shower enclosure and its position relative to the sloping ceiling & purlin had to be carefully considered at the planning stage to ensure everything would fit & function correctly.
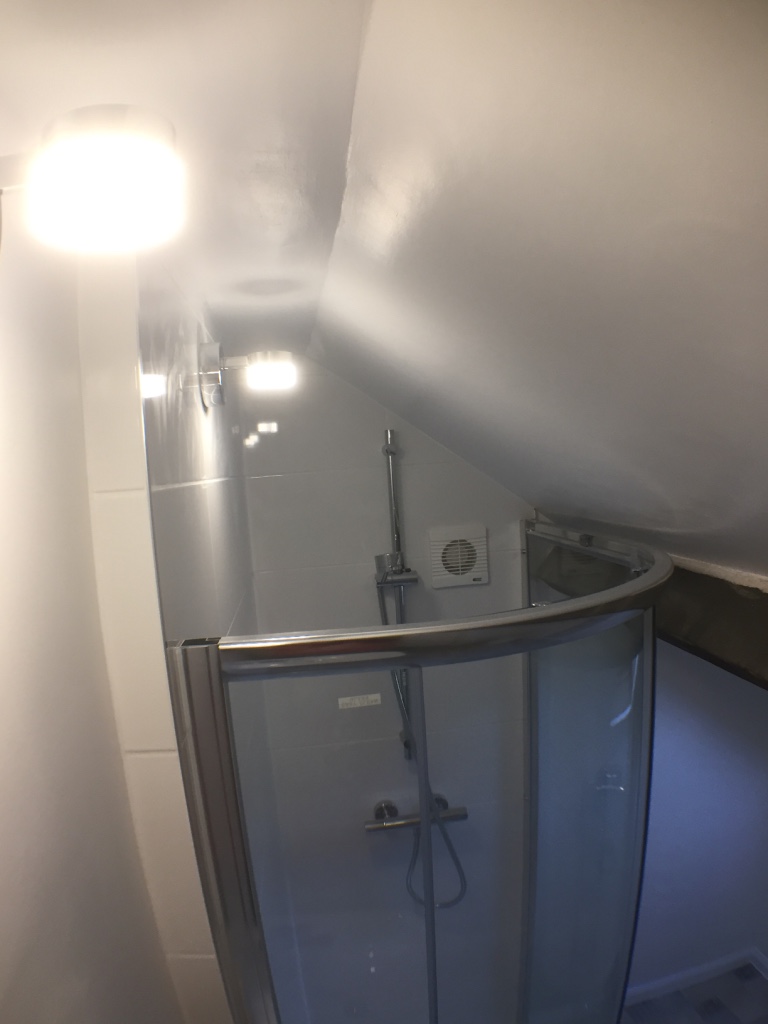
A thermostatic bar mixer shower & low voltage fan were fitted.
The floor was levelled with a self levelling compound prior to the fitting of a sheet vinyl floor and skirting boards.
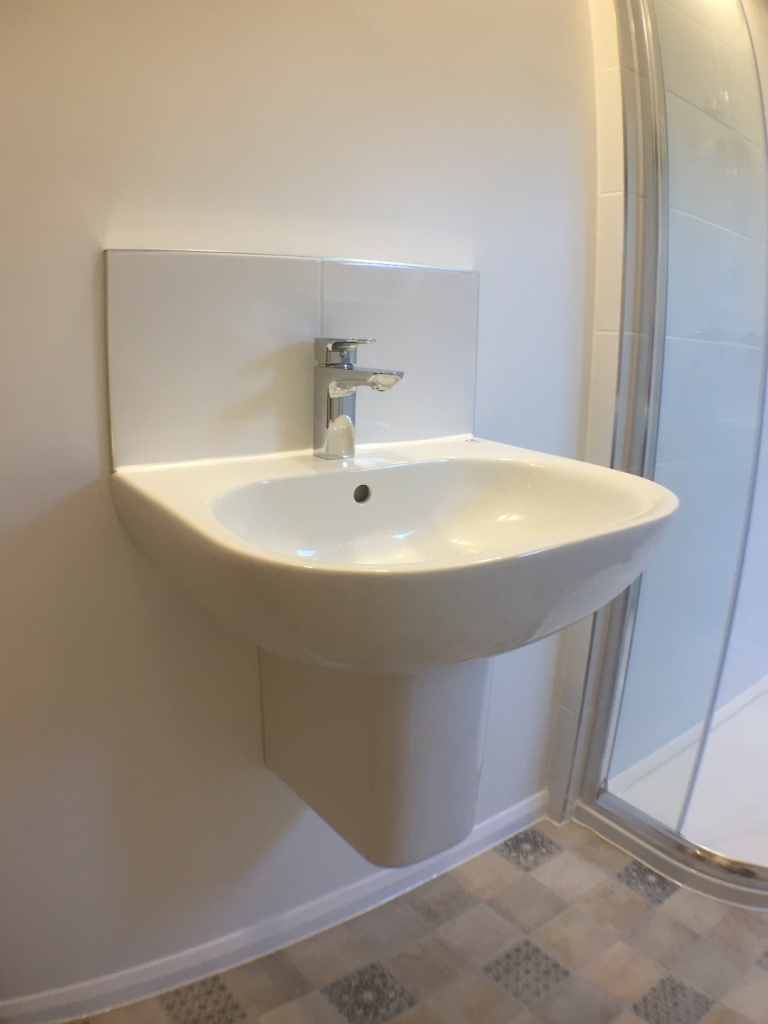
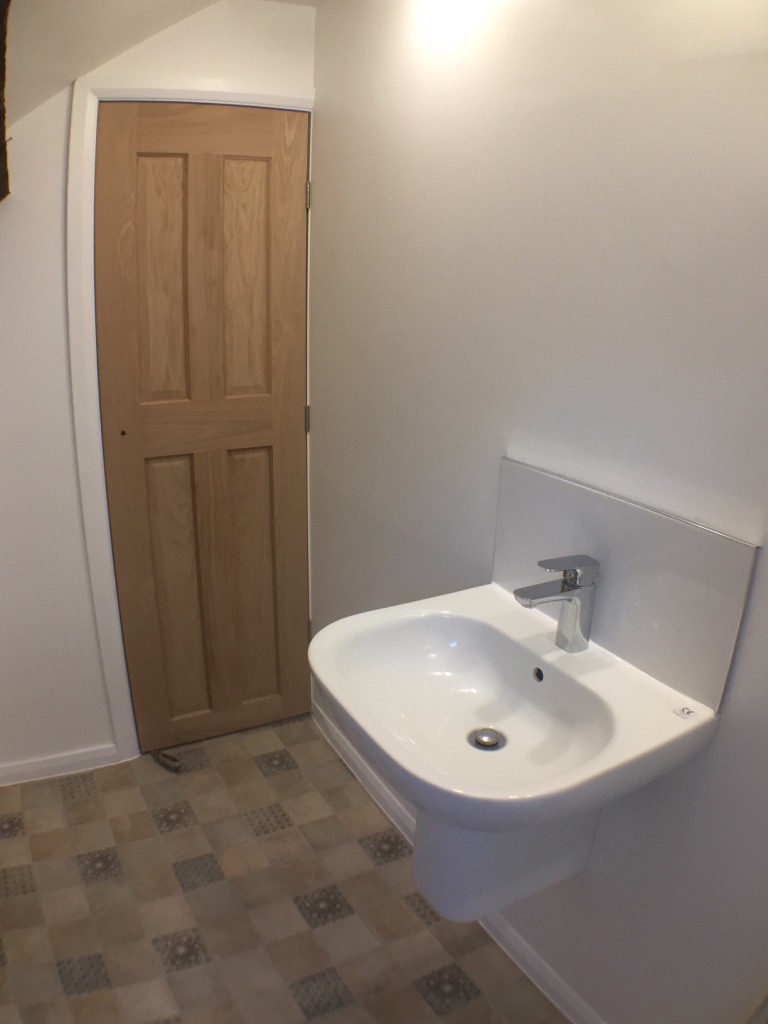
The wall hung basin & semi pedestal were installed with a small, neat tiled splashback.
The toilet & towel radiator were installed:
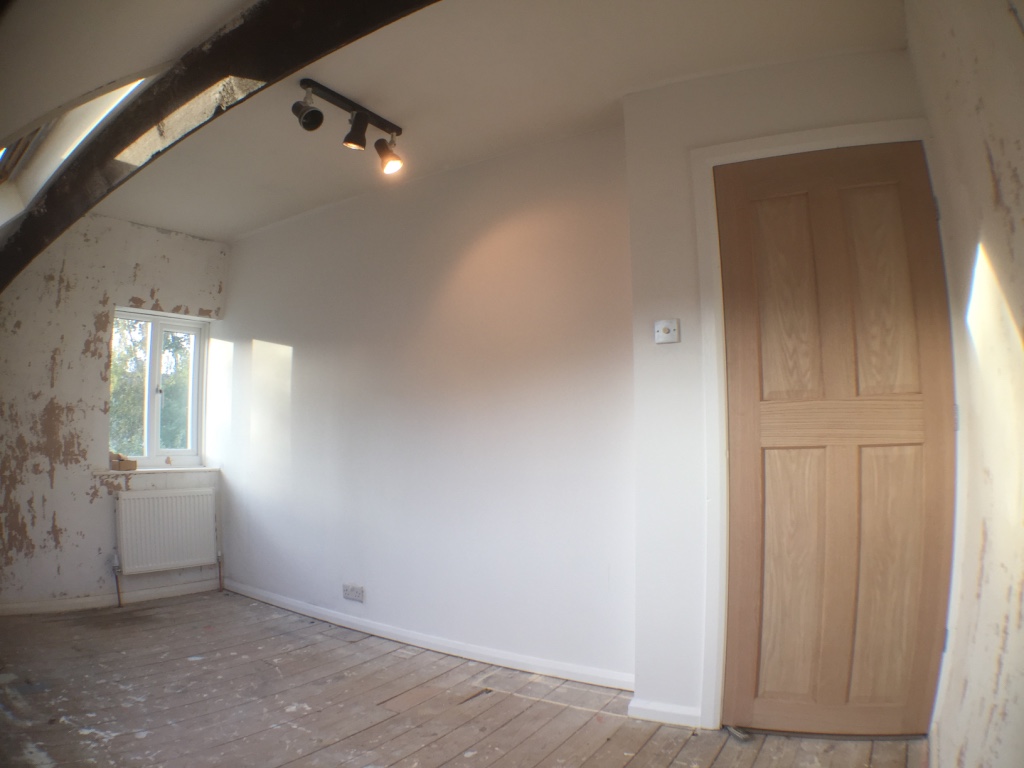
Oak doors were fitted into the frames:
The finished bathroom……
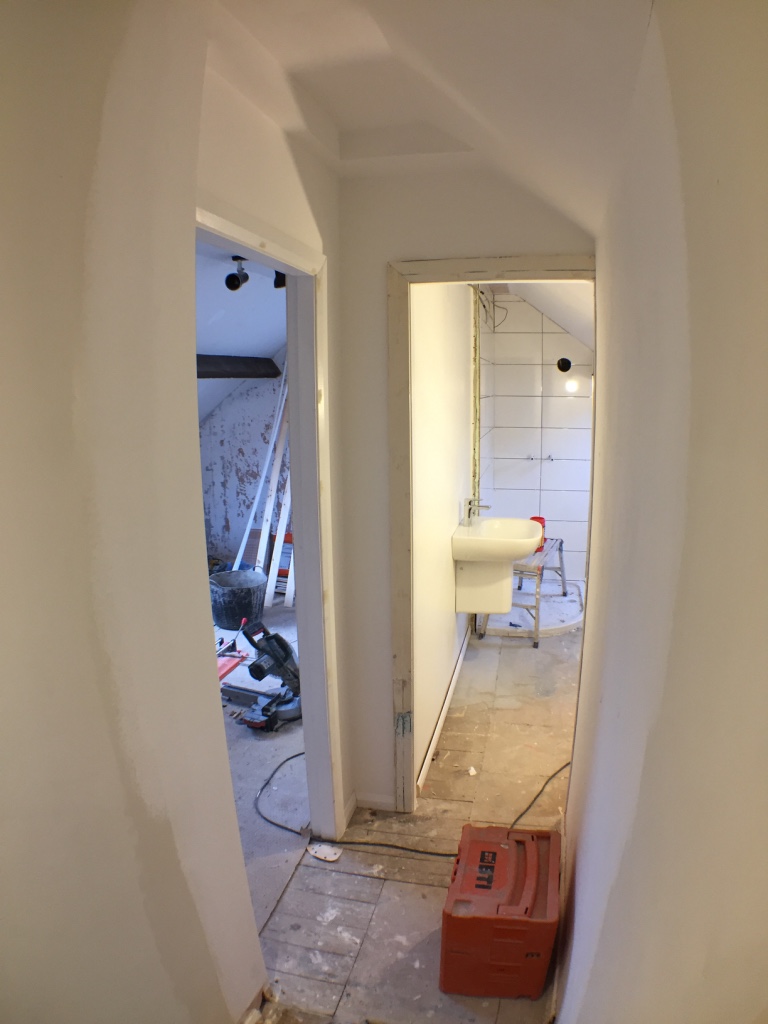
…..entryway…..
…and bedroom:
Summary
2 weeks, project managed bathroom installation in Leeds from start to finish with all the bits in between taken care of:
- Free site survey, quote & plans
- No having to find a reliable plumber, joiner, then a tiler, a separate electrician and vinyl floor fitter, oh and also a plasterer / painter…..
- No having to manage & communicate with all these trades to bring your plan to fruition.
Instead, one company, one price and done – on time and to budget.
Anything Else?
If you have any questions or thoughts about this article or any others, please feel free to contact me or leave a comment.
Chris