This article shows how adding a downstairs toilet can be relatively simple task, and you could even gain some useful storage space.All work carried out by ukbathroomguru.com.
Introduction
Prior to work beginning, a free site survey is carried out where I discuss the customers needs.
I look at the existing plumbing & drainage facilities which will affect the layout & positioning of the new downstairs toilet, as well as the boiler and /or hot water system and your consumer unit. I also take some of photos for reference for when I am pricing up the work later.
Plans are drawn up, costs, schedules and payment terms are agreed and then work begins….
PS Please see here for more information on my process.
Top tip
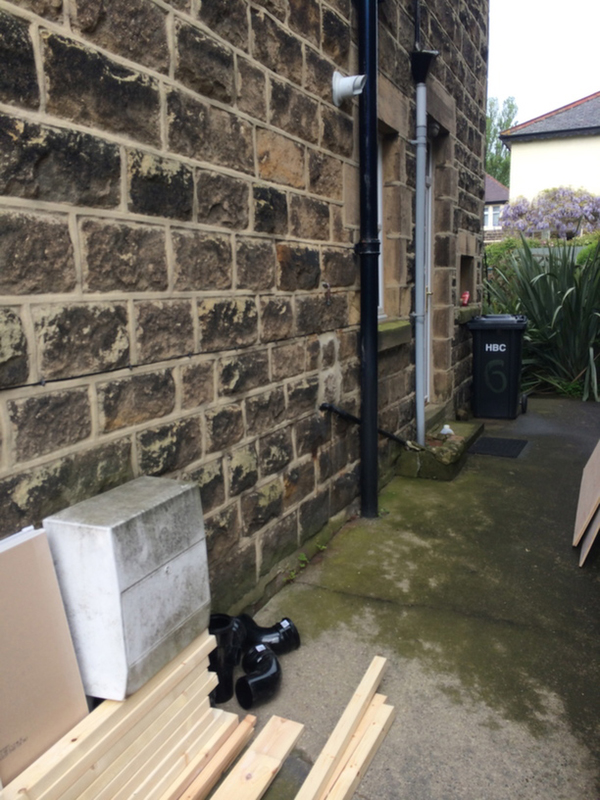
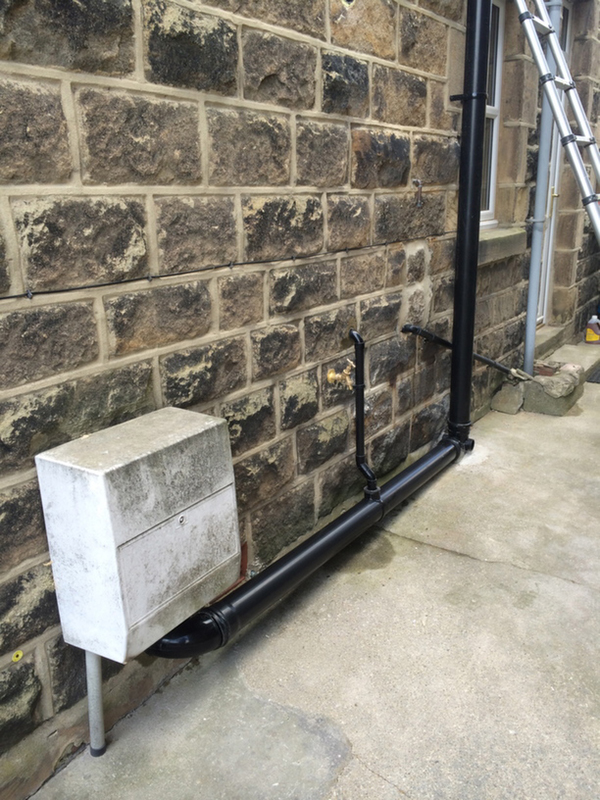
Always put a new en suite or downstairs loo on the side of the house with the soil stack outside – It makes things much simpler in general terms.In this case the positioning of the proposed downstairs WC & washbasin coincided well with the existing plumbing & drainage of the house, so costs were kept low in this regard.
Installation process for a downstairs toilet
It is the customers responsibility to inform building control of their intention to add a downstairs toilet and to gain all necessary consents.
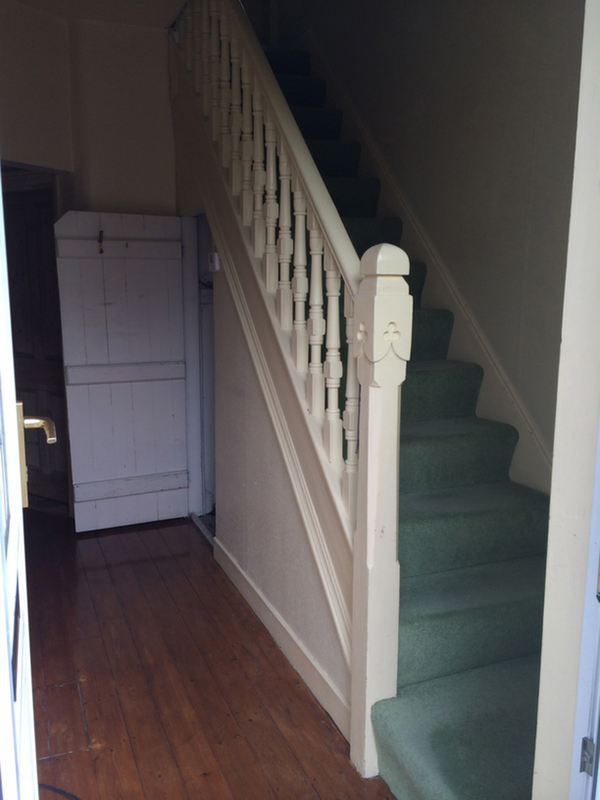
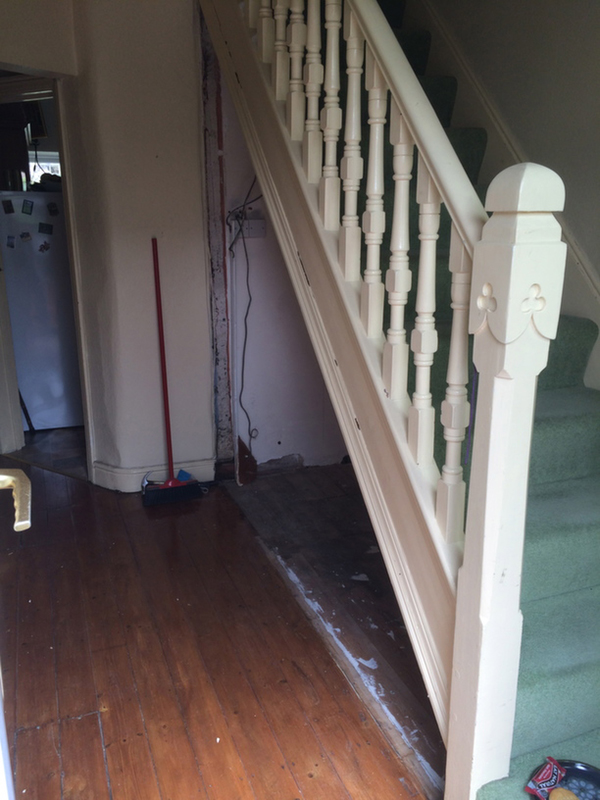
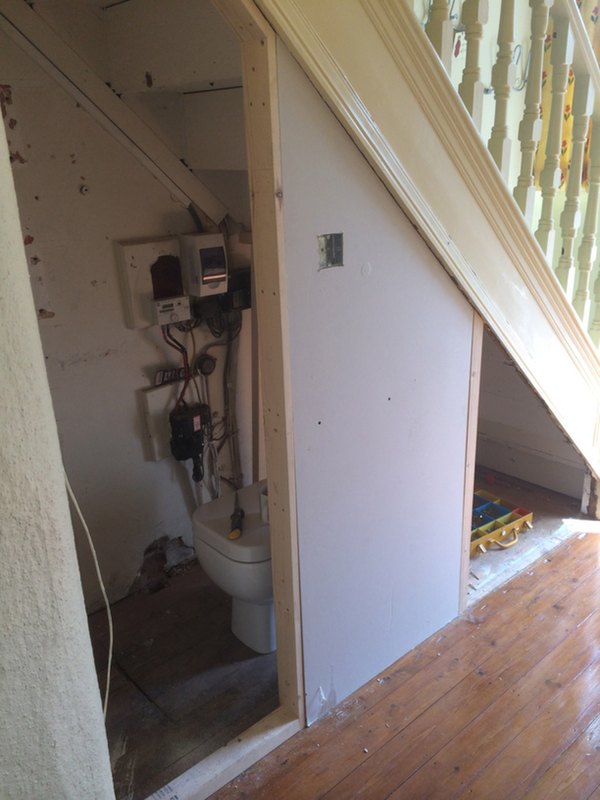
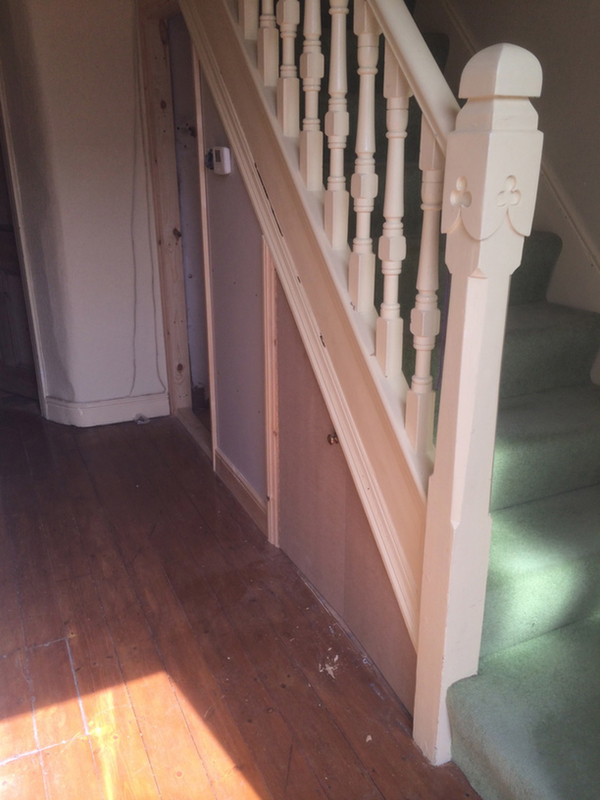
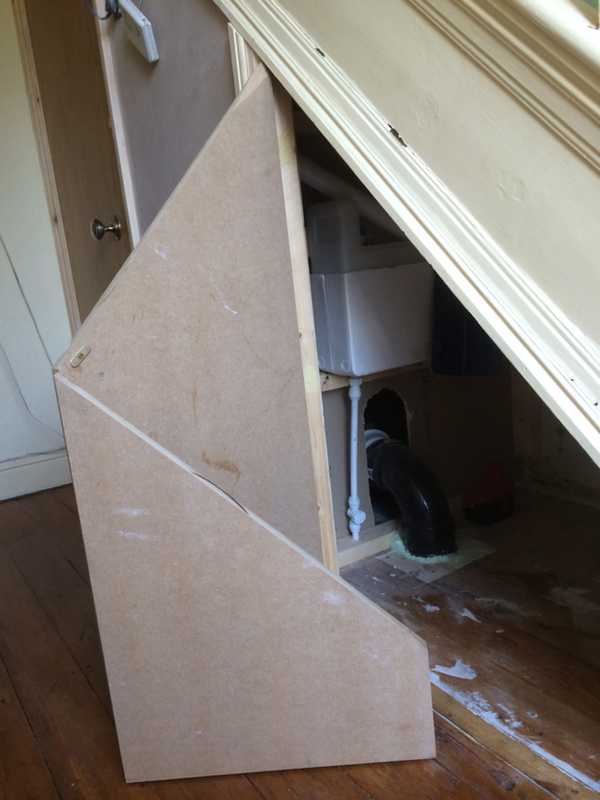
The existing studwork under the stairs is removed to open up the space, and this is then disposed of.
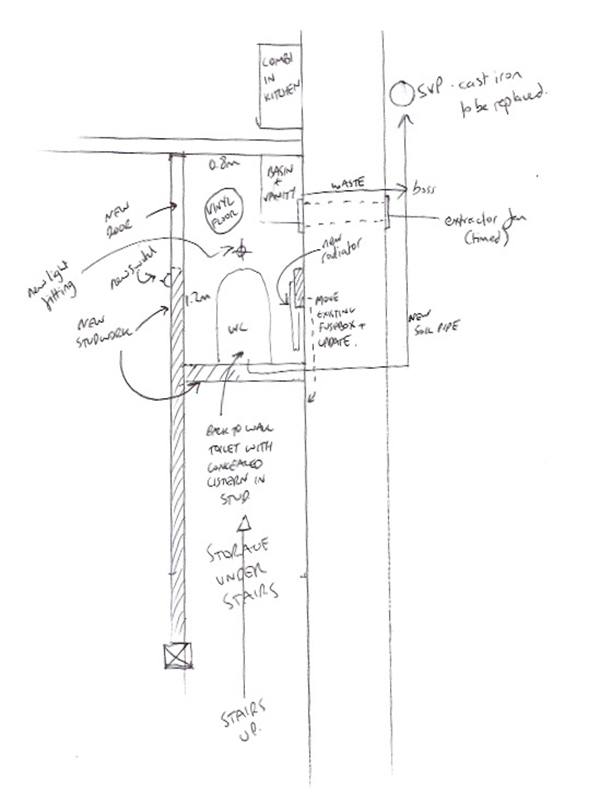
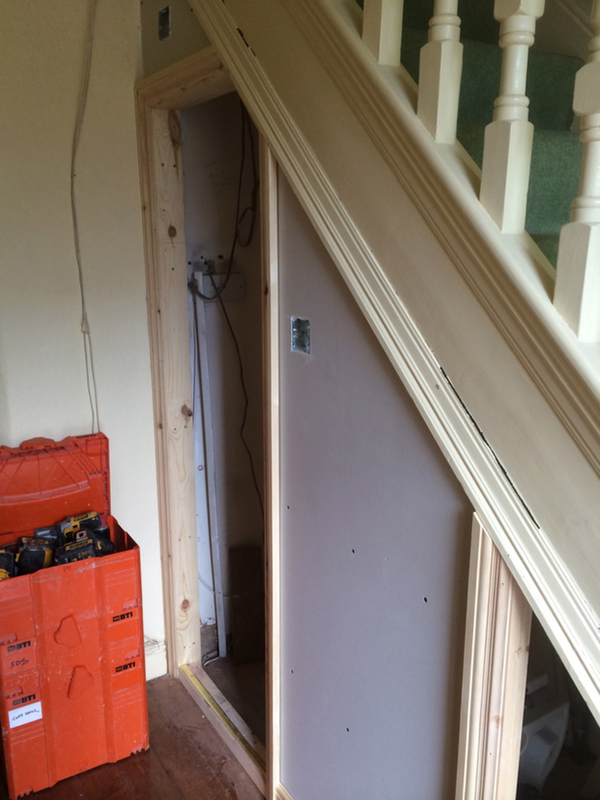
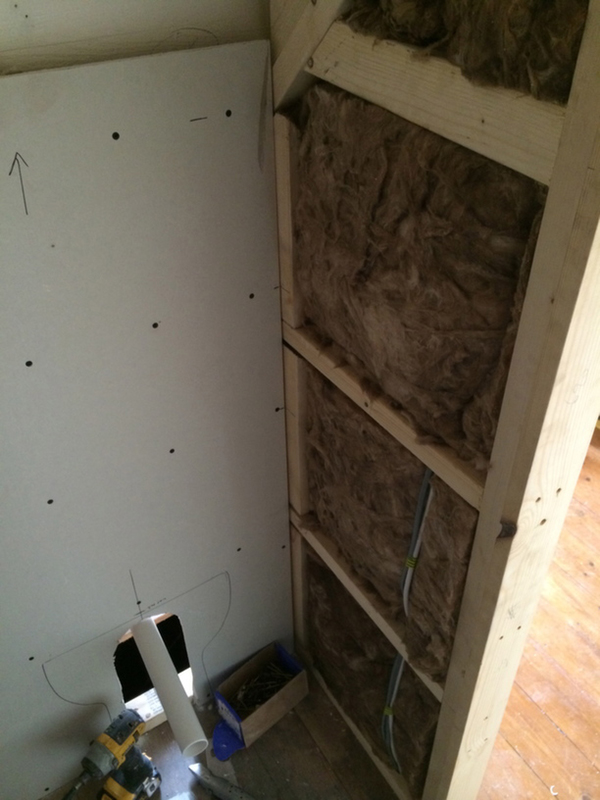
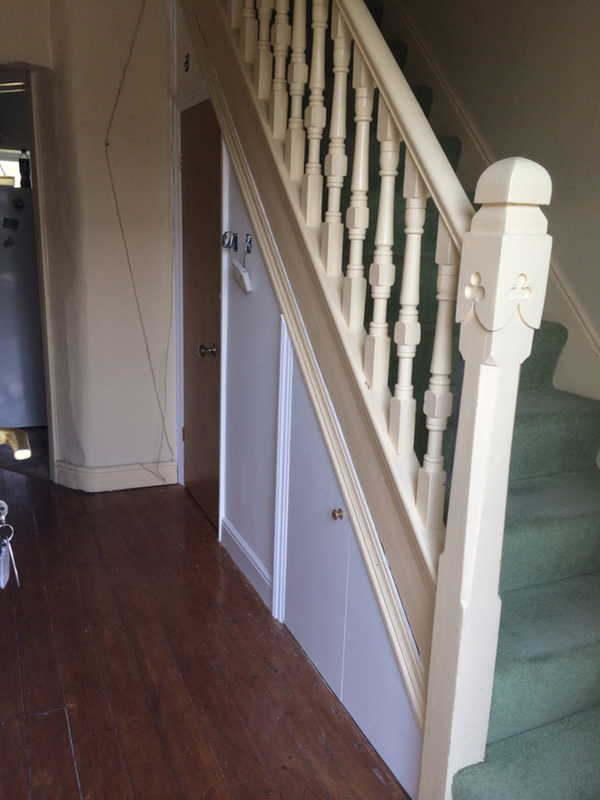
New studwork is fitted which separates the downstairs cloakroom from the storage area behind it, and provisions are made for a narrow door at the far end.
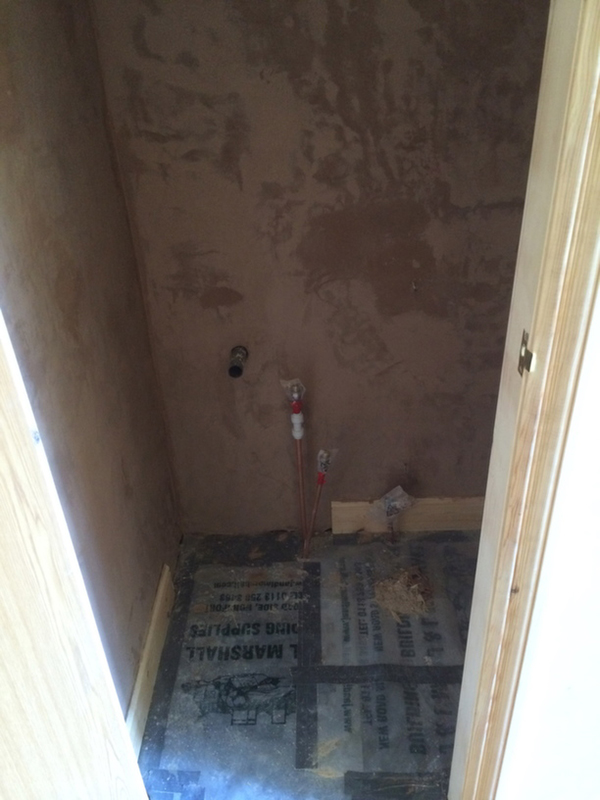
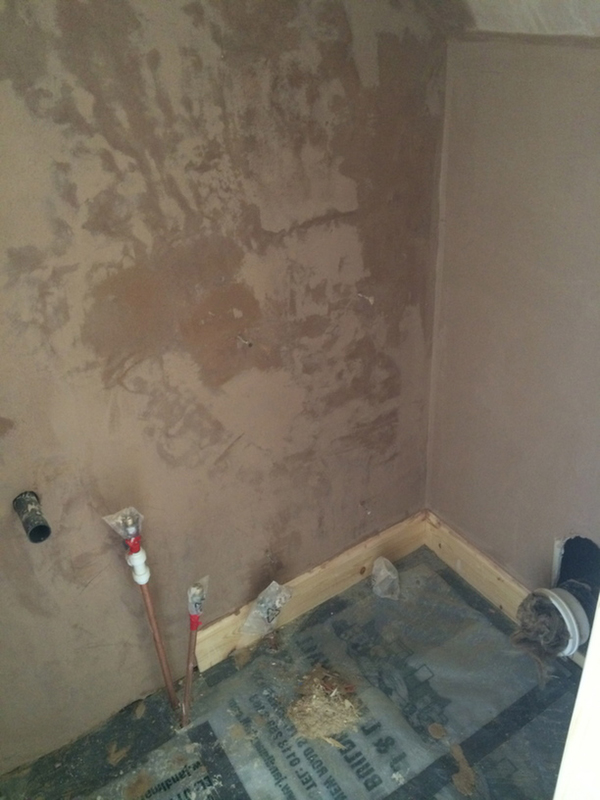
All pipework is run as required for the new fixtures – toilet, basin, radiator etc.
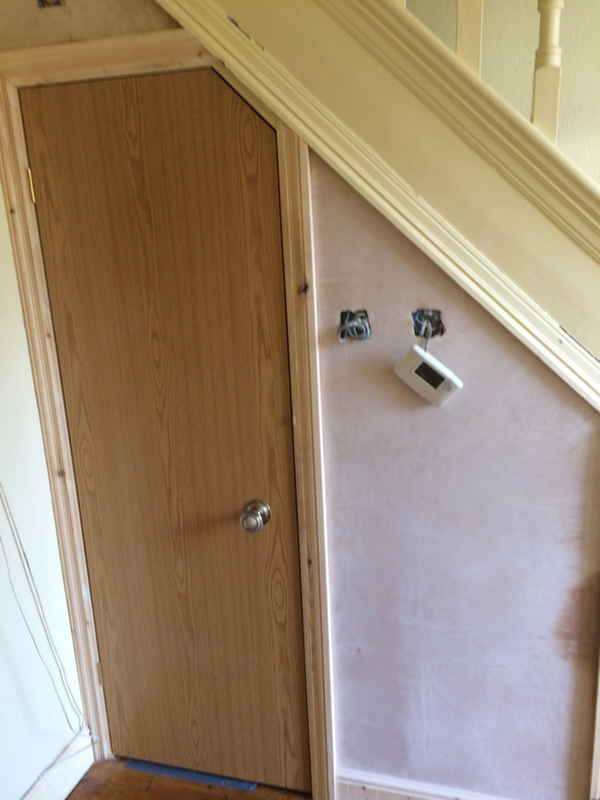
An oak veneer door is fitted into the made to measure door frame and door furniture is added as required. Architrive & skirting are fitted.
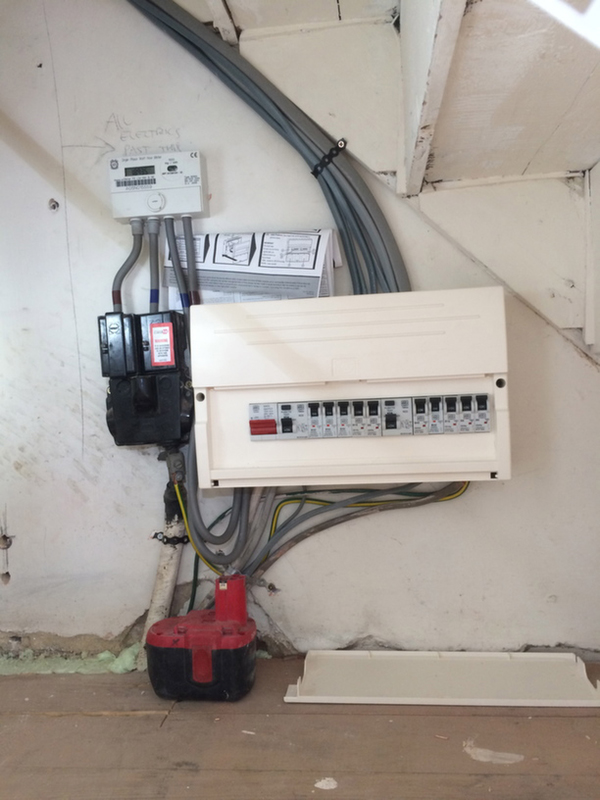
The existing fuse box is relocated into the new storage area so it is still accessible without getting in the way, and the opportunity is taken to upgrade it at the same time – It is recommended to do this at least every 10 years. A completion certificate is issued.
A custom made bifold door is fitted which will allow access to the storage area behind the downstairs toilet off the hall – The bifold nature of the door means that it is more convenient to open.
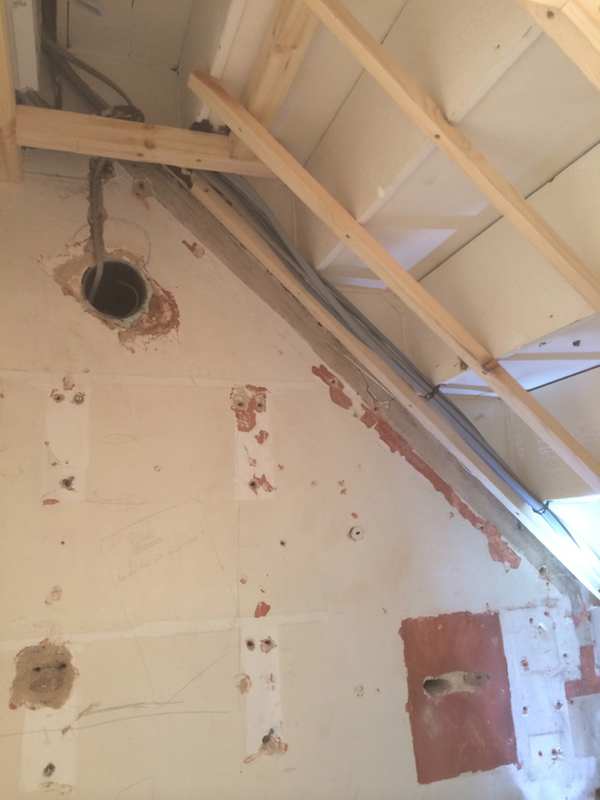
Lighting is added into the ceiling as the room will be devoid of any natural light, and a switch is positioned in the new stud wall by the door. An extractor fan is also fitted and wires re-run as appropriate to conceal them in the new layout.
The walls are then insulated & boarded ready for plastering.
A vinyl floor is also fitted into the downstairs toilet prior to 2nd fix plumbing work being carried out.
The walls are skimmed and joinery work is done to complete the job such as the skirting & architraves etc. Note how the vinyl floor is completely covered for this stage of the work to protect it from splatters.
All of the plastered walls are painted once the plaster is dry, as is all the woodwork.
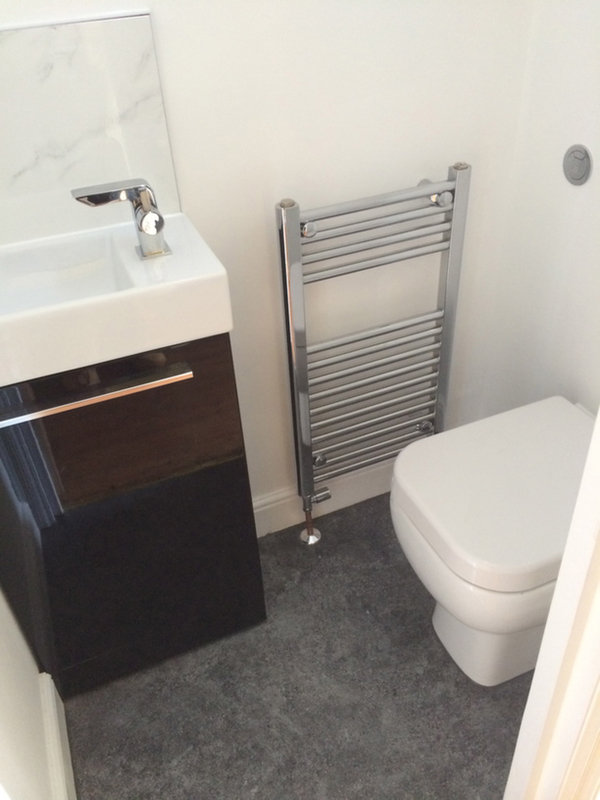
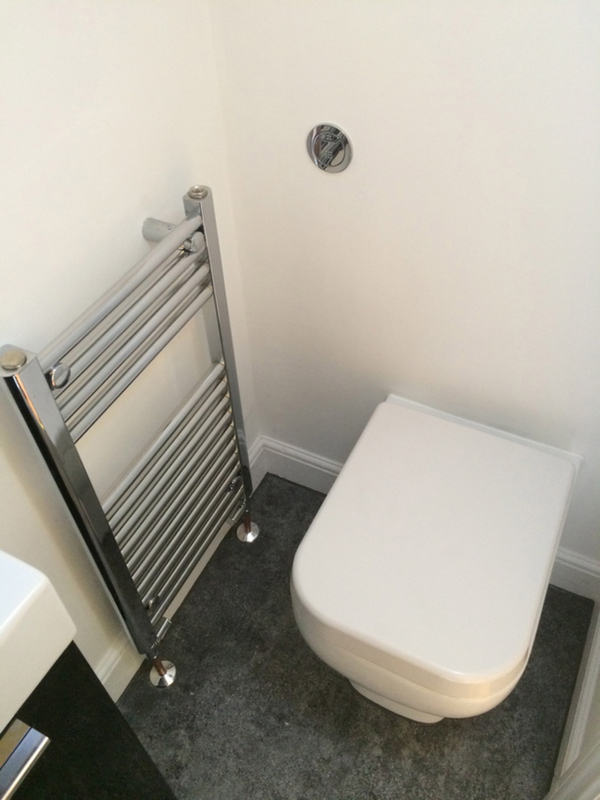
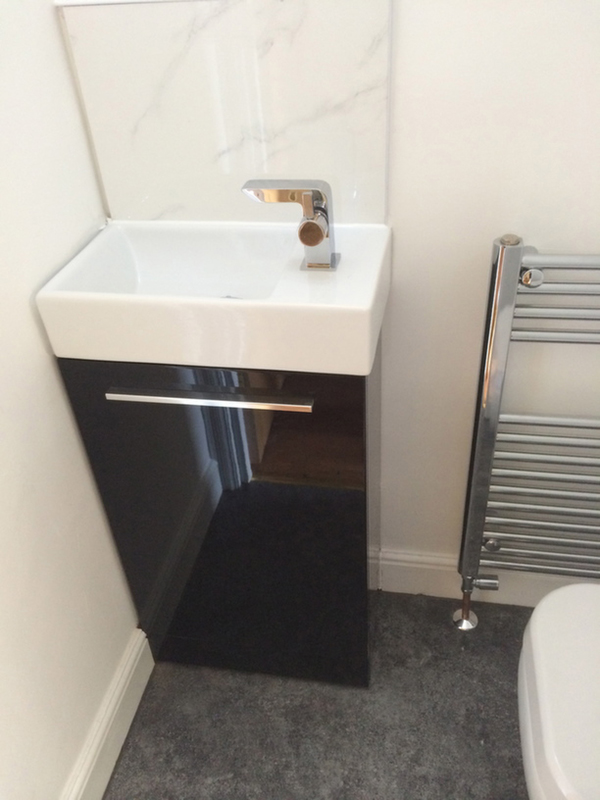
A small chrome towel warmer that runs off the central heating system is fitted.
A short projection (to maximise space) back to wall toilet is fitted slightly off centre in the room to avoid users catching their knees on the basin or the towel warmer.
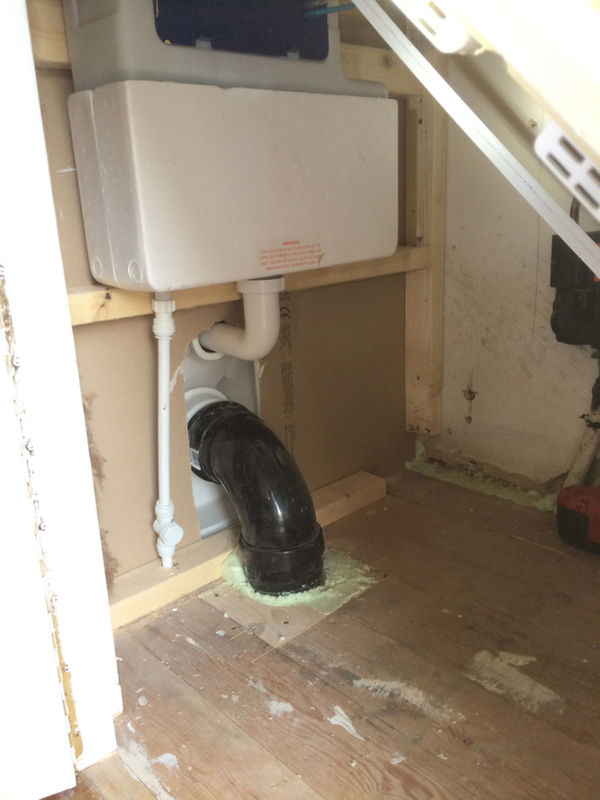
The toilet cistern is located behind the toilet on the other side of the wall in the storage area, maximising the floorspace in this tiny room, and the waste pipe is run outside to link up to the soil pipe.
A small vanity unit & basin, combined with a mixer tap, is fitted into the corner to maximise space.
A small splashback is fitted after the installation of the basin.
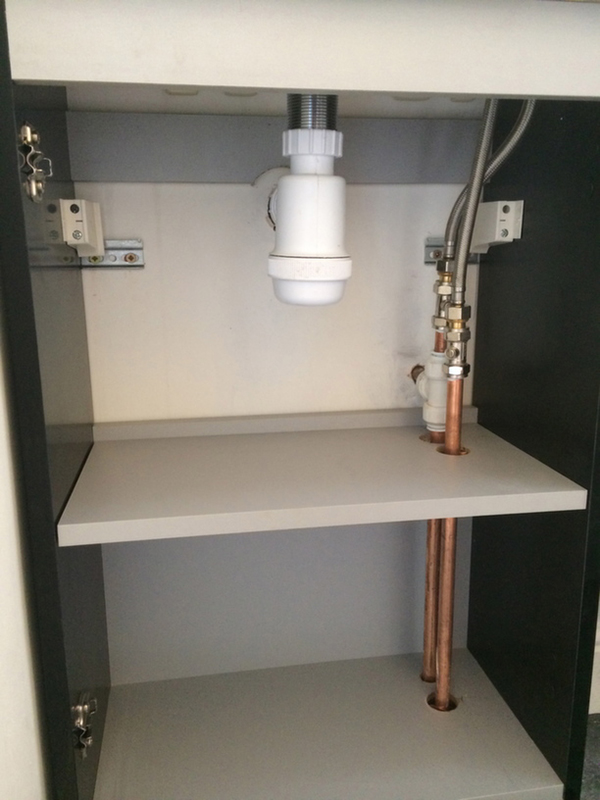
Provisions are made to run an outside tap from the water supply to the basin, which you will be able to see in the pictures below.
The original cast iron soil pie is replaced with a plastic alternative to allow the new connections of the downstairs toilet to be made.
All holes in the wall are cemented up as required for a neat finish.
An area of just 80cm x approx 120cm (excluding the storage space behind it) was used to add a vital facility to this house, as well as adding value to the property as a whole, and a storage area behind the toilet, accessible off the main hall.
Let me know if this has been helpful in the comments below.
Many thanks
Chris

