This article will explain how water ingress behind tiles can occur, why you should care about it & why its better to do things right 1st time (until a quantum accelerator is invented at least).
If water from a shower gets in behind tiles (in either a shower enclosure or around a bath) through…
- cracked or missing grout
- an incomplete or broken silicon seal (normally related to to the incorrect fitting of the bath)
- the grout itself (especially if you have a power shower)
…..and the substrate (wall) behind the tiles is not waterproof, then it can fail resulting in tiles falling off walls and major remedial work to put everything right.
To put this in context I.e. what it means to you as a homeowner:
WATER PENETRATION + UNSUITABLE SUBSTRATE = POTENTIAL COSTLY REPAIRS (see below)Do it right 1st time and you will not have to do it twice!
Prevention is better than cure
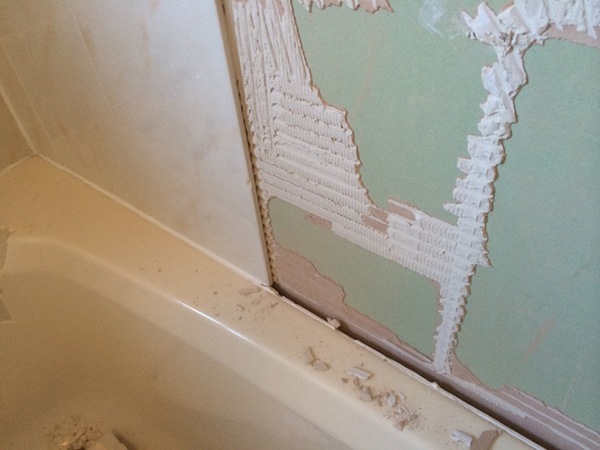
Stopping water ingress behind tiles is best done at the initial installation stage as anyone knows who has repeatedly tried to fix a leaking shower tray or bath to no avail due to underlying installation deficiencies e.g. not fitting a primary silicon seal to the bath as shown below which can lead to water running down the wall and into the room below.
There are many ways to limit water penetration through correct installation techniques regarding shower trays and baths and these are covered in different articles.
However, even when baths, shower trays & tiles are correctly installed, water can still penetrate behind tiles, so tanking is highly recommended.
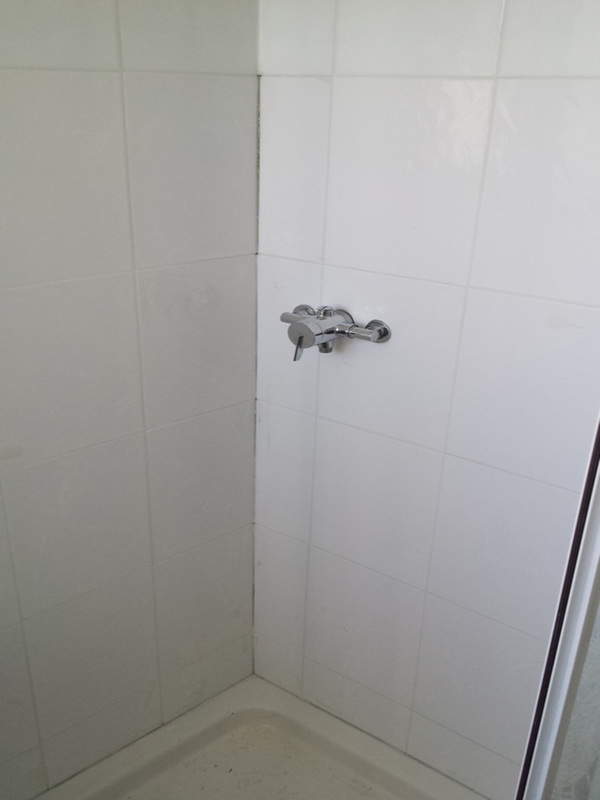
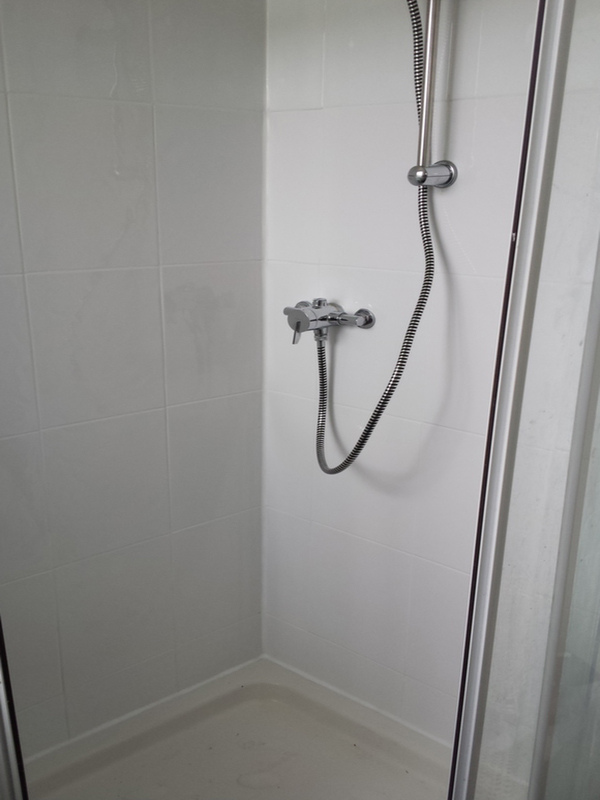
This case study shows you the steps that may be required to rectify problems with water penetration in a shower enclosure that was not tanked.
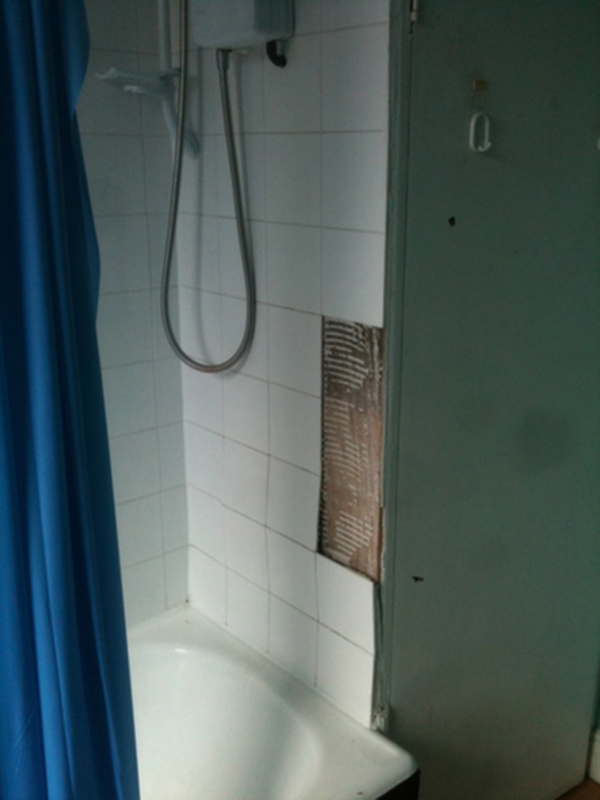
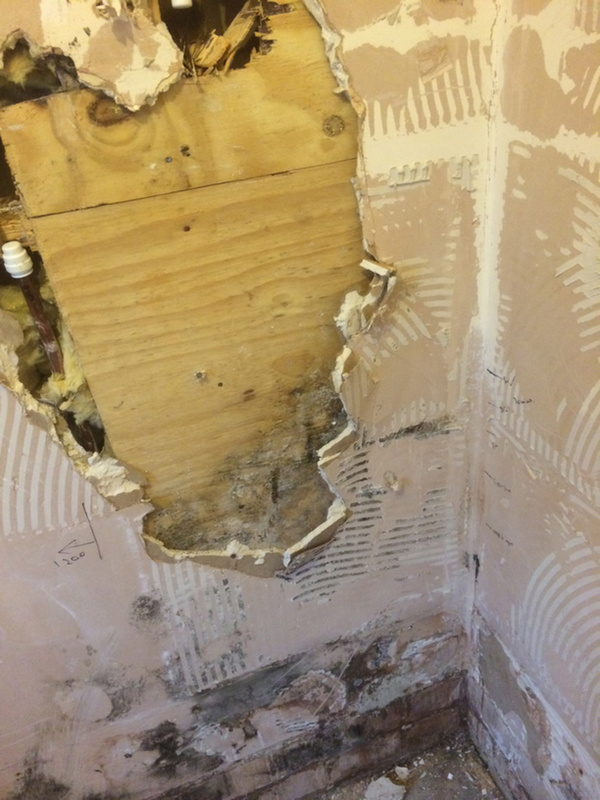
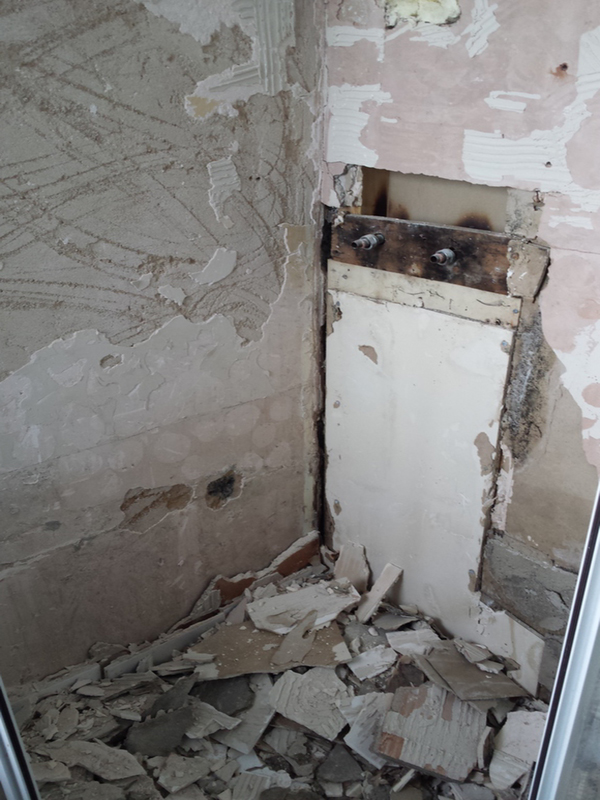
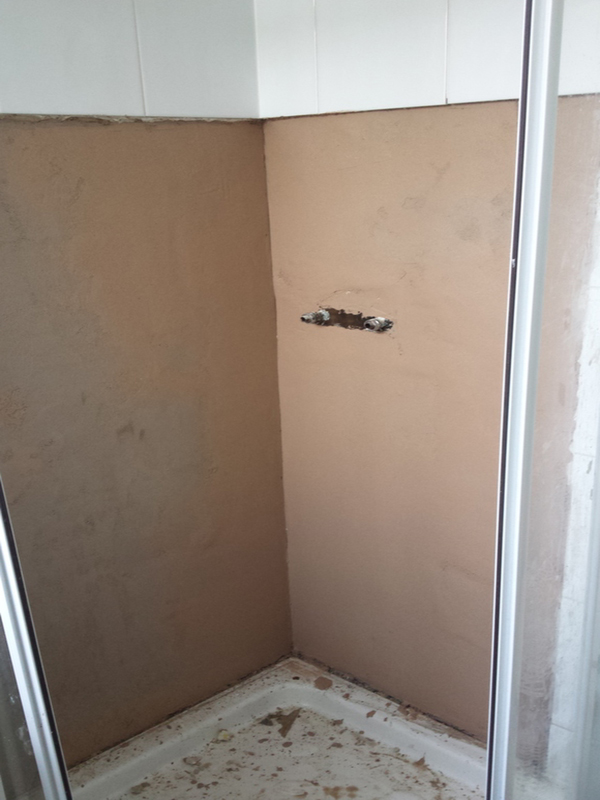
This showers tiles were falling off the wall and missing grout had lead to water penetration getting in behind the tiles and making them loose, as well as causing the wall to rot.
All the loose tiles and rotten / blown wall material was removed to start again from a solid base. A horizontal grout line was scraped out with a stanley knife at waist height so there would be a clean break.
The walls were then primed and bonded up to give a level surface.
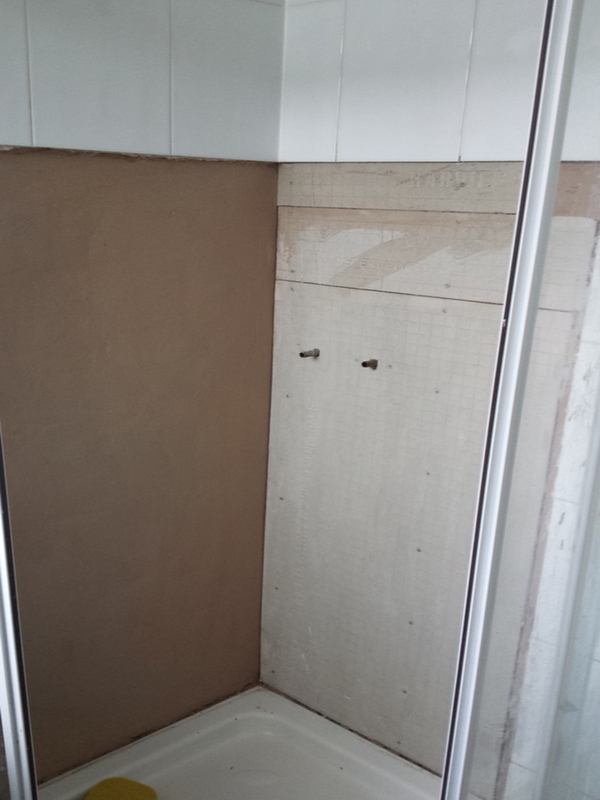
These flat walls then allowed tile backer boards to be fitted, which would provide a suitable surface to tile onto.
The surface of these boards was fitted plumb and set back from the surface of the tiles above by a suitable distance to allow the new tiling to be level with the old tiling.
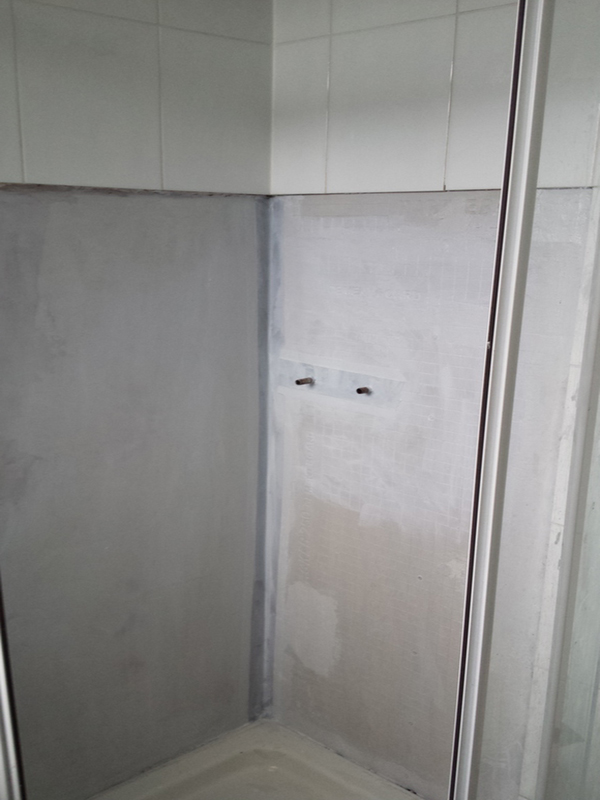
This cement based backer board was then primed & tanked with an all in one tanking kit to provide a fully watertight surface behind the tiles.
This would mean that if any water got in behind the tiles again, the wall would not rot and become mouldy, and the installation would not be compromised.
Joints in the board and the internal vertical corner were reinforced with a mesh tape pressed into the waterproof membrane to ensure that no gaps in the membrane formed, and then the rest of the area was covered with the liquid membrane.
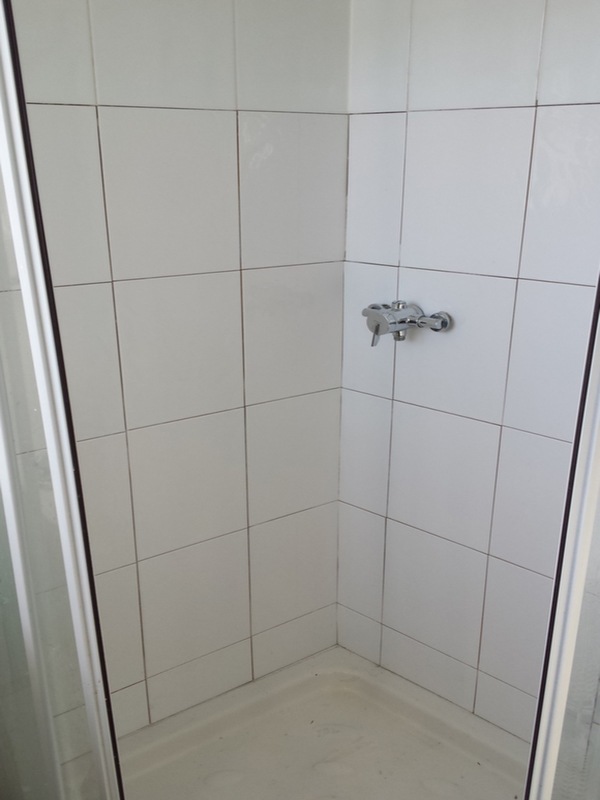
Once the tanking membrane had dried (minimum 3 hours if weather is warm), the enclosure was retiled using a cementious flexible adhesive (tubbed adhesives are not recommended for tanked or otherwise impervious walls.
Once the adhesive had set, the enclosure was grouted.
The internal corner was sealed with silicone rather than grout so that any slight movement between the 2 walls would not open up any gaps that could lead to water penetration behind the tiles.
This is done because silicone is much more flexible than grout (even flexible grout) and moves with the walls rather than cracking when subjected to slight movement (which is common with timber walls as they expand & contract with changes in humidity.)
Tools of the trade
To get a really neat silicon seal I use these:
Wonderwipes
These are essential for siliconing or caulking – save yourself loads of toilet roll, messy hands and ruined trousers and just get some – they’re great for removing oil etc as well (without a water source) so you can just leave them in the garage or car for future use when you’re done with them.
Fugenboy silicone tool
These are essential for getting neat silicone results every time, without the faff of taping everything off. I swear by them and these ones from Screwfix (see link above) are great because the rectangular shape means they can be used on their short edge as well as their long edge so it makes it easier to get in behind basin taps etc. There’s others available too.
Mould resistant sanitary silicone
The Mapei range of silicone is excellent (though not the cheapest) but it has the added benefit of co ordinating with a large variety of Mapei coloured grouts.
If you do not need to match the grout, the No nonsense range (Screwfix’s own brand) is good too.
Thanks for reading, shoot me a message in the comment section below if you have any questions relating to this article or take a look at some of my other articles…
Chris

