This complete shower room was installed in under 1.5 weeks by ukbathroomguru.com.
Introduction

I carry out project managed bathroom fitting in Leeds.
Please see here for more details or continue reading for a case study of a recent installation.
Other case studies can be found here and here.
Fitting a new shower room in Leeds
Unfortunately, I don’t have any ‘before’ photos so it may have looked better before than after for all you know!
However, it doesn’t and here’s why.
Although the layout was kept more or less the same, we made the following improvements:
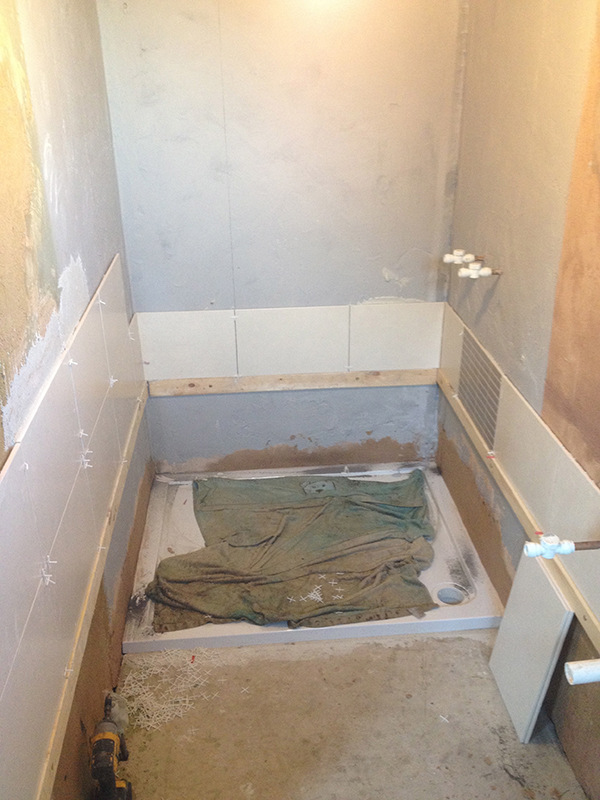
- We put in a shower tray that spanned the entire width of the room rather that leaving a small pointless slither down one side of it as the old tray had – this gave a larger showering area and made the room feel bigger. The low profile of the tray ensured there was not a large step into the shower.
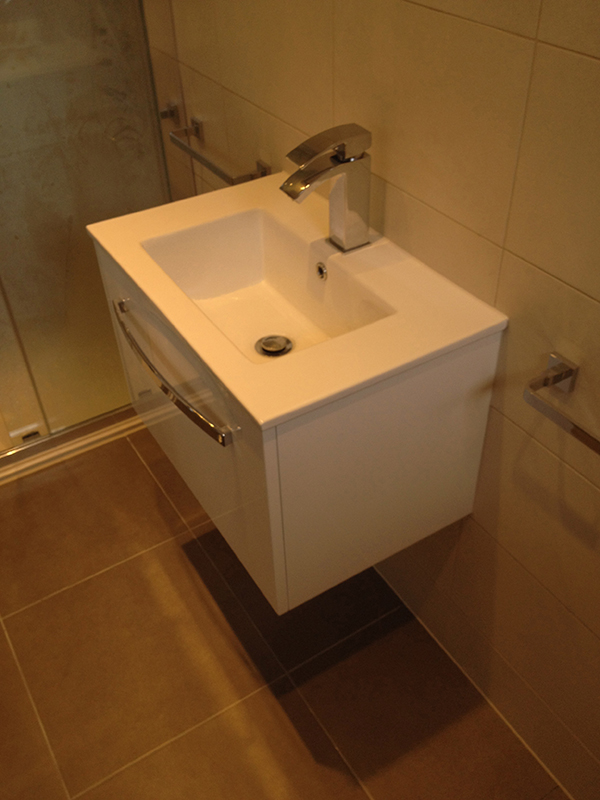
- We planned for, and installed a wall hung vanity unit & basin to expose more of the new porcelain floor tiles, adding a sense of space.
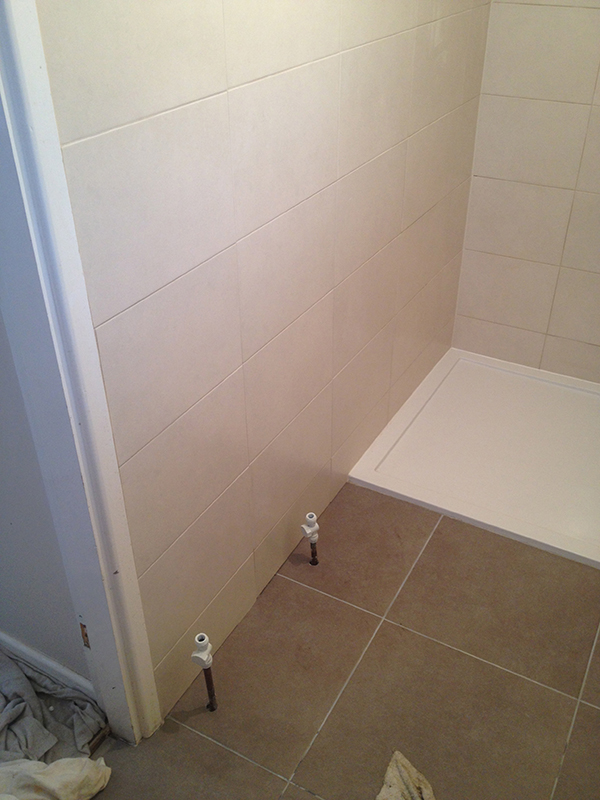
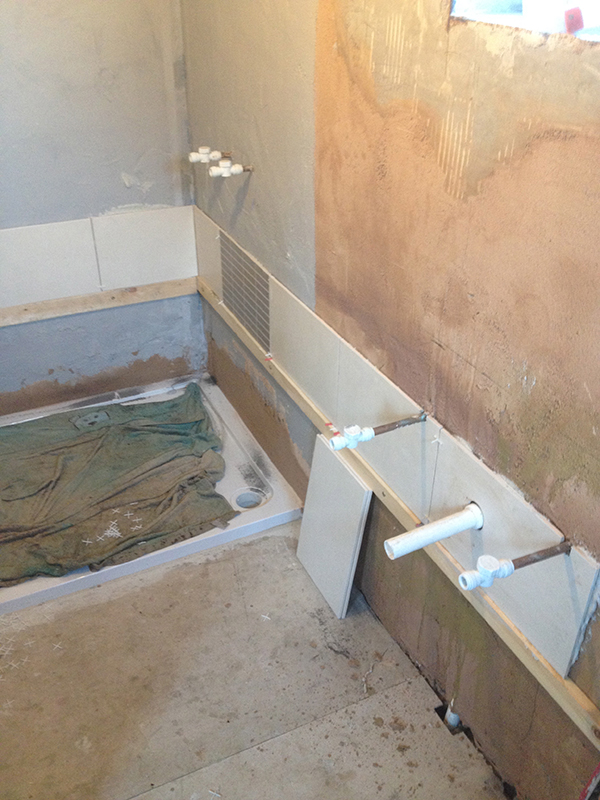
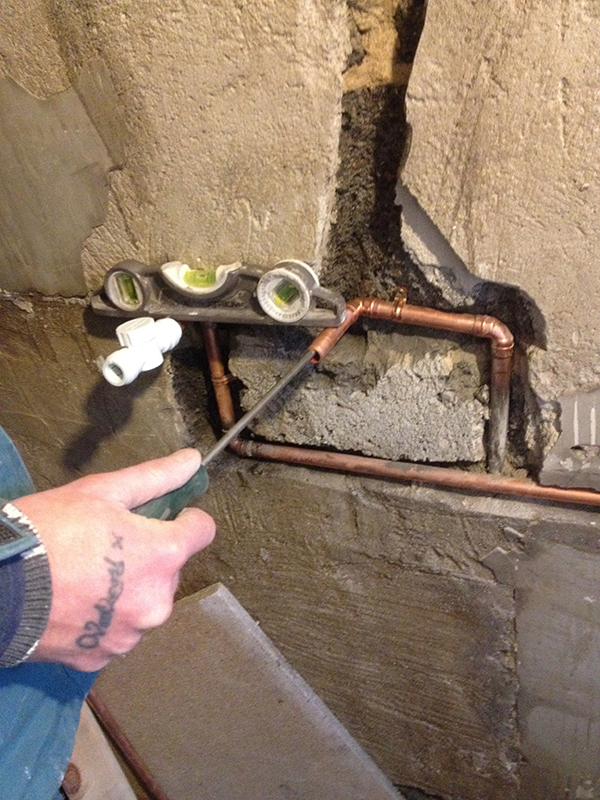
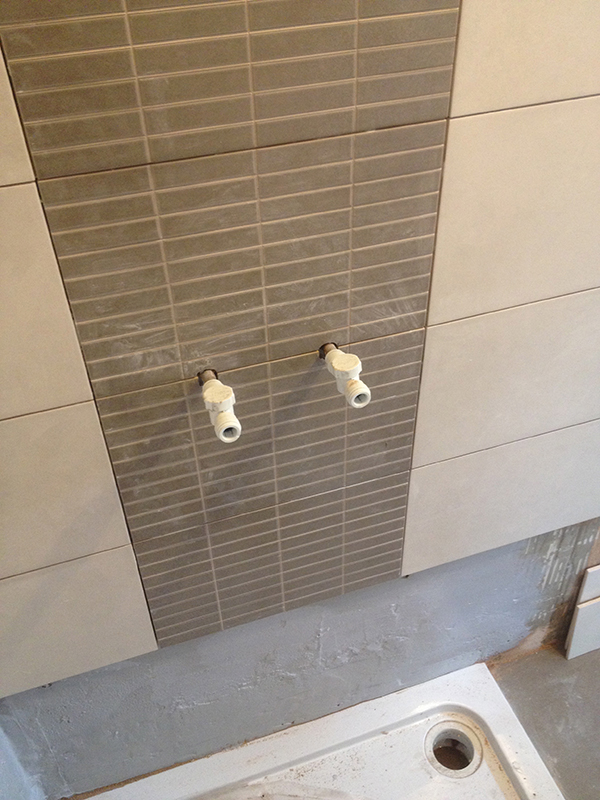
This involved chasing the pipework into the wall before tiling over it.
You can see the shower & basin pipes protruding from the wall as well as the basin waste. The height & position of all these pipes is very carefully worked out at 1st fix stage to ensure the correct positioning of the shower & basin at 2nd fix. e.g. the height of the basin is set at height to suit the user.
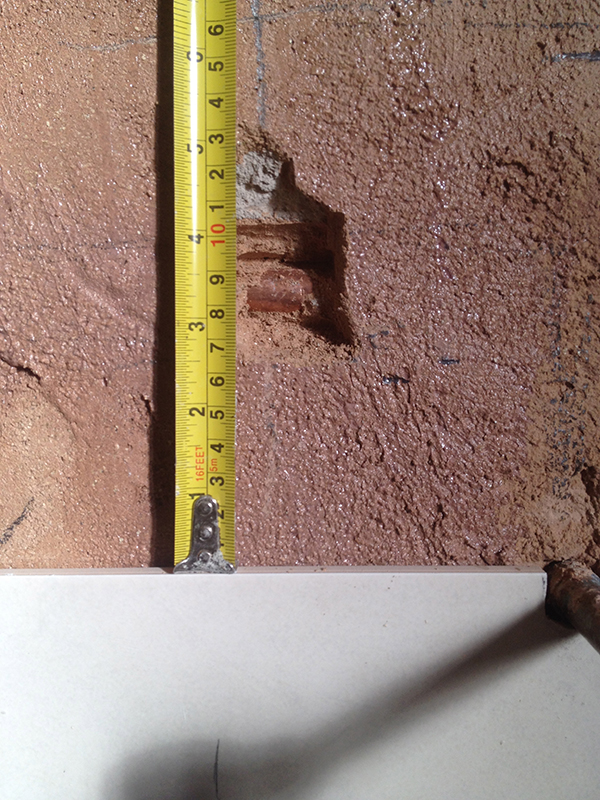
PS When I was tiling I made a note of exactly where the pipework had been run in the wall (Where I knew it would be close to a screw fixing) so as to ensure I didn’t hit it when I attached the basin / vanity unit to the wall.
- We boxed in the necessary waste pipework to the side of the toilet for a neater finish than previously (where the drainage pipe was on show).
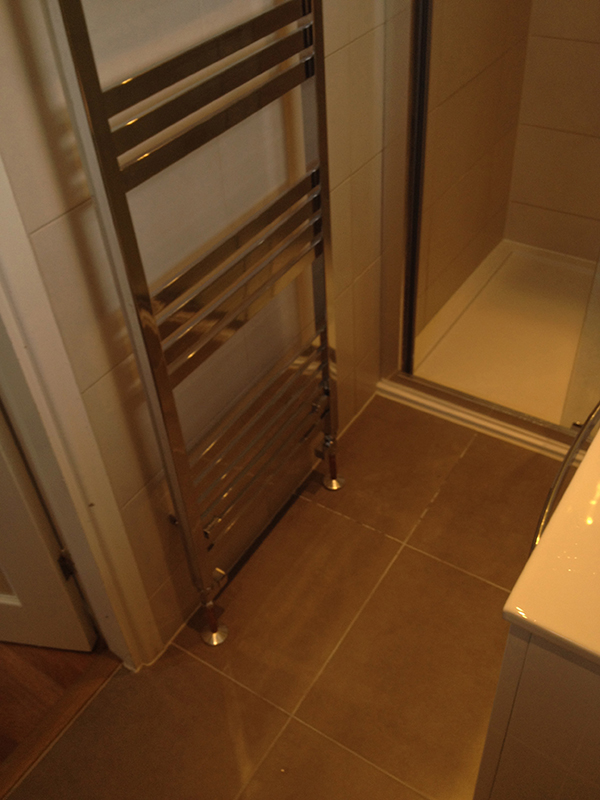
- We added a tall towel radiator on which to hang towels just outside the shower cubicle.
- We swopped an old electric shower for a new mixer shower for a better showering experience.
The plumbing & tiling work was co-ordinated so that the shower would finish in the exact centre of the shower tray whilst still being centred on the feature border tile (see above).
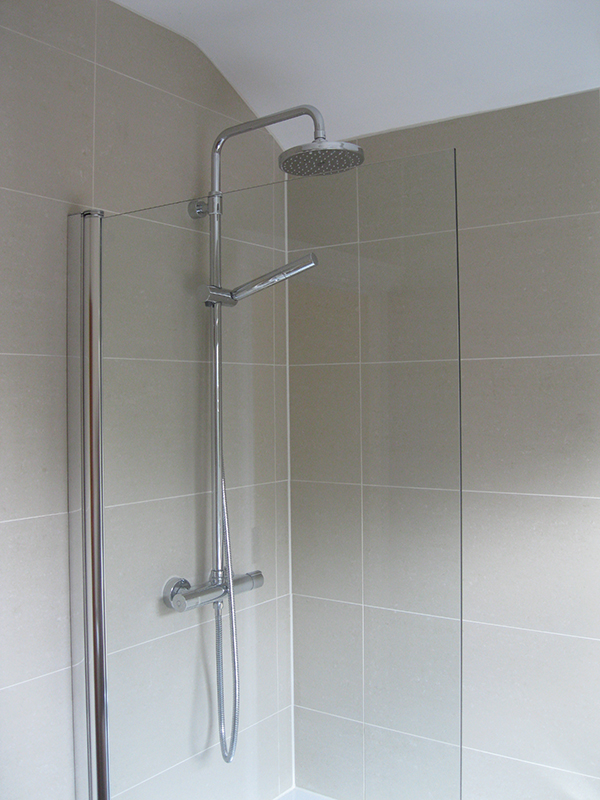
Again, I forgot to take a picture of the finished shower but it was similar to this one above (sorry!)
- The walls were tiled with large format ceramic tiles & finished with colour co-ordinated grout & silicon for a professional finish.
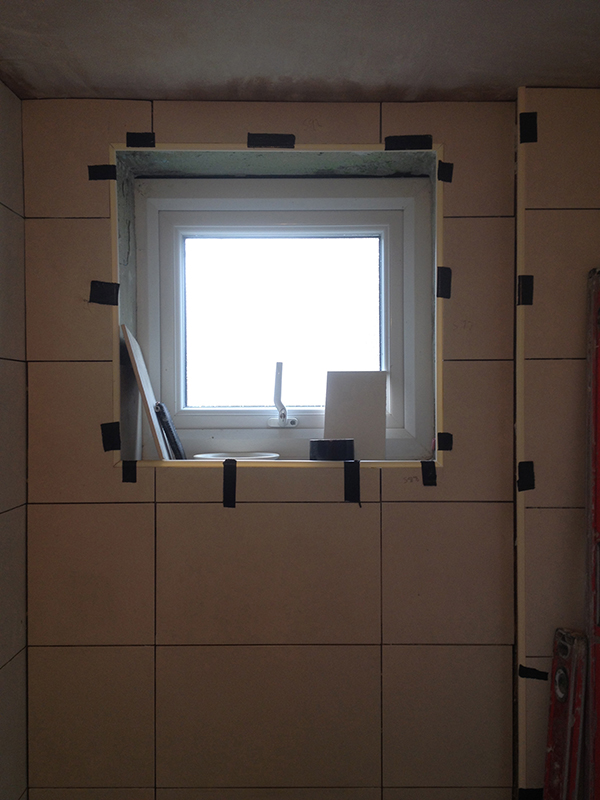
- Colour matched tile trims were glued into position for a neat finish.
- The ceiling was also plastered and painted with anti-mould bathroom paint and new IP rated, energy efficient spotlights were added, as well an an extractor fan to control the humidity.
Summary
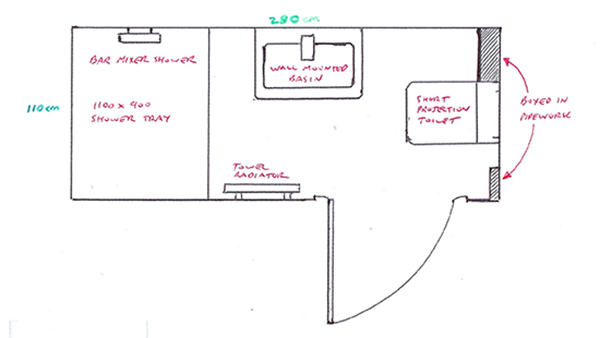
The finished bathroom is a clean & contemporary room which makes better use of the space available (which was 110cm x 280cm in total.)
This bathroom installation started on a Monday and finished the following Wednesday.
The work schedule was very tightly organised by a project manager (me) ensuring the work was done in the correct order to give the best finish in the shortest time.
It involved many tradesmen that the homeowner may have found difficult to source individually, and then organise into a tight schedule: On this job we had a, plasterer & tiler, plumber, and a couple of labourers & painters – All project managed by a single source to make the process as smooth as possible.
Thanks for reading, give me a call if you would like a nice new bathroom in under 2 weeks.
Chris