Many people do not want a step up into their new shower but sometimes it is unavoidable. Keep reading to find out why…
Quick definitions
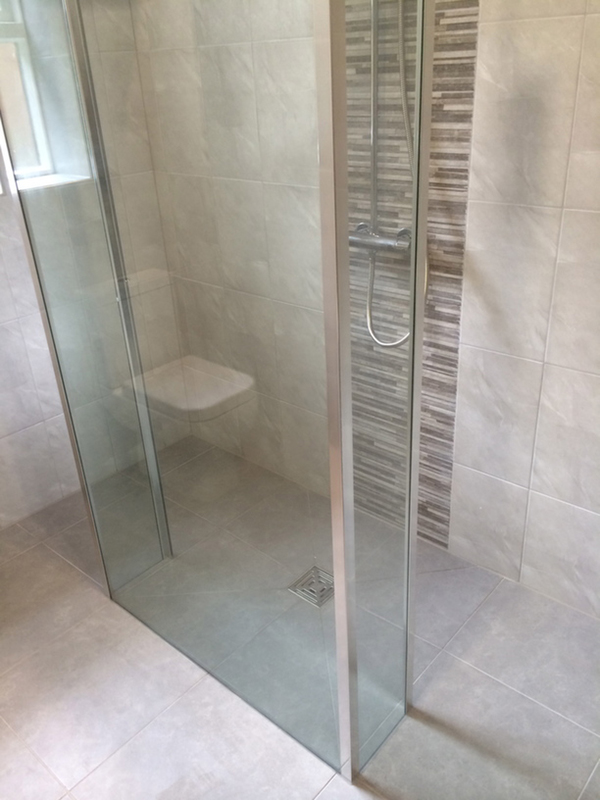
Wet rooms have a tiled or vinyl floor and there is no step up into the shower area.
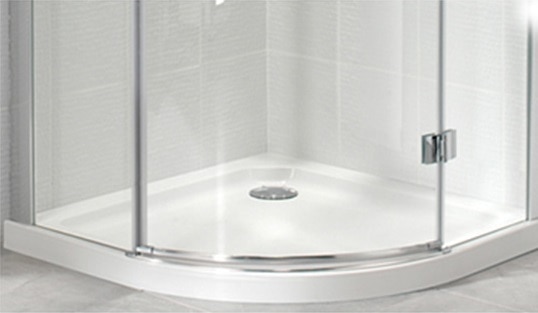
Low profile shower trays can be fit flush to the floor as above…
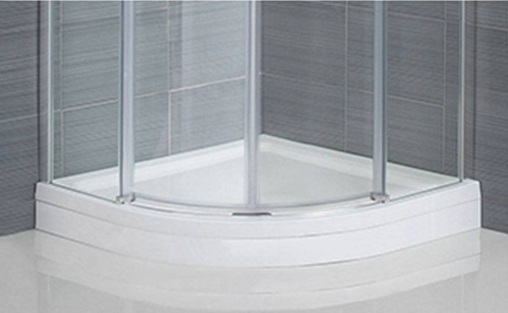
or on a riser kit as above, which lifts the tray approximately 10cm off the floor.
Which one will you have?
For the purposes of this article I will be discussing flush or raised shower trays, rather than wet room trays.
Please see here for more information on that particular subject.
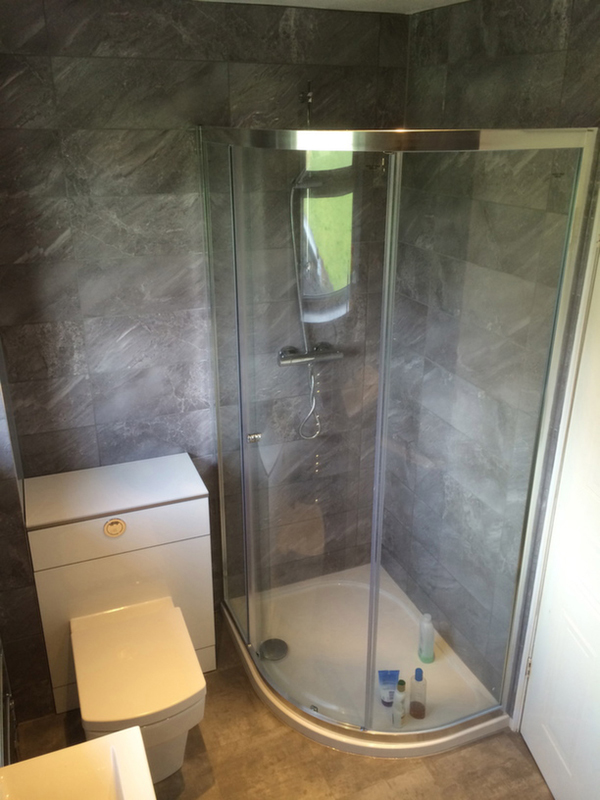
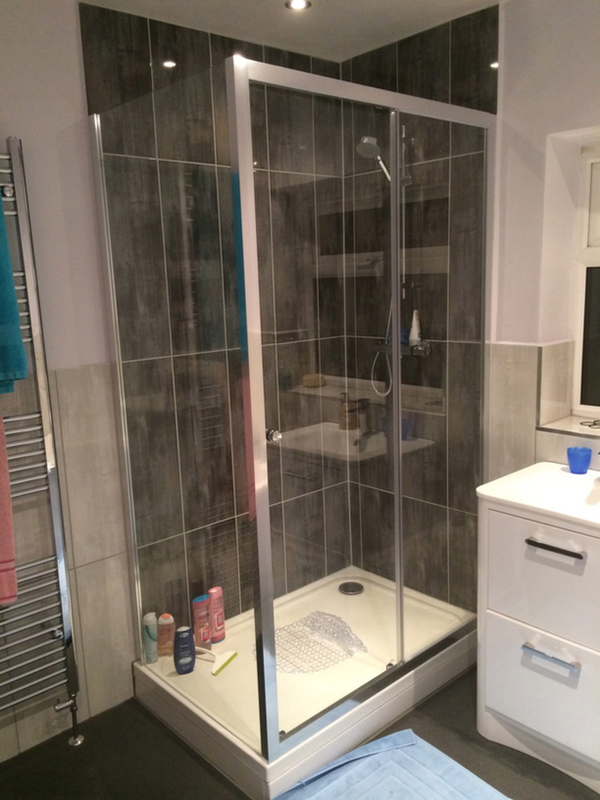
Flush shower tray
Flush shower trays are often preferred, as they look neater and have a smaller step up into them.
ADVANTAGES: They are particularly helpful to those with mobility issues, or who find getting in and out of the enclosure difficult.
DISADVANTAGES: If there is ever a leak on the shower trap, the only way to access it is often to cut a hole in the ceiling below (often the kitchen).
Before saying whether or not you can have a flush shower tray, a bit of background understanding is required:
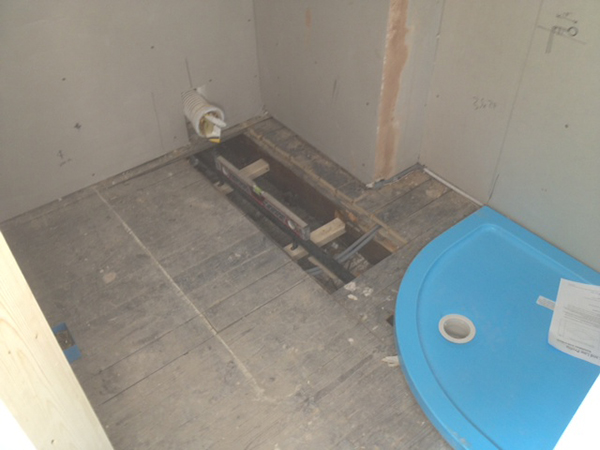
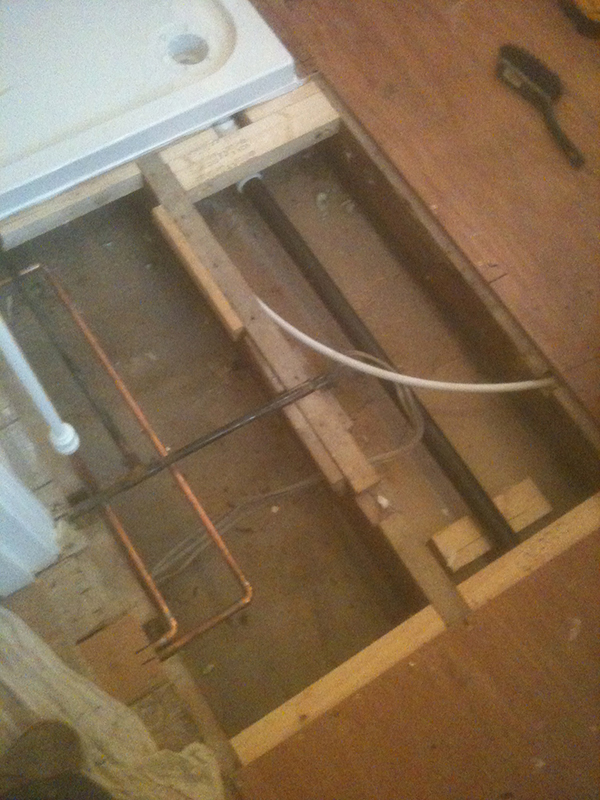
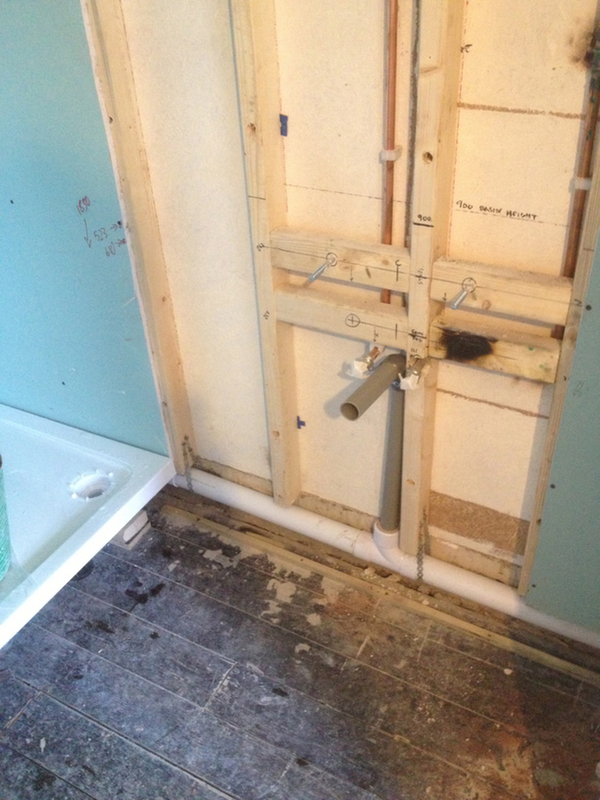
This is what the installation of a flush shower tray looks like:
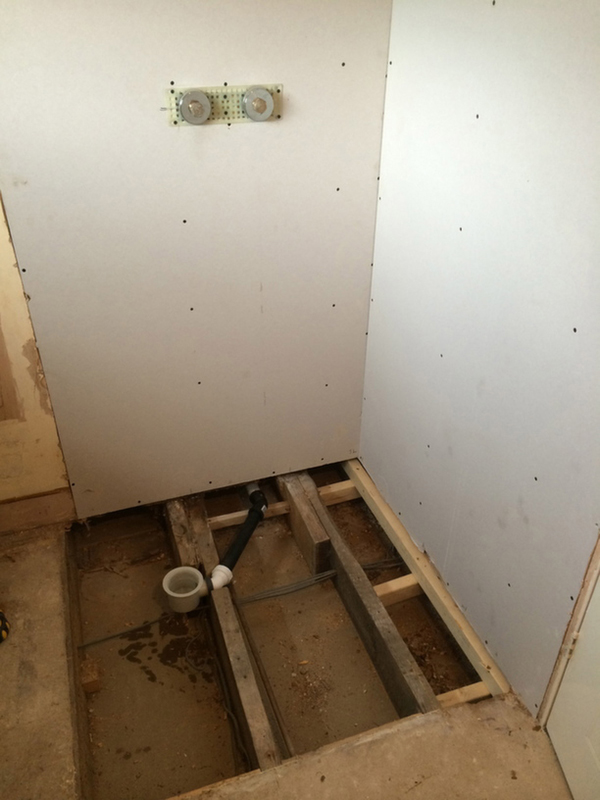
Waste pipework is installed under the floor (to carry away the waste water from the shower to the soil pipe normally located on the outside of your house).
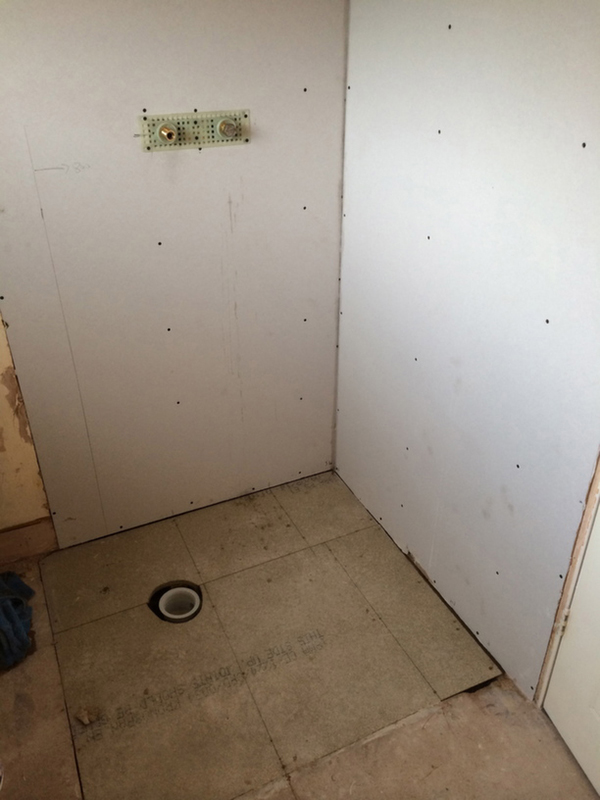
The floor is replaced with a hole cut for the trap (which is attached to the pipe).
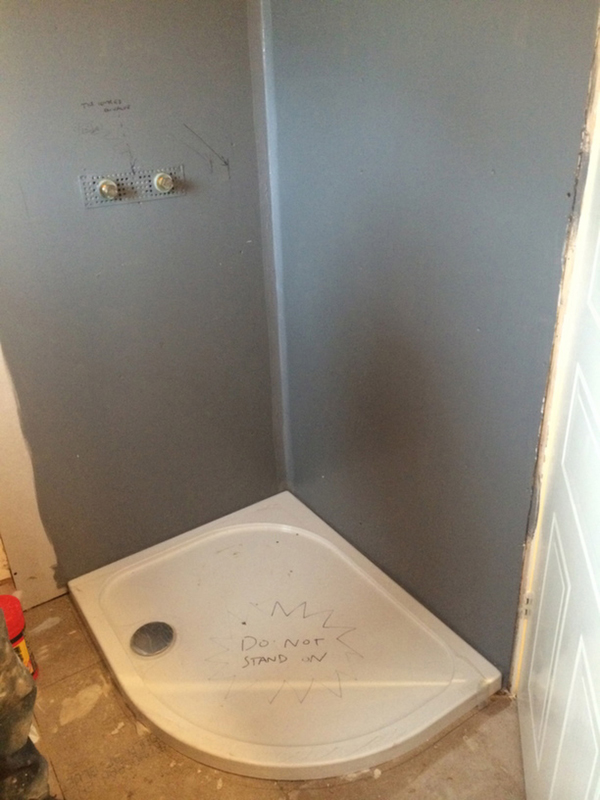
The tray is then dropped into position, levelled and effectively glued into place and the trap is connected to the tray (the trap is already attached to the pipe as you have seen).
However, it is not always possible to install a flush shower tray, and this is something that a remote bathroom planner (in Bathstore etc) will not be able to tell you as they haven’t set foot in your bathroom……
This is also one of the perils from ordering online without the advice of an experienced bathroom installer.
Things that may prevent you from fitting a flush shower tray
Essentially the thing that stops you from fitting a shower tray flush to the floor is something that will stop you putting in the pipework and trap that carries away the waste water away under the floor…….
Such as….
Concrete floors
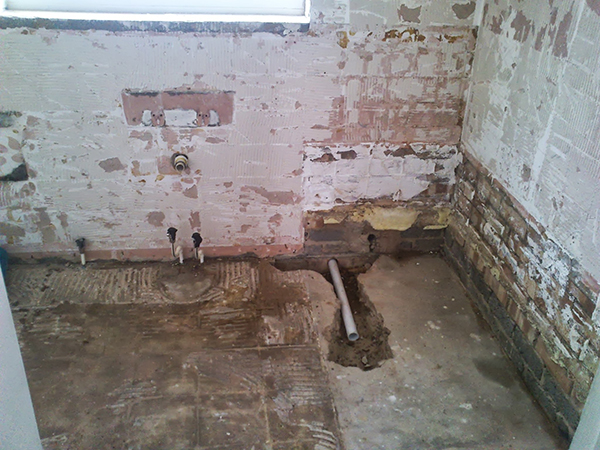
Waste pipework cannot be easily fitted under the tray as required unless it is chased out as shown above – this is not always possible, practical or cost effective.
Obstruction: Pipework
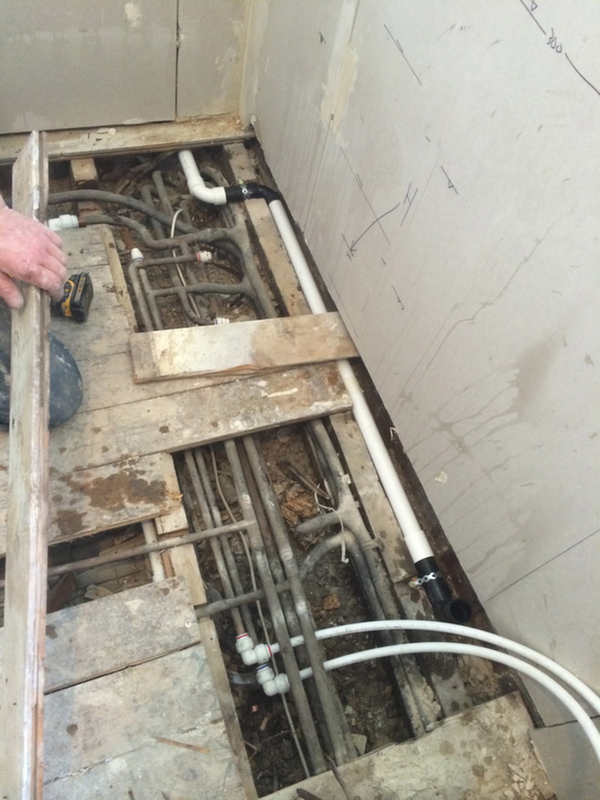
Sometimes the void under the floorboards beneath the shower tray is too full of pipework to run a waste pipe or to fit a shower trap.
Often this will not become known until after work has begun (as you will not know exactly what is under the floorboards until they are removed.)
Obstruction: Joists
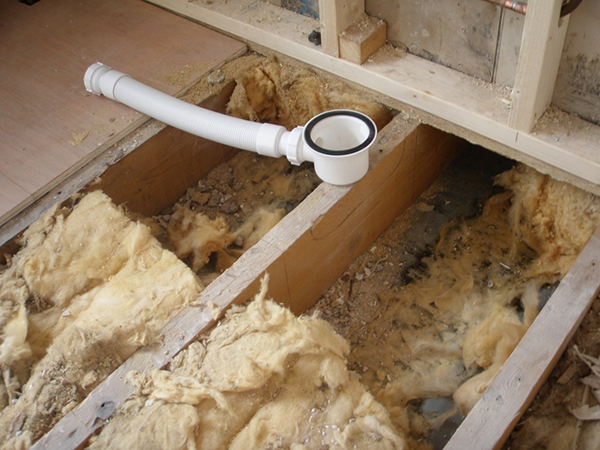
In some instances the trap may fall onto a critical joist and therefore fitting it in this location would require excessive notching of the floor joist in order to physically fit the trap into position under the floorboards.
This is never fully recommended as it can weaken the floor structure, unless further precautionary measures are taken.
PS Picture above are courtesy of an excellent Essex based builders website which highlights what you can do in this situation (notch as necessary & then re-strengthen the joist essentially).
Above is another example where the joists had been previously heavily notched so when we put in a new shower trap we reinforced them where necessary (you can see how we have started to piggyback one joist that the pipe runs through with another piece of timber to strengthen it.)
Drainage considerations
Water has to flow away from the tray downhill (under gravity).
This is the single biggest factor I have found in determining whether or not you will need to have a shower tray fitted onto a riser kit.
All waste pipework (from baths, basins, shower & toilets) need to fall away to ensure good drainage and limit blocking.
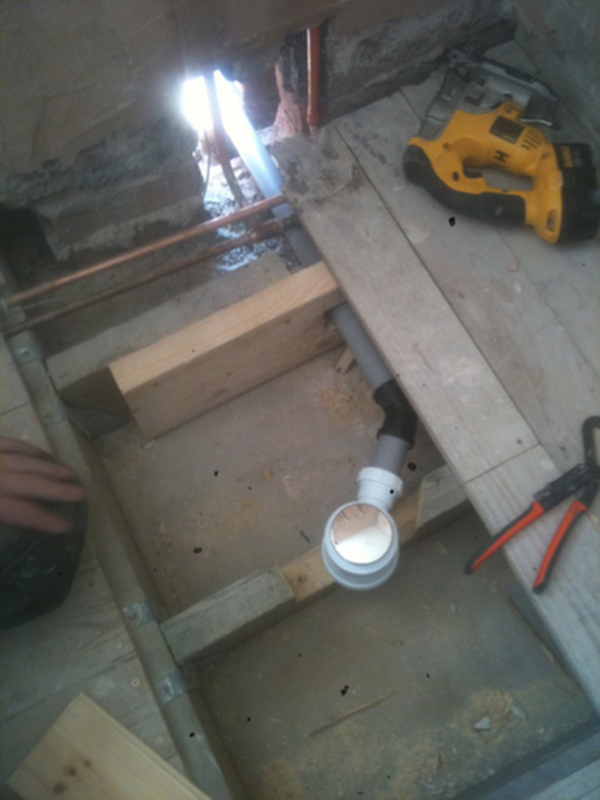
Sometimes it will be necessary for the shower tray to be lifted off the floor to ensure that the waste waster runs away downhill to the nearest drain point.
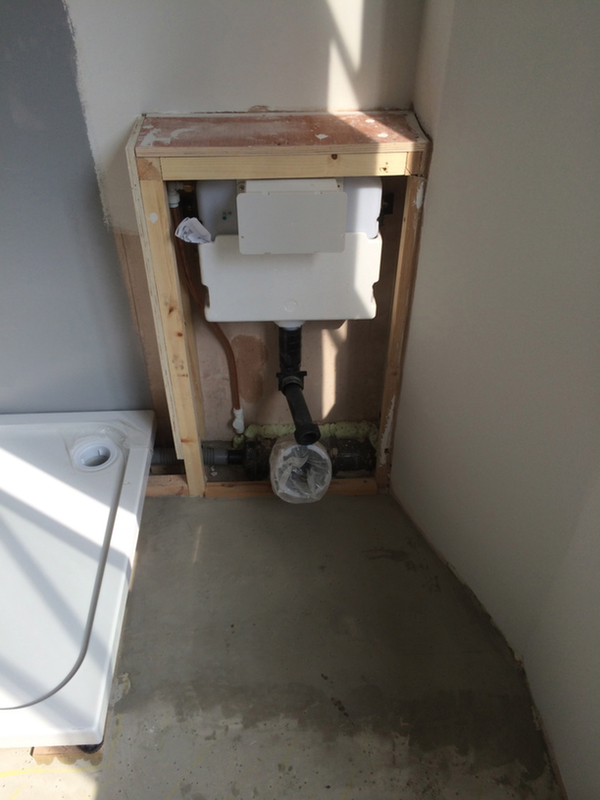
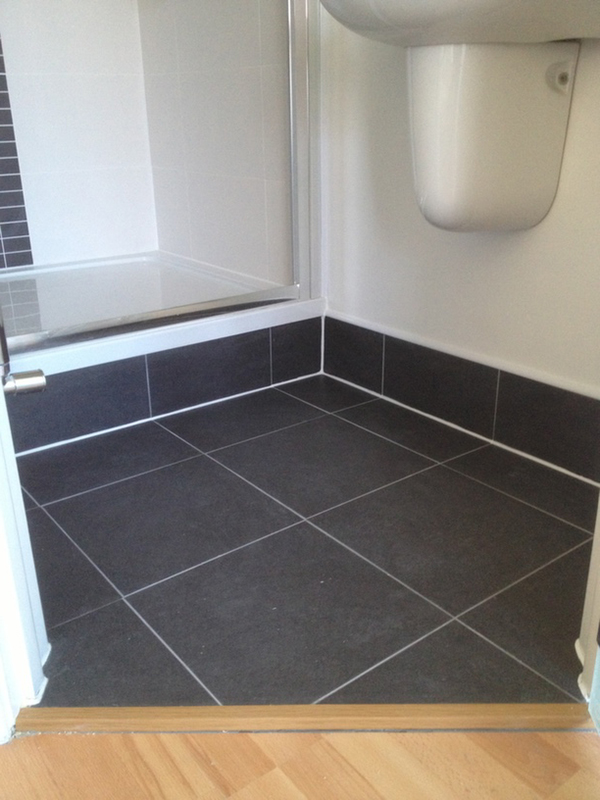
In the example above, the tray needs to be raised to drain downhill into the WC waste pipe (which as you can see is situated above floor level.
The distance that the waste water has to travel may also mean that the tray has to be raised in order to maintain an adequate fall to the point where it exits the building and is connected to the soil pipe outside (usually).
The minimum fall on waste pipes varies with the overall run length from approximately 2cm/m to 10cm/m.
Joist direction & condition
Joist direction can also affect whether you choose to run the shower waste over the floor (with the tray raised up on a riser kit) or under it.
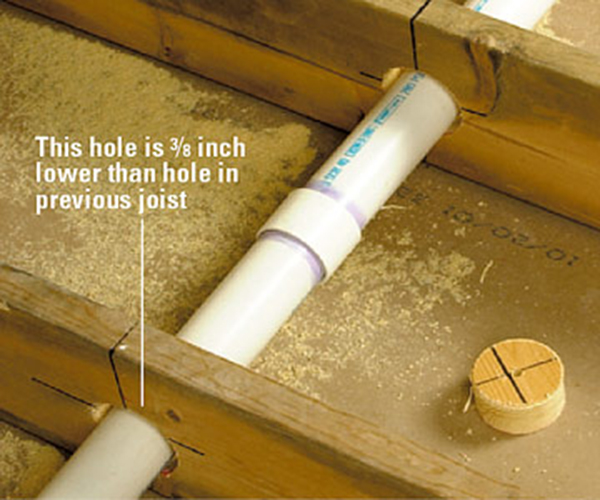
It is difficult to run large bore (40mm+) shower waste pipes through joists as above.
This approach weakens the joists, which can lead to tiled floor installations cracking (as the floor flexes) and other structural problems.
It also takes longer to do and is more expensive, though steps can be taken sometimes to mitigate the risk (by reinforcing the floor in other ways when possible.)
The structural integrity of the existing joists is also a factor that you may wish to consider when assessing whether you want to thread a waste pipe through the joists.
Old houses with old joists that may have been weakened by excessive notching in the past, woodworm, leaks leading to rotting etc will not react well to having (more) large holes drilled in them!
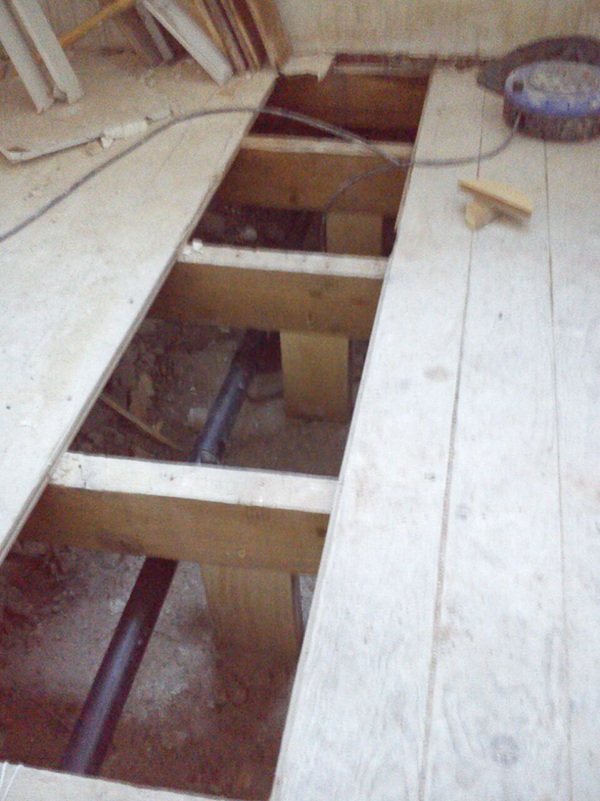
It is much easier to run waste pipes in between joists as above.
PS Large runs of pipe should be supported to prevent the pipe from sagging over time.
In a nutshell…….
If your shower tray is a long way from the external wall (where the waste pipe needs to go) and the waste pipe will have to be threaded through several joists due to their orientation, then it may be worth raising the tray up and running it above the floor.This will be easier to do, will maintain the structural integrity of your floor joists, and allow you easy access to the shower trap in the future should maintenance be required.
PS If your bathroom is on the ground floor you may be able to run the waste under the floor joists as here:
The limiting factor here is normally the ground level outside, as the pipe needs to exit the wall above the ground to connect to the soil pipe or drain into a gulley normally.
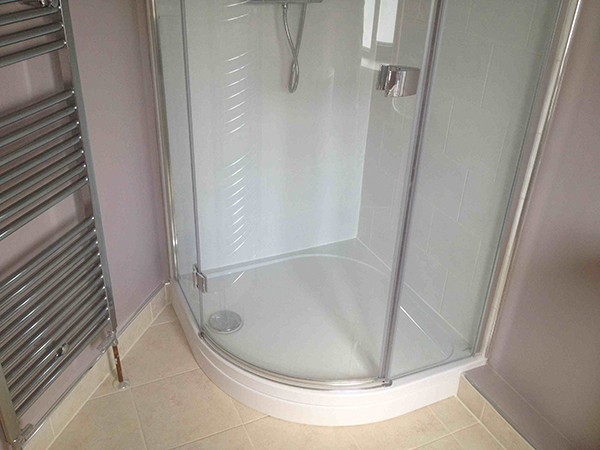
Raised shower trays….
ADVANTAGES: Relatively easy access to the trap should maintenance be required
DISADVANTAGES: Step up into the sh ower area is never ideal & they are arguably uglier
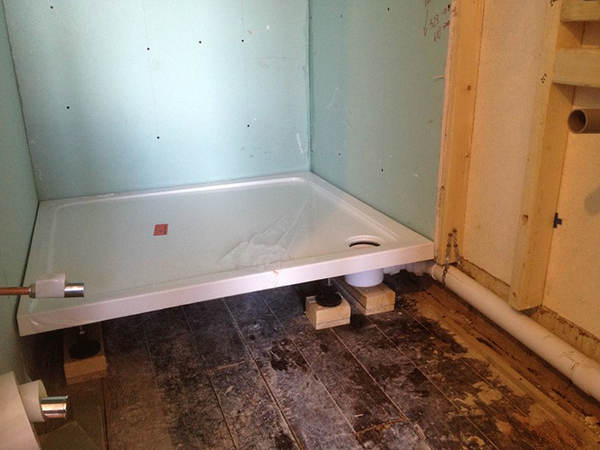
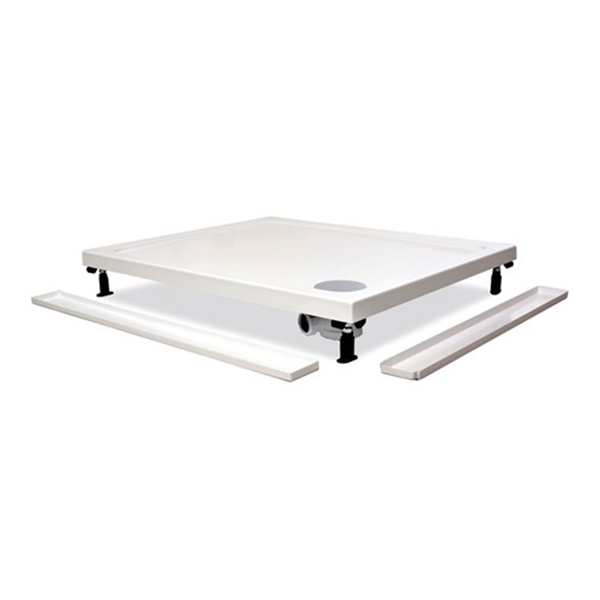
Raised shower trays are exactly the same as flush shower trays but they have an additional ‘riser kit’ which serves to lift them off the ground by approximately 10cm. This gap is then normally filled with a custom plinth.
This allows the trap & waste pipework to run above the floorboards.
Top tip
If you suspect you may need a riser kit for the reasons mentioned above, make sure one is available for the tray you have selected (should you need it).
Riser kits (sometimes called leg set & panel kits) typically consist of adjustable legs and a plinth, and they are specific to the tray manufacturer.
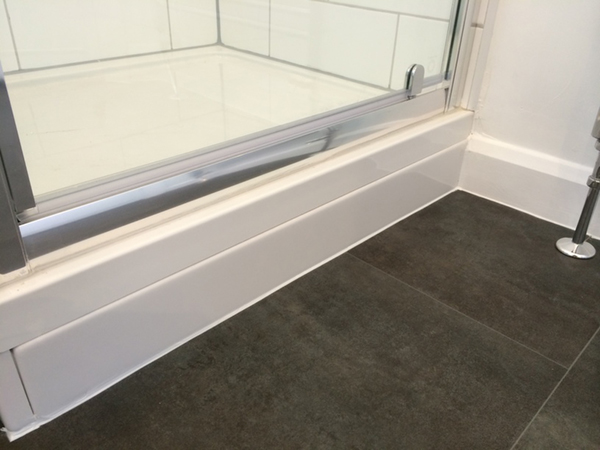
A plastic plinth normally fills the gap between the underside of the tray and the floor but there are alternatives…..
Such as a tiled shower tray riser – this should be made to be removable ideally, so should be fitted after the floor has been tiled.
Not all riser kits will fit all trays, so if you need to raise your shower tray, make sure the riser kit is compatible with it: some legs hammer into holes, some screw into female threads on the underside of the tray – it varies by manufacturer.
Also, if your ceiling slopes (as is the case with many attic en suites) you may have to take the increased height of the riser kit + tray + glass enclosure into account, otherwise you may risk the enclosure clashing with the ceiling.
Dealing with pipework from a raised shower tray
- It can be run under the floor if possible as with flush mounted trays.
- Or it can exit the building under the shower tray itself (normal scenario)
- Alternatively, pipework above floor level (from a raised shower tray) can be run in behind a wall….
- Or against the walls, which can be then be boxed in…..
Thanks for reading
Hopefully you should now have an understanding as to why its not a straight forward yes or no answer to the question of whether you can have a low level shower tray!
If you want a recommendation of shower trays please email me at chris@ukbathroomguru.com
Chris