This article features a case study of a ukbathroomguru.com bathroom design & installation in Alwoodley, Leeds.
Overview
This bathroom was designed and installed from start to finish and involved the supply & project management of several tradesmen once the planning & design was finalised.
- labourers
- plasterer
- painter
- plumber
- electrician
- tiler
Work done
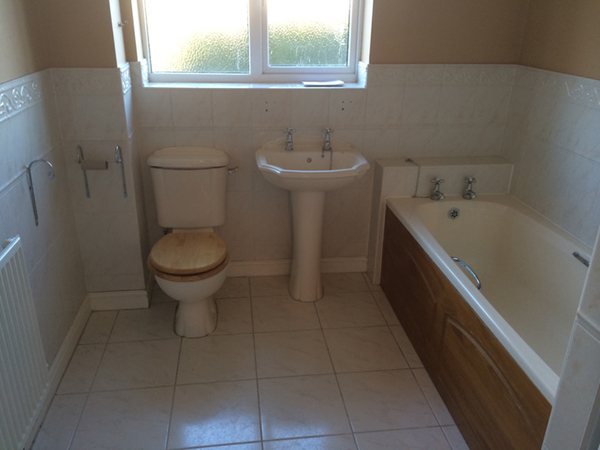
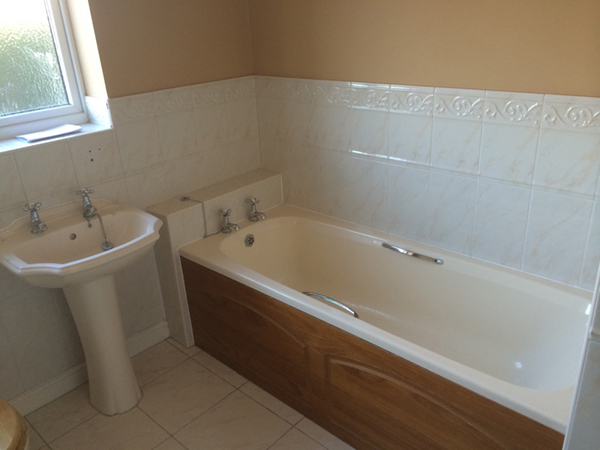
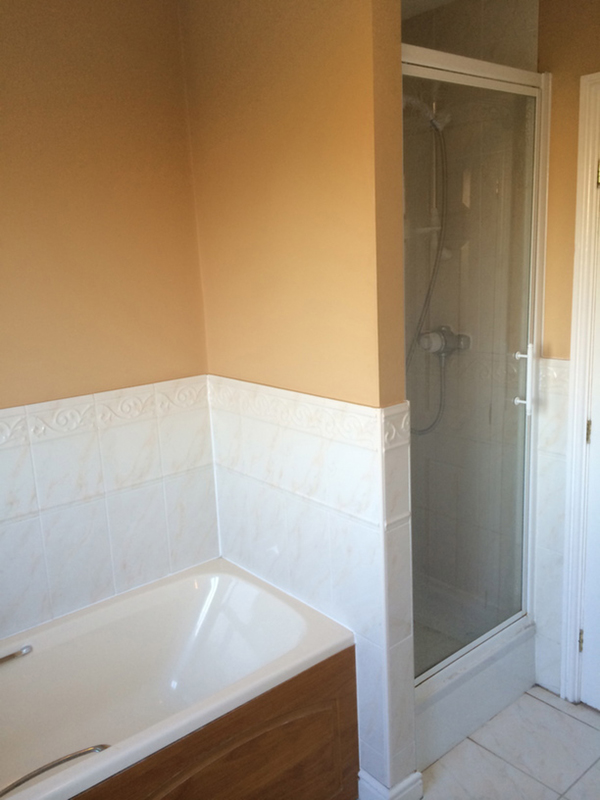
The bathroom before was in good condition but was a bit dated and the shower performance was poor due to the plumbing system of the house.
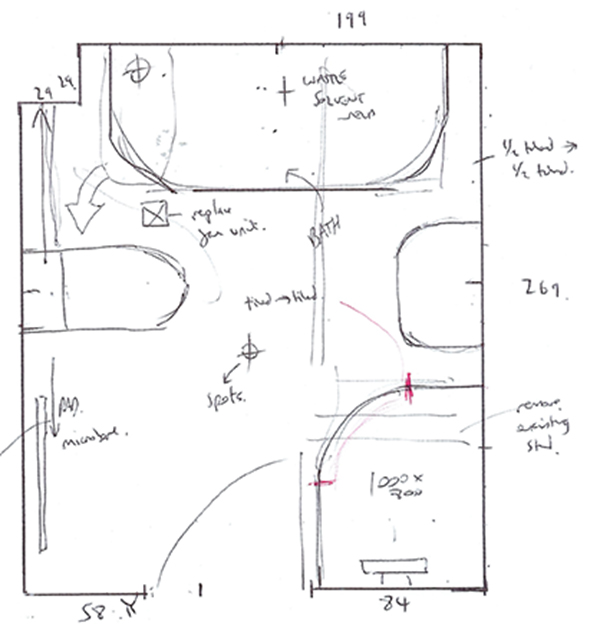
As you can see from my initial rough sketch, the layout of the room was altered to maintain a separate bath & shower, but to make the showering area bigger and lighter.
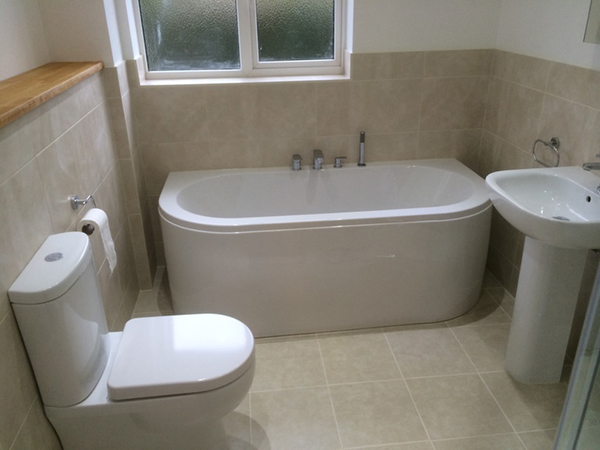
This was accomplished by removing the stud wall and moving the bath under the window, whilst changing the location of the toilet & basin accordingly.
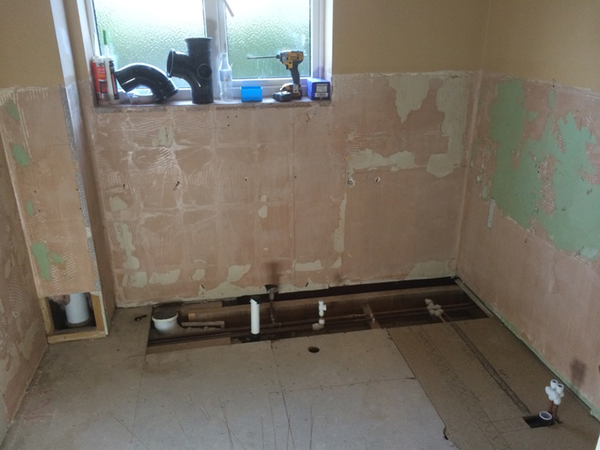
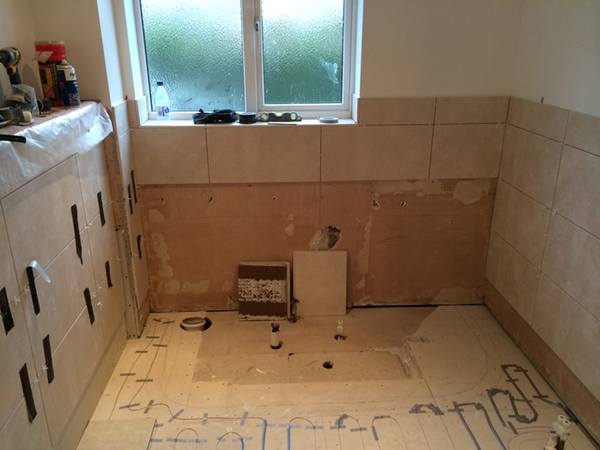
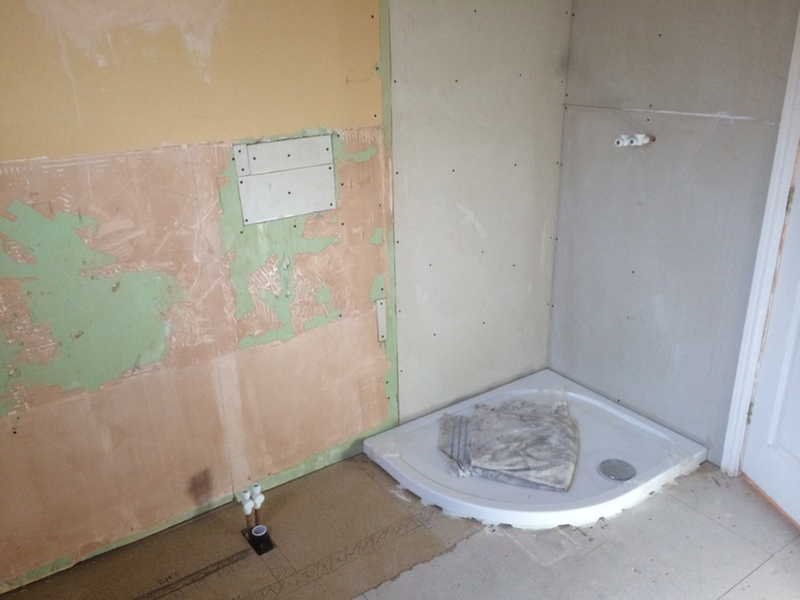
The existing wall and floor tiles were removed as the original bathroom was gutted.
Pipework was then altered to suit the new layout.
Here you can see hot & cold water feeds have been extended under the floor to supply the new basin, and the waste pipes have also been altered to suit as well.
The following work was then carried out:
- 1st fix the plumbing (as detailed above)
- Constructing a tiled framework behind the new toilet (to conceal the waste pipe)
- wall tiling
- Floor tiling preparation (overboard with tile backer board)
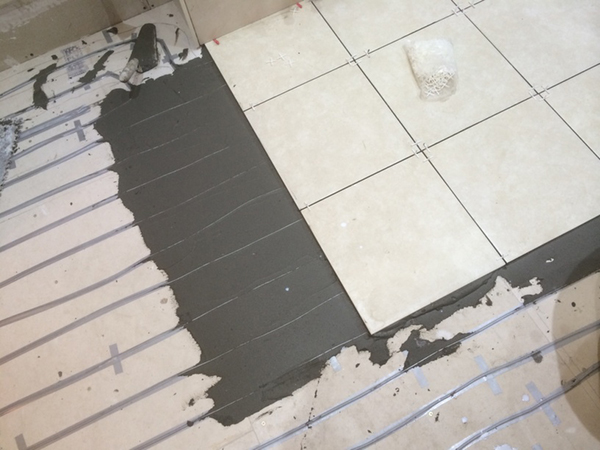
- Laying the underfloor heating cable ready to be tiled over:
Underfloor heating is economical to run and is nice to have on cold winter mornings, and it also helps with general condensation problems.
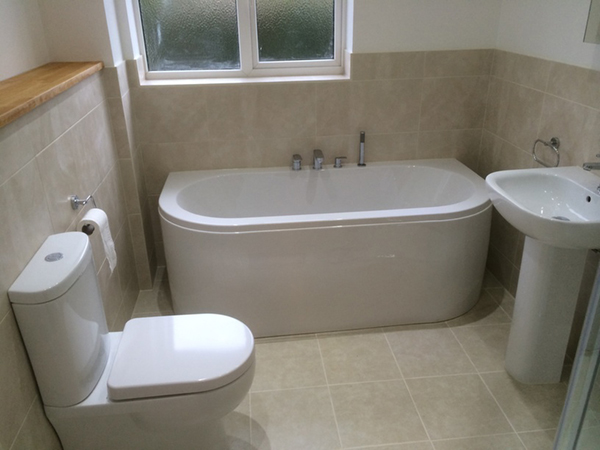
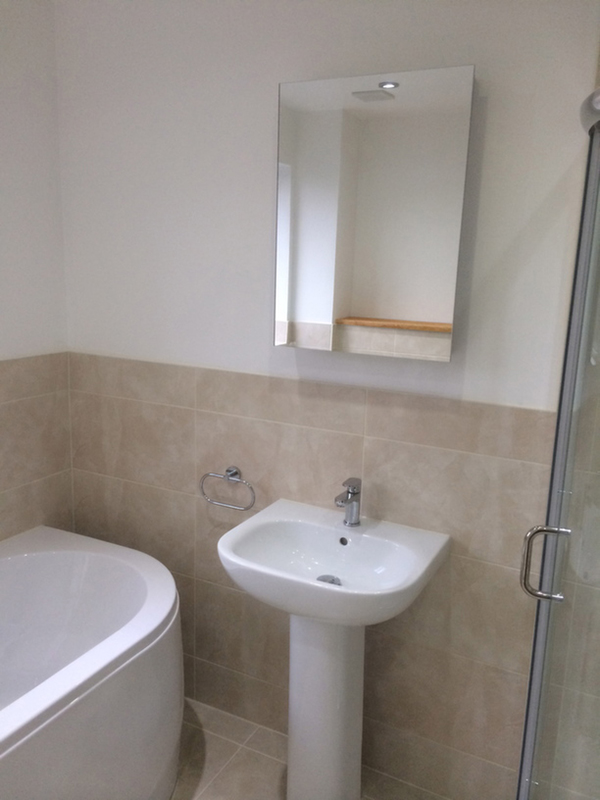
A ‘D’ shaped bath was used as an alternative to a rectangular bath, as this shape was more sympathetic to the design as it mirrored the curves of the shower tray & basin, and gave space to move around the toilet & basin.
The relocation of the bath under the window meant that the basin also had to be moved.
The basin was located between the new shower and the curved corner of the D-shaped bath.
Tight coordination between the trades was important here to position the basin accurately and ensure the electrical feed for the mirrored cabinet (which also had a shaver socket) was in the correct location.
The shower enclosure was dark prior to the bathroom redesign as the stud wall necessary to accommodate the previous layout blocked the natural light from the window opposite.
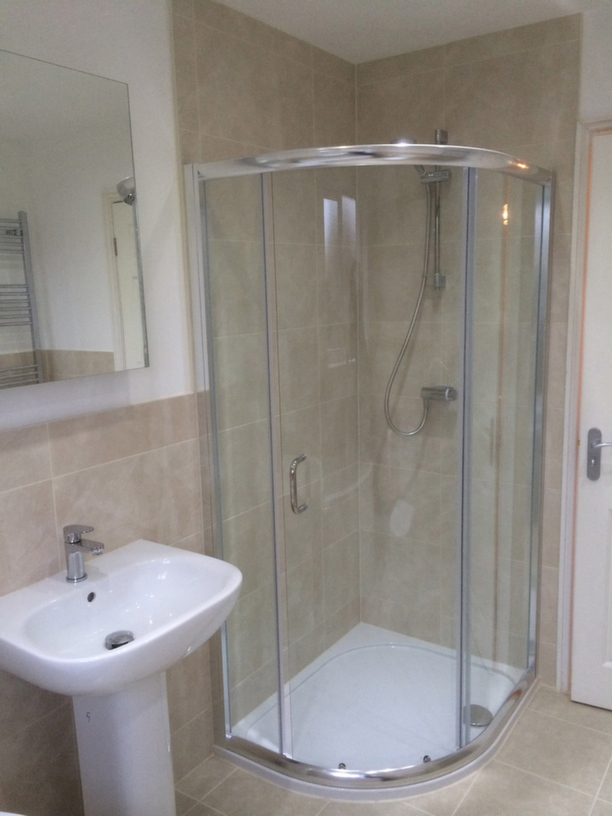
The stud wall was removed and the shower enclosure was made bigger with the use of a 100cm x 80cm offset quadrant tray & enclosure.
At this stage, you can see that some of the walls have been re-boarded following the removal of the old tiles, and the new shower tray has been installed and the waste pipe connected up & tested. You can also see the hot and cold feeds for the new shower.
A minimalist glass shower enclosure was fitted with a single sliding door.
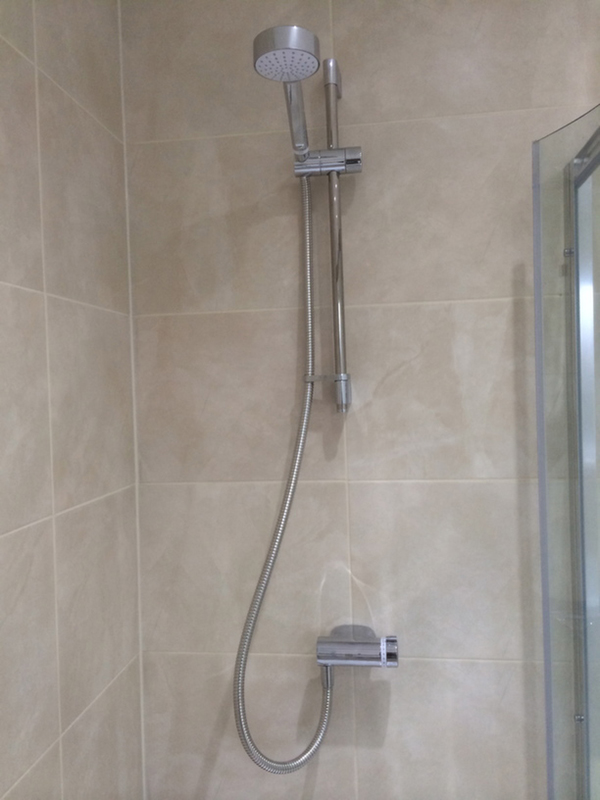
A Mira shower was then fitted, which delivered a more powerful shower than before, thanks to the addition of a shower pump on the customers’ gravity-fed system.
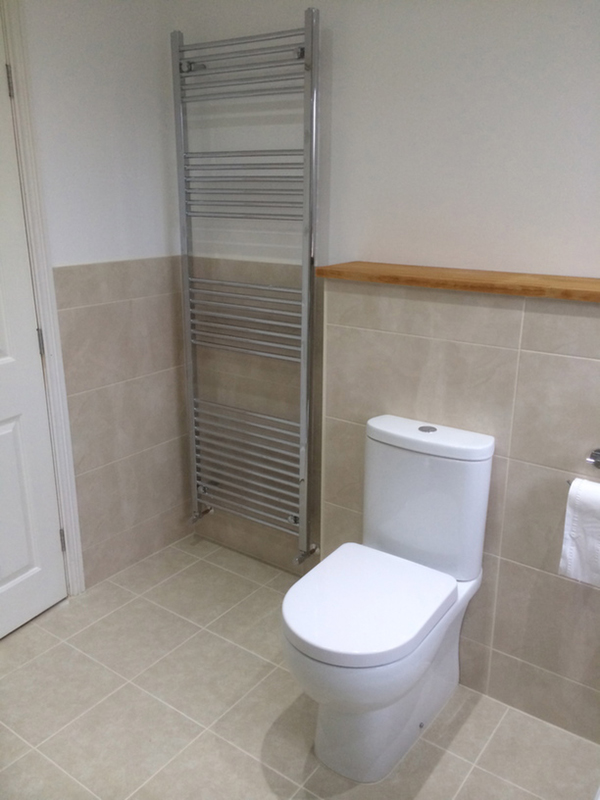
A tall designer towel radiator was chosen to dry towels on, and this was located between the door & the toilet as per the initial design/layout.
Thanks for reading
If you would like a free site survey to see what we can do for you, then please request a call back on this site.
Alternatively have a look through some of my other articles, which show how myself and my team complete bathroom installations from design through to completion.
Let me know what you think below.
Chris

