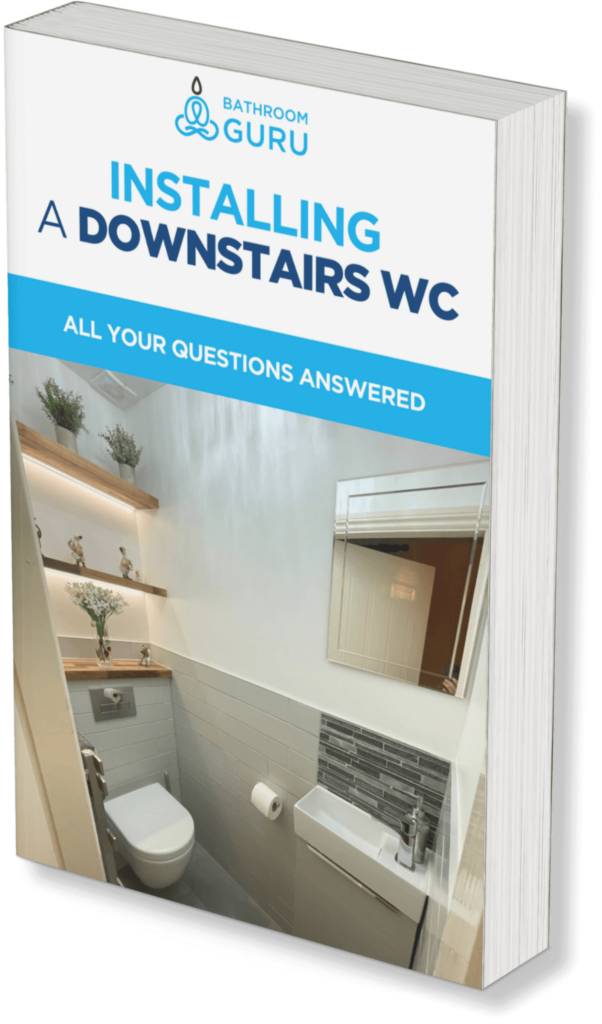
This article shows how adding a downstairs cloakroom with a toilet & basin can be relatively simple task – this can easily be completed in around a week for less money than you might think.
Introduction
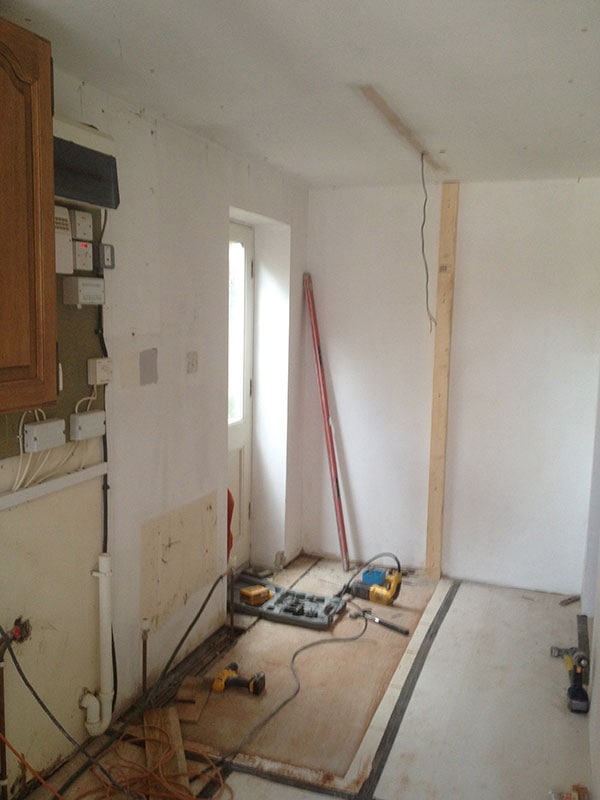
Prior to work beginning, a free site survey is carried out where I find out what the customer would want in an ideal world.
So in this case the customer wanted to:
- Utilise wasted space under the stairs by creating a downstairs toilet
- Add a toilet & basin
- Supply & fit an outside tap at the same time
- Supply & fit vinyl flooring
- Plaster & decorate the walls
- Fit a lockable door along with all necessary skirting, architrave etc
- Add some integrated storage under the stairs
I look at the current plumbing & drainage facilities which will affect the layout & positioning of the new downstairs cloakroom, as well as the boiler / hot water system and the fuse box.
I also take a couple of photos as a reference for when I am pricing up the work later.
A plan is drawn up, costs, schedules and payment terms are agreed and then work begins….
In this case the positioning of the proposed downstairs WC & washbasin coincides well with the existing plumbing & drainage of the house, so costs were kept low in this regard.
Top Tip
Always put a new en suite or downstairs loo on the side of the house with the soil stack outside – It makes things much simpler in general terms – you will see why in the pictures below.
Installation Process for a downstairs cloakroom with toilet & basin
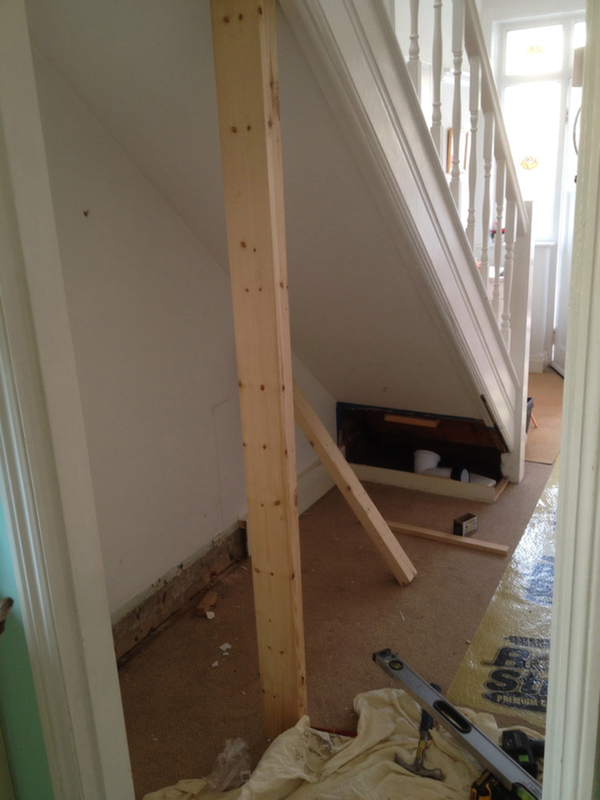
Carpet protection is put down prior to work beginning.
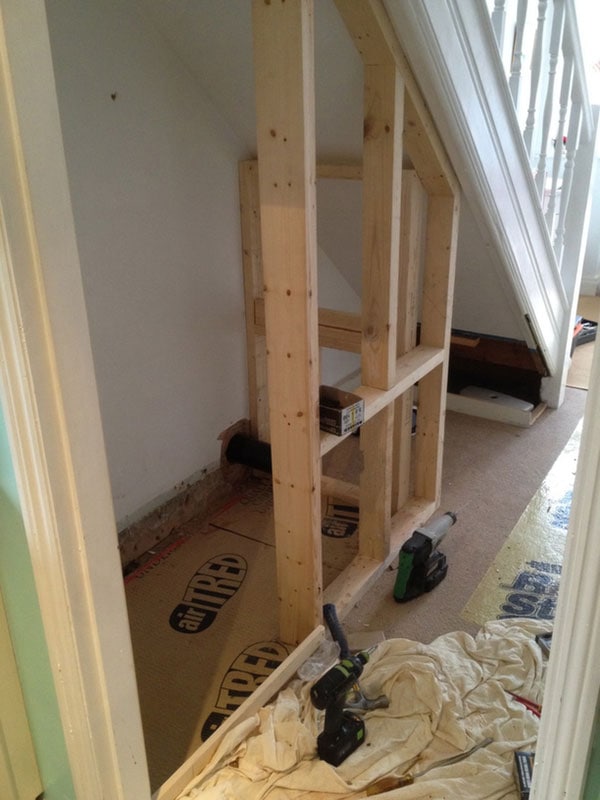
Existing carpet is removed in the new space and timber studwork is erected to define the space.
Care is taken in positioning the door frame & a narrow (width) door (and corresponding frame) is chosen so it won’t obstruct the corridor as much when opened. Doors are normally 78” x 30” but this example was only 26” wide.
A plain FD30 plywood fire door was chosen (rather than a panel door) so it could have its top corner taken off it (to follow the line of the stairs) if required.
There was already an existing window in an appropriate place which was already obscured (frosted) so no further work was required here.
Top Tip
Glass frosting can be used to turn previously clear glass into frosted glass for privacy.
This can be done by applying a self adhesive, plain or patterned, film onto the glass as has been done here. These are available here.This saves having a new window put in for a fraction of the price. However, you can get obscured glass in new windows should you require it.
Lighting is added into the ceiling and a switch is positioned in the new stud wall by the door.
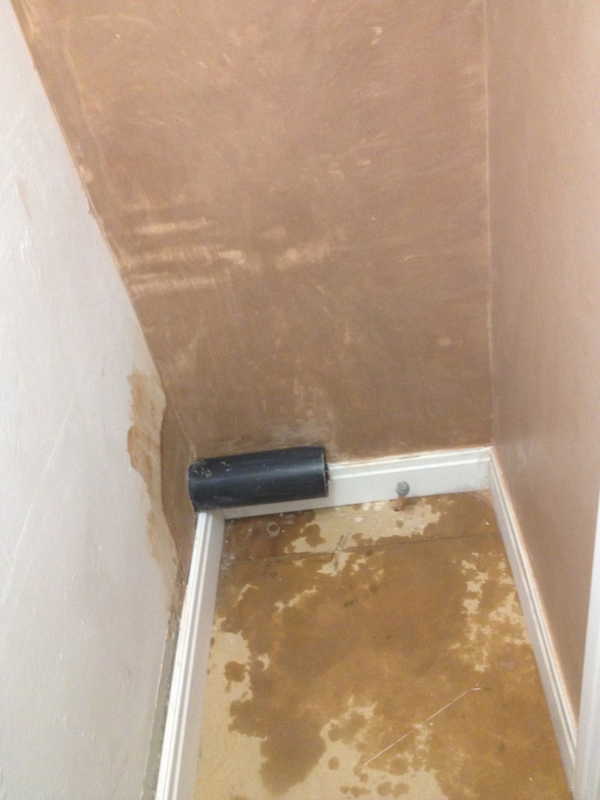
Hot & cold water feeds are run under the floorboards to the intended positions of the new toilet & basin (from the kitchen adjacent to the hall.)
The existing cast iron soil pipe is replaced with a new plastic version allowing for new connections to be made.
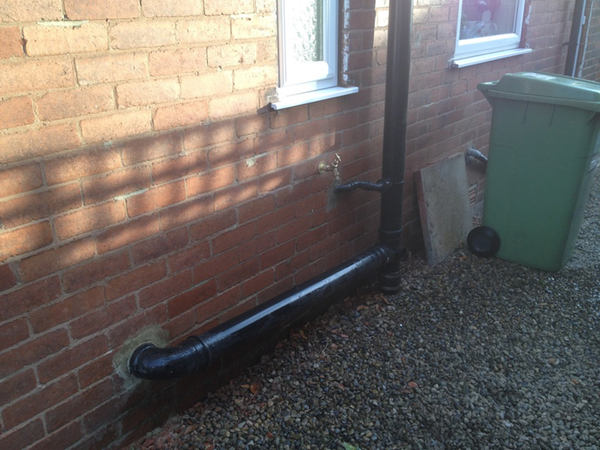
Waste pipes are run from the intended positions of the new toilet & basin to the new soil pipe outside the house by coring holes in the brickwork with the use of a core drill and diamond core drill bits.
The outside tap is also fitted at this time as it runs off the same water feed that supplies the basin mixer tap and the toilet (cold water supply.)
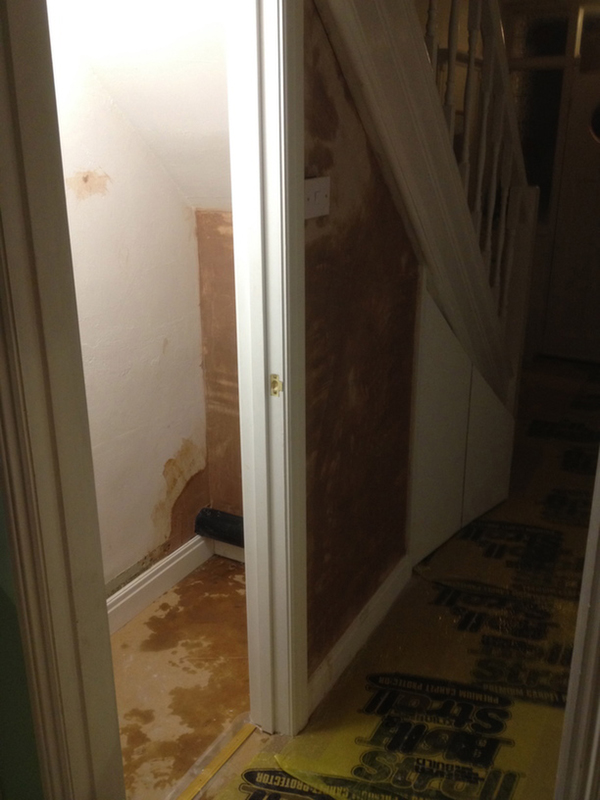
The walls are insulated, plaster-boarded, skimmed & painted and joinery work is done to complete the job such as door fitting, skirting & architraves etc.
PS once the walls are skimmed you will need to wait a few days for the plaster to dry out.
The floor is covered with hardboard prior to fitting the sheet vinyl flooring & basin / toilet.
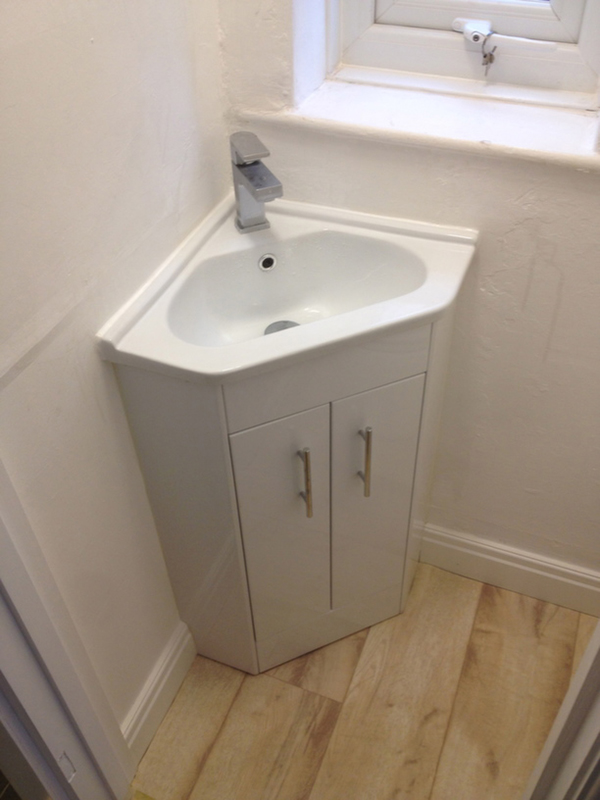
After the vinyl flooring is fitted the corner basin and integrated vanity unit can be fitted.
The corner basin allows for the best use of space in this layout, and its floor standing nature allows for the pipework to be directly fed up from the floor.
The skirting is finished up to the unit, rather than cutting away the back of the unit (which would have been impossible in this instance as the unit did not have a recess at the back).
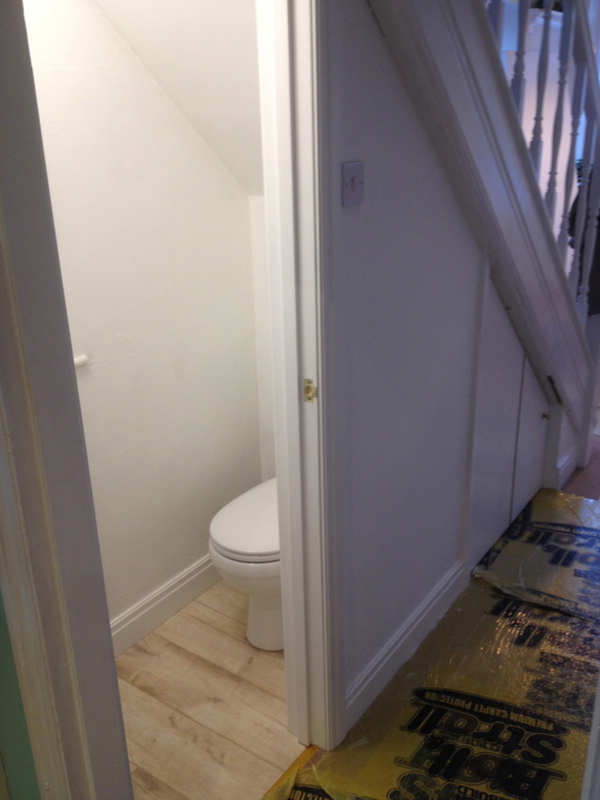
A modest WC is added and connected up to the new drainage pipes.
A custom made bifold door was added to utilise the space behind the new cloakroom for storage.
Brass handles, latches, hinges etc were used to match in with the existing door furniture of the house.
Utilising a small space for a downstairs toilet
An area of just 70cm x approx 140cm (excluding the storage space behind) was used to add a vital facility to this family house, as well as adding value to the property as a whole.
Give me a call or fill in the contact form on this site if you would like a bathroom, en suite or downstairs toilet and I’ll call you back for a chat.
Chris

