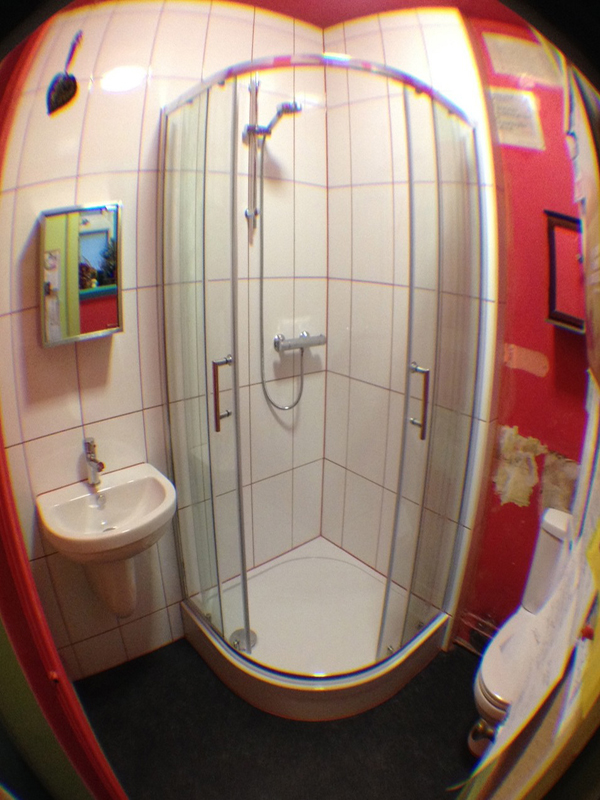
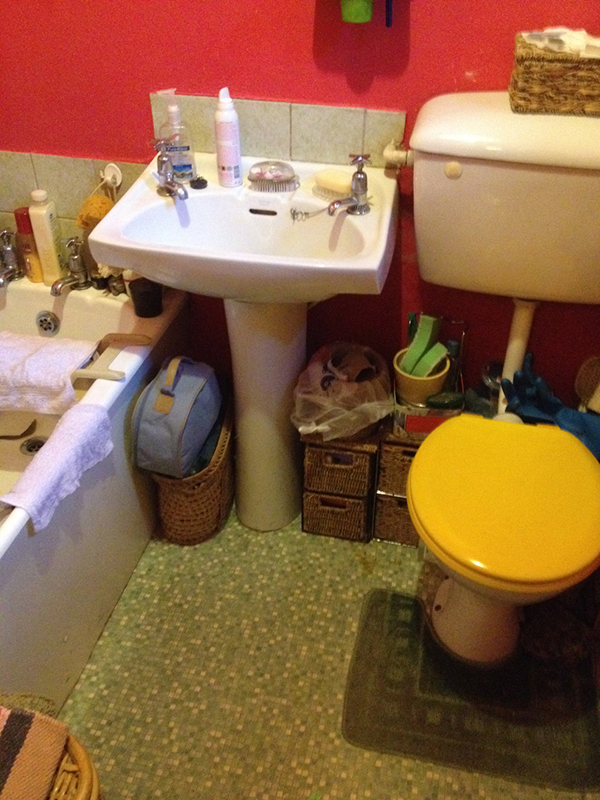
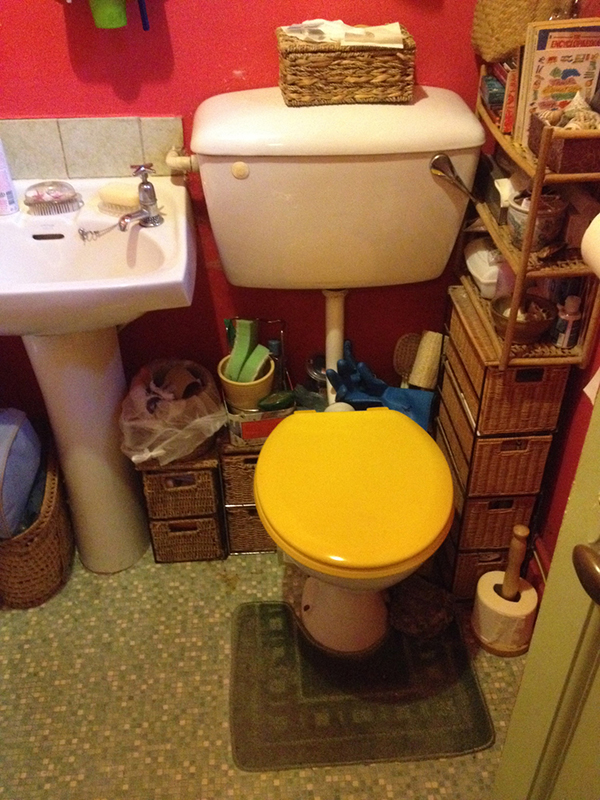
This article shows how uk bathroom guru carried out a simple bathroom installation which involved replacing an existing bath with a shower enclosure.
Many people choose to replace a bath with a shower enclosure, particularly if they find getting in and out of the bath more difficult than they used to.
This is a viable, cost effective alternative to fitting a ‘disabled bath’ with a side door, which will cost £3000+ to install as a straight swop with no other work done!
It may surprise you what work is often involved in swopping a bath for a shower enclosure but I have highlighted the main things to consider below (skip ahead for the case study & some pictures if you like).
Plumbing
Bath wastes (pipes that carry the waste water away from the bath) usually run out of the bathroom above floor level (under the bath) and this means that if you want to do a straight forward swap to a shower tray then you will have to buy a shower tray with a riser kit to raise the shower tray off the floor – This should allow you to connect onto the existing bath waste whilst maintaining a fall, but this will vary from case to case.
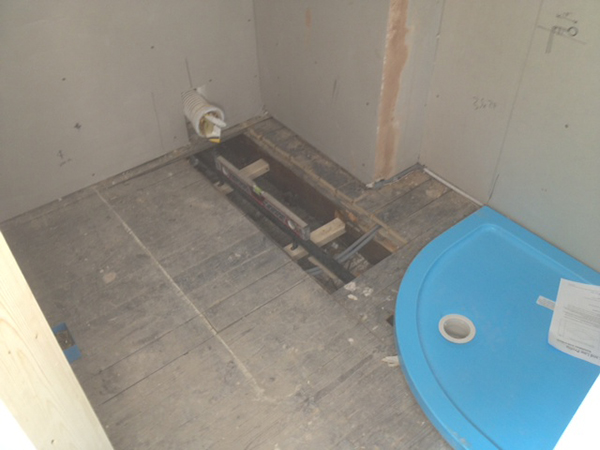
If you wish to have a shower tray that sits flush to the floor then the waste will usually have to be re-run at a lower level to maintain the fall, as waste water needs to flow away downhill.
The hot & cold pipes that currently feed the bath taps will probably need re-routing to the new shower position.
These will need to be recessed (chased) into the wall in some way (which will depend on what the walls adjacent to the tray are made of and some other factors such as the existing plumbing under the bath.)
Baths are normally 170cm long x 70cm wide but this can vary a bit in either direction (150 – 180cm long and 70 – 80cm wide).
Shower enclosures range from 70cm x 70cm up to 90cm x 170cm so you have a range of options.
They also come in a range of shapes with corresponding glass enclosures: rectangular, square, quadrant (square with one rounded corner) or offset quadrant (rectangle with one rounded corner) as well as a few other less common variants.
Top Tip
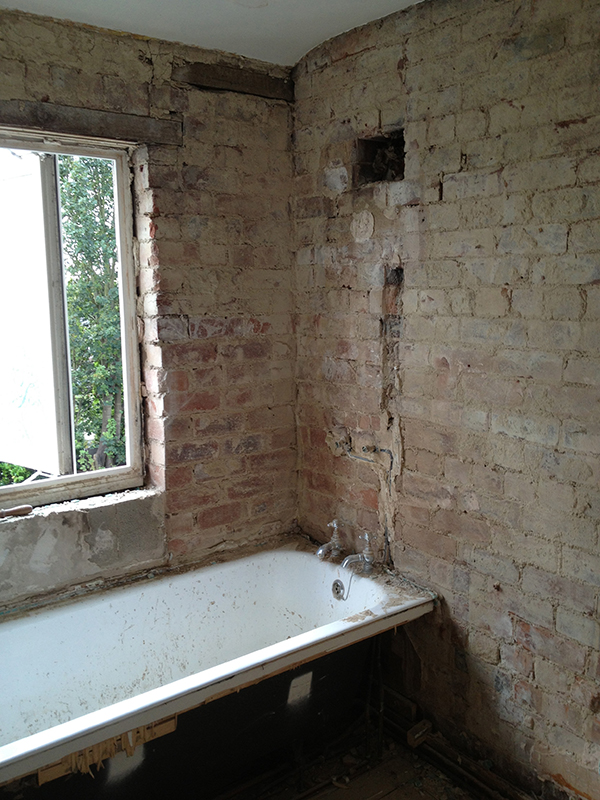
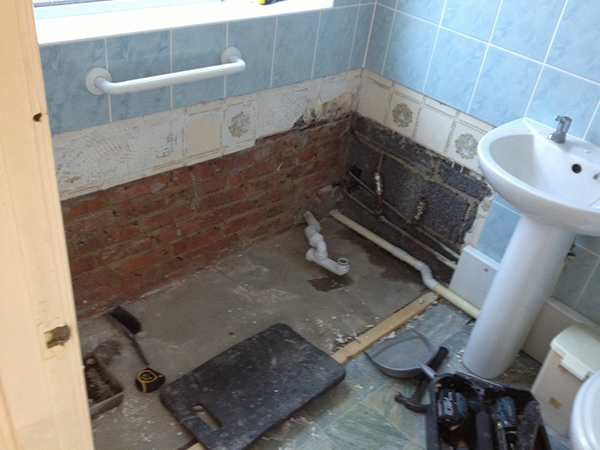
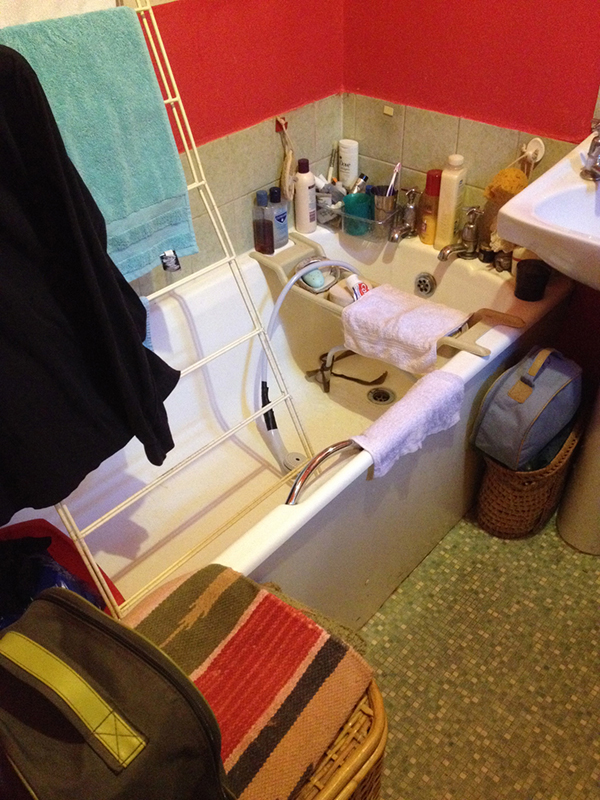
When choosing an enclosure size, make sure the enclosure fits within the space and can seal against the wall – window reveals above the current bath can cause problems as in the picture above – the distance between the window edge and the corner of the room is too small to fit an enclosure in (as the glass enclosure would meet the wall in front of the window – in thin air.)
Wall tiles
When you remove the bath you will find that the existing wall tiles finish down onto it i.e. they do not run down to the floor (unless the bath has been incorrectly installed).
This means that the area formally under the bath rim will need to be retiled, which means that in reality the whole wall(s) will need to be retiled (unless you can source some matching tiles.)
An alternative (favoured by large disability bathroom companies) is to avoid this problem by covering the walls with large panels rather than retiling. These have the benefit of being completely watertight, easy to clean and quickly installed. They are comparable in cost to tiling when labour is factored into the equation.
Floor
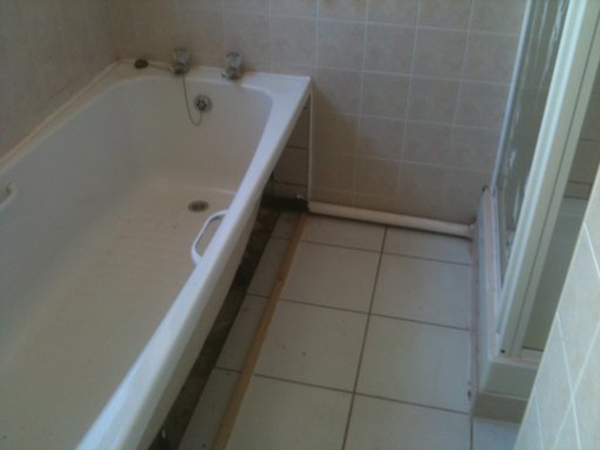
Whatever floor finish you currently have (tiles, vinyl, laminate etc) it will undoubtedly run to just beyond the bath panel rather than under the entire bath.
This means that if you replace a 170 x 70cm bath and replace it with, say, a 90cm x 90cm shower enclosure (as with this case study below) you will have an area where the existing floor covering does not extend to.
In all likelihood this will mean that you will have to have a new floor covering (for your whole bathroom if it’s sheet vinyl or you have no spare floor tiles).
If your existing floor is tiled then all the existing floor tiles will have to be removed, the floor may need to be prepared again, and then the floor will have to be retiled once the shower tray has been installed. This could be a painful extra cost if you were not expecting it!
Please note that removing & replacing an existing floor covering (tiled or otherwise) will probably necessitate removing the existing toilet & basin (and any other furniture / suite items) that currently sit onto the finished floor. These will then need to be reinstated after the new floor is complete to ensure that the floor goes ‘under’ all the suite items rather than ‘up to’ them, which is a bit if a bodge – although it is quicker and provides less disruption to facilities during the work.
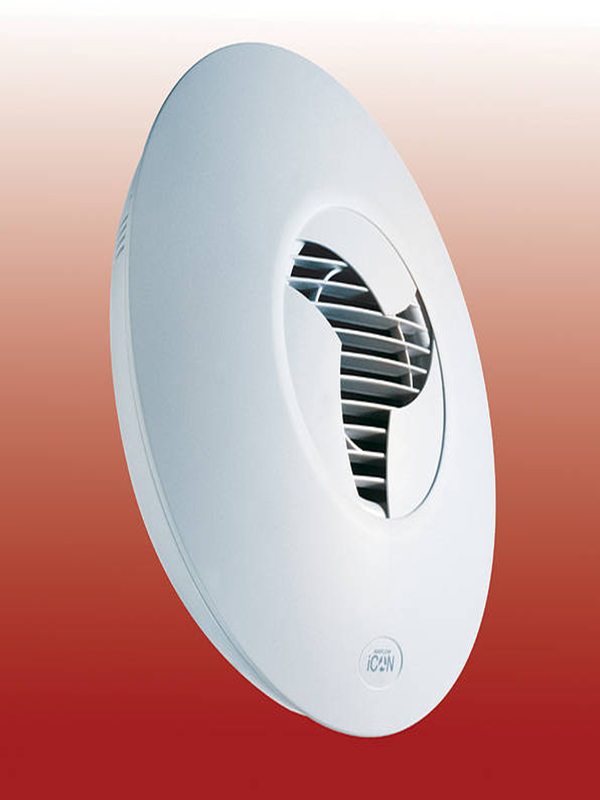
Ventilation becomes a bit more important when you swop a bath for a shower as more steam is produced from a shower than a bath.
I would advise fitting a timed extractor fan that is connected into the lighting circuit to take care of bathroom humidity.
At the same time I would recommend that you get an electrician to check whether your existing light fitting is suitable (IP rated to the correct zone) and to issue you with a completion certificate when the work is done to confirm that it complies with current building regulations.
This example involved converting a bath to a shower enclosure whilst relocating the basin and replacing the toilet (and all the other associated works such as studwork, boarding, tanking, tiling, electrics, flooring etc.)
Day 1
The existing suite is removed (toilet, basin & bath) as is the floor covering and tiled splashbacks around the bath & basin.
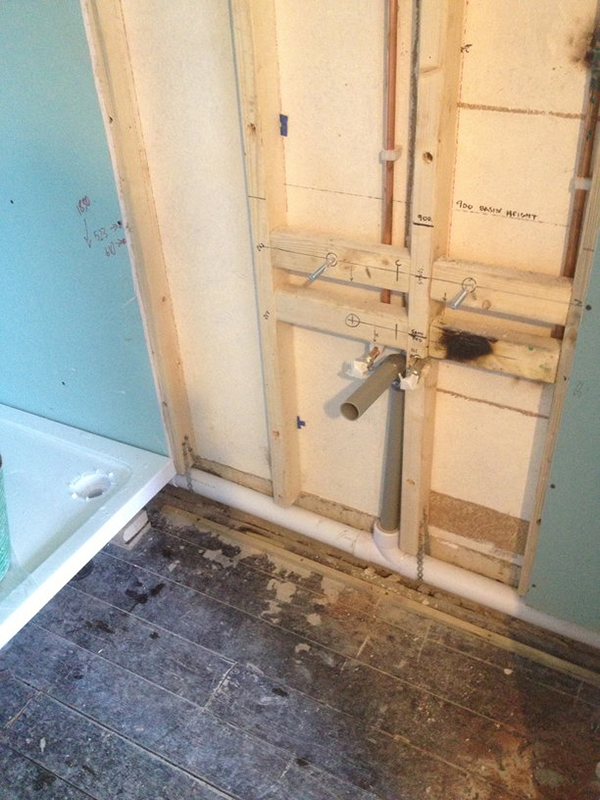
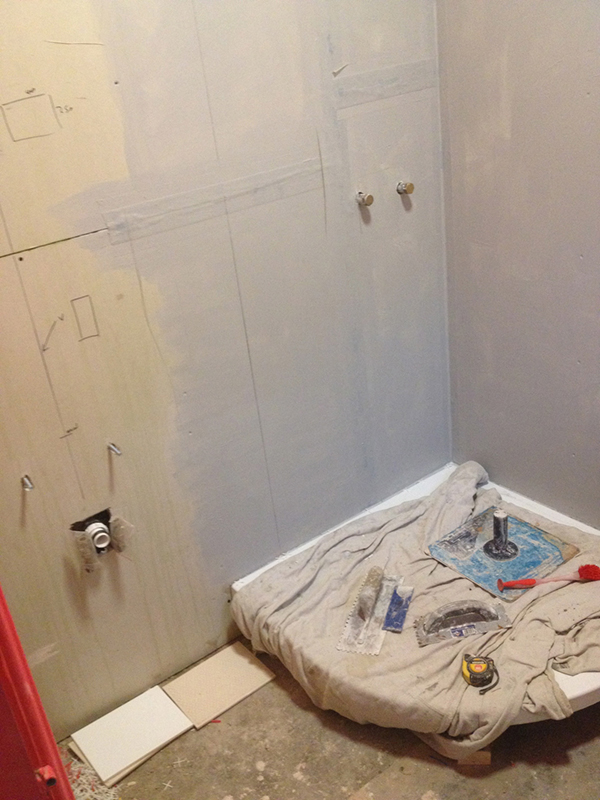
The two walls adjacent to the bath are studded out (with 4×2” CLS timber – on edge) to conceal pipework (hot & cold to the new shower / basin position & waste pipework from the basin, as well as some existing plumbing under the bath).
See here for more information on this type of shower valve which is excellent for the installation of thermostatic bar mixer showers.
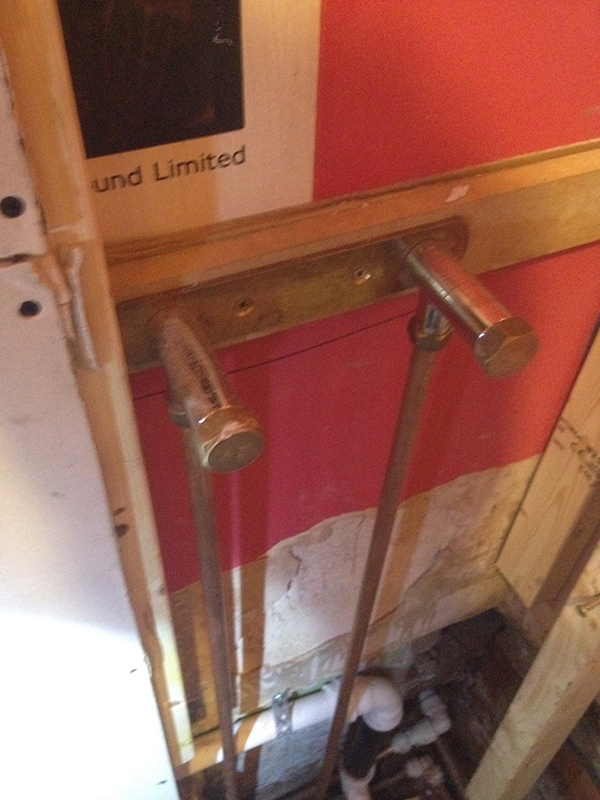
When studding out a wall where wall hung fixtures (like the basin in this example) will be hung, make sure the points at which they are to be fixed to the wall are solid timber.
This will give a much stronger fixing than just trying to fix into plasterboard or the tiles on top of it.
In the picture above you can see that the basin fitting bolts secure directly into the timber.
These will then be boarded over to maintain the exact position of the basin at 2nd fix plumbing.
1st fix plumbing was carried out on day 2 which involved:
- Running hot & cold feeds to the new basin position & to the new shower valve (as seen above.)
- Running the basin waste within the newly studded out wall & connecting this up to the shower waste under the shower tray.
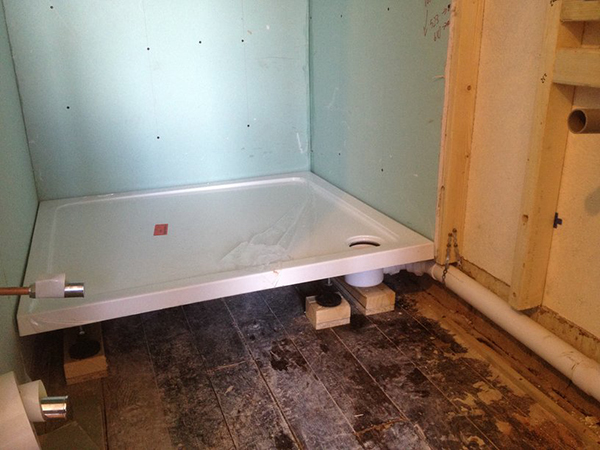
- Amending the existing bath waste as required before installing & connecting up the shower tray.
PS The shower tray could not be fitted flush to the floor in this particular instance due to a variety of factors, so it was raised off the floor with the use of a riser kit, which includes adjustable legs and a plinth.
The walls in the ‘wet’ shower area were then tanked to protect them from potential water ingress.
The light fitting was also changed for an IP rated light to comply with current building regulations.
Day 3
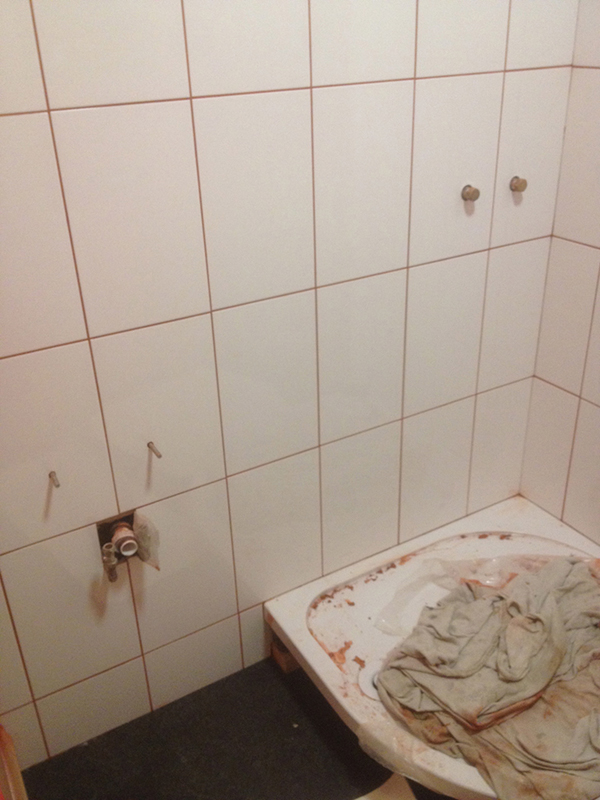
The walls around the shower enclosure were then tiled with plain white ceramic tiles and rapid-set tile adhesive (to facilitate tiling & grouting on the same day.)
Colour co-ordinated grout & silicone was then used to match into the existing décor and add a bit of interest.
A new vinyl floor was also fitted at this time, after some of the concrete floor under the bath was levelled using self-levelling compound.
Day 4
2nd fix plumbing was carried out on day 4 which involved:
- Fitting the shower valve & riser rail with the use of this bracket.
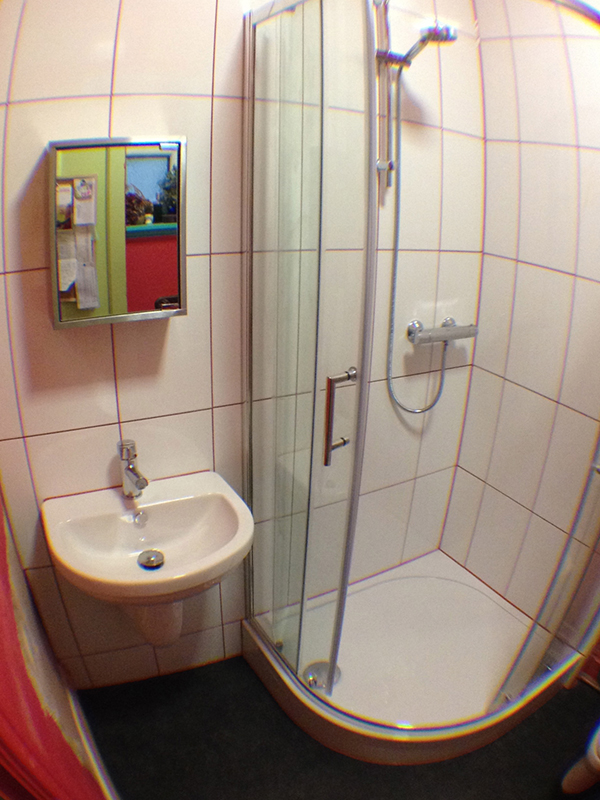
- Fitting the shower enclosure – 90cm x 90cm quadrant in this example to correspond with the tray.
- Fitting the basin & semi pedestal & connecting up the associated pipework.
- Re-fitting the toilet on top of the newly fitted vinyl floor.
We later half tiled the wall (ie. From floor to waist height) behind the toilet & to the left hand side of the basin to cover the areas of wall that were damaged when we removed the old basin splash-back and tiles above the bath. This took a further day.
If you have any questions about this article or any others, please feel free to contact me.

